Direct to plate Photogravure printing
An environmentally friendly modern, but traditional printmaking process.
The contemporary DtP process combines 19th, 20th and 21st century photographic, print processes and digital technologies. It has a significantly lower ecological impact than traditional photogravure and conventional darkroom practices, giving improved environmental practice.
The DtP gravure process is an intriguing mix of digital photography ( phone and slr); polymer coated .73mm steel plate; exposure of digital image through direct to plate digital printing; water developing and sun drying, before the plate can be inked up through the analogue etching process and printed onto water soaked paper. No film, acetate positives/negatives, or chemical processing required.
Following my PhD in Serigraphy I have experimented with the DtP process at Birmingham School of Art with master printmaker Justin Sanders, Laura Gale Digital Technician and a variety of artist printmakers who see the potential for making a diversity of images.
The following pages document my artistic trials, errors and successes.
Below are the basic technical requirements.
How Do Photopolymer Printing Plates Work?
The process of creating photopolymer printing plates involves several steps. First, a digital file is created with the desired artwork or design. Then, using specialized software and equipment, the digital file is transferred onto a transparent film or directly onto the plate itself using a computer-to-plate (CTP) system.
Once the image is transferred onto the plate, it undergoes exposure to UV light. The areas exposed to UV light become hardened while the unexposed areas remain soft and soluble. After exposure, the plate goes through a washout process where the unexposed areas are dissolved away using water or solvent-based solutions.
The resulting plate consists of raised relief areas that correspond to the desired image or design. These raised areas hold ink during the printing process while transferring it onto the substrate. [www.Reference.com]
Direct-to-plate
At the Birmingham School of Art we have been testing direct t-to-plate techniques that reduce the photo chemical elements of the process by digitally printing the artwork image on to a polymer coated plate, which is then exposed to UV light and level;oped.etched with water, before being washed out, dried and cured in sunshine for 24 hours.
Photoresponsive polymer: https://www.sciencedirect.com/topics/materials-science/photoresponsive-polymer
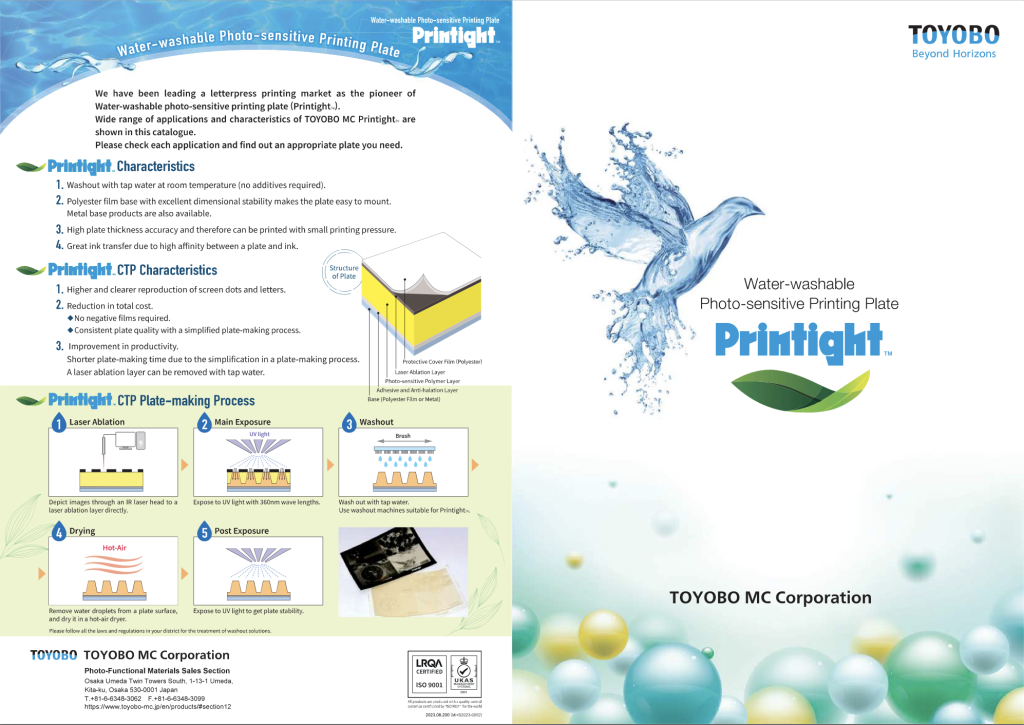
Toyobo Printight Solar Plate KM73 (photopolymer plates) available from a variety of suppliers including Intaglio: https://intaglioprintmaker.com/product/toyobo-printight-solar-plate-km73/. and https://www.jacksonsart.com/search/?q=photo+polymer
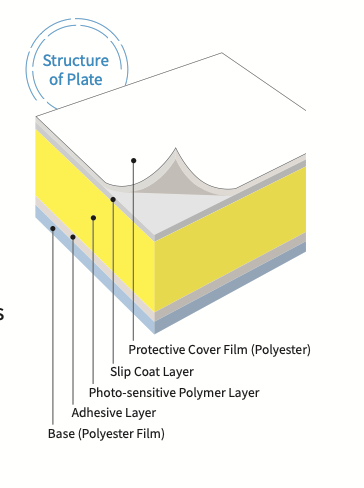
The Toyobo Printight Solar Plates consist of environmentally sound photopolymer film that sits on a plate. The photopolymer is a photosensitive material that can be exposed to UV light through a negative film. The light shines through the film to harden the polymer and the excess is washed away. This process contains no chemicals. The KM73 photopolymer is 0.73mm thick and on a steel plate.
The polymer is a complex composition of chemicals developed for the printing industry inc 3d printing for a range of industries including dental health.
The Ultimate Guide to Photopolymer Printing Plates: Everything You Need to Know
The steps involved in the DTP technique.
- Digitally print an image from Photoshop or similar image programme as a positive directly on to a .73mm polymer plate
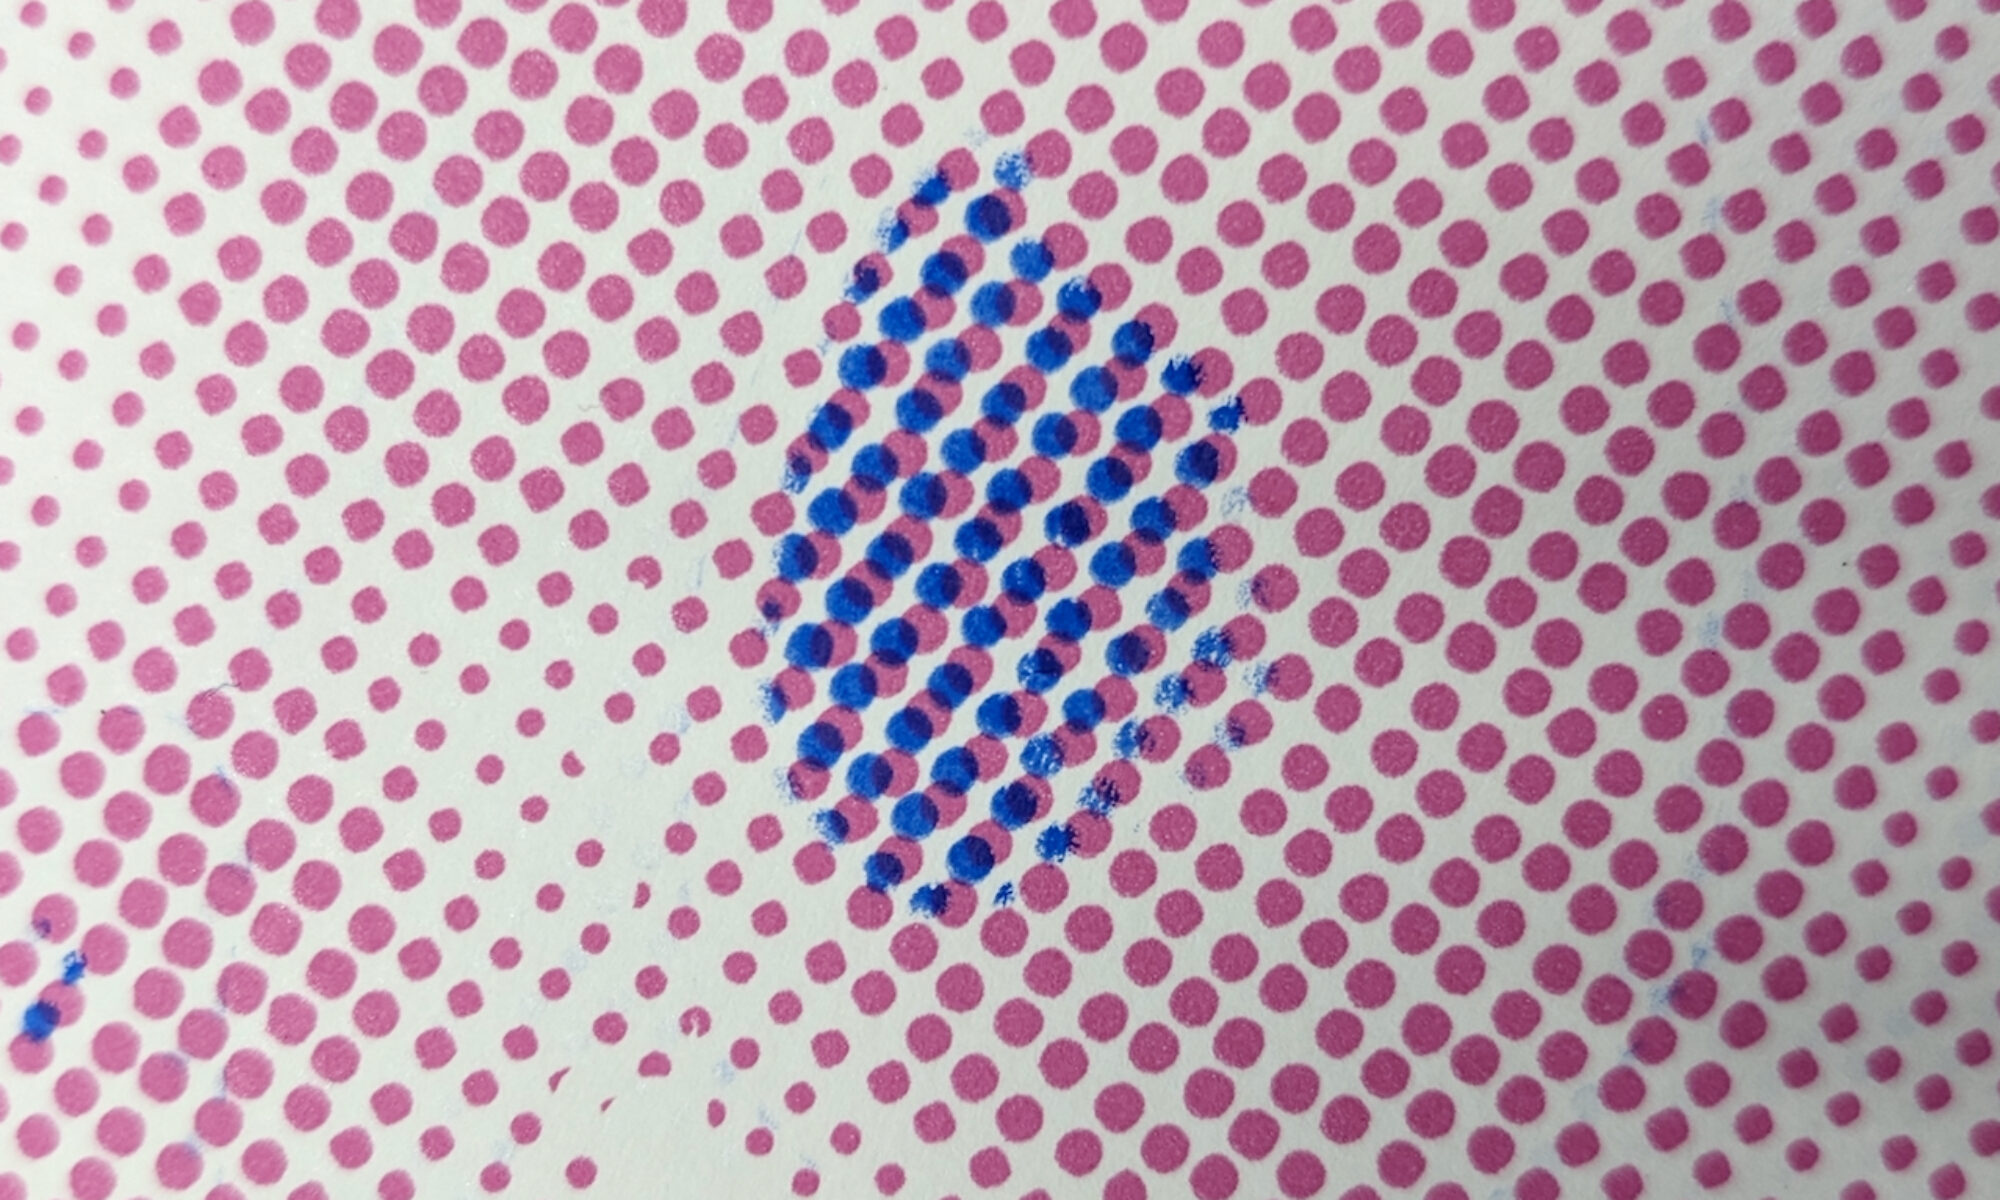
Experiments with a range of digital curves and levels have established a calibration chart for specific images.
The printing is on an Epson cylindrical printer using card settings determined from the Epson driver manuals.
- Harden the image with UV exposure via an existing Lighbox calibrated unit.
Calibration of exposures for particular images have bwwn tried and tested.
- Etch into the plate by simply rinsing in water for 3 minutes.
- Hardened with UV light After drying, the plate is cured in sunlight, rendering it durable and reusable. The plate is then ready to use.
5) Printing the image. Ink is applied to the plate as for an engraving plate or dry-point plate, paper placed over it and then it is pulled through a traditional roller printing press, transferring the ink to the paper, making a final print.