
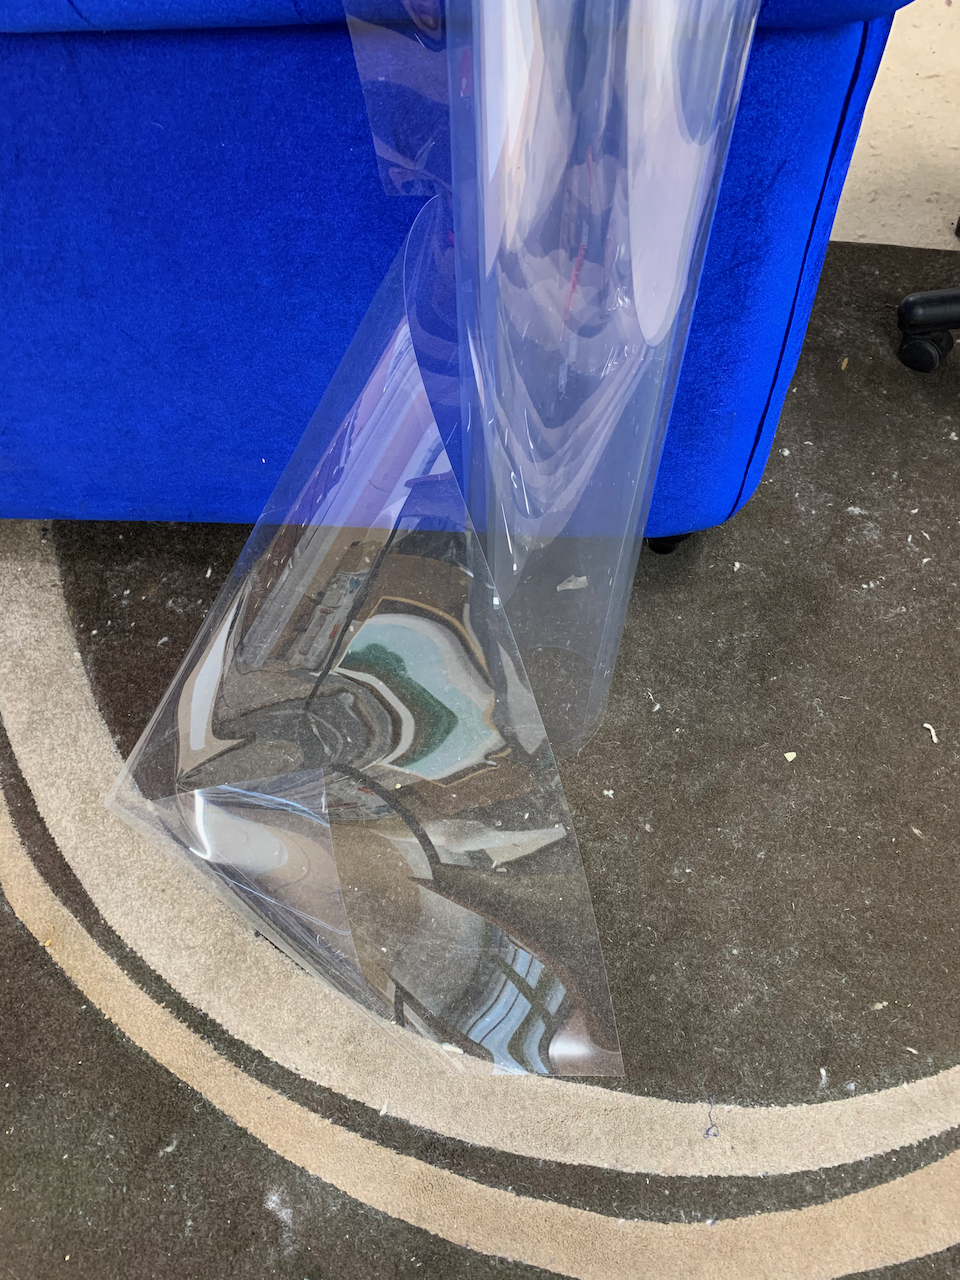
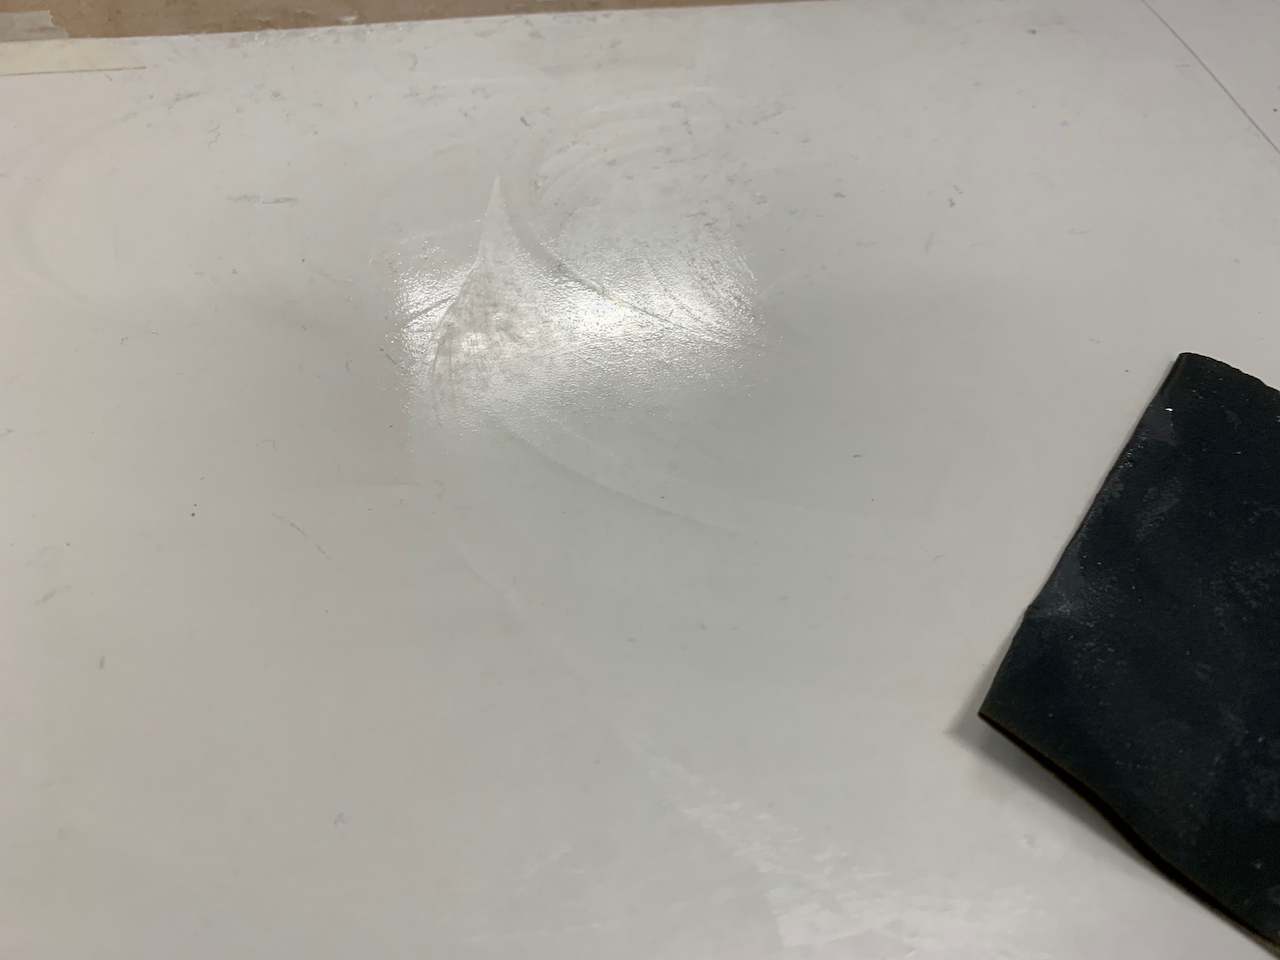
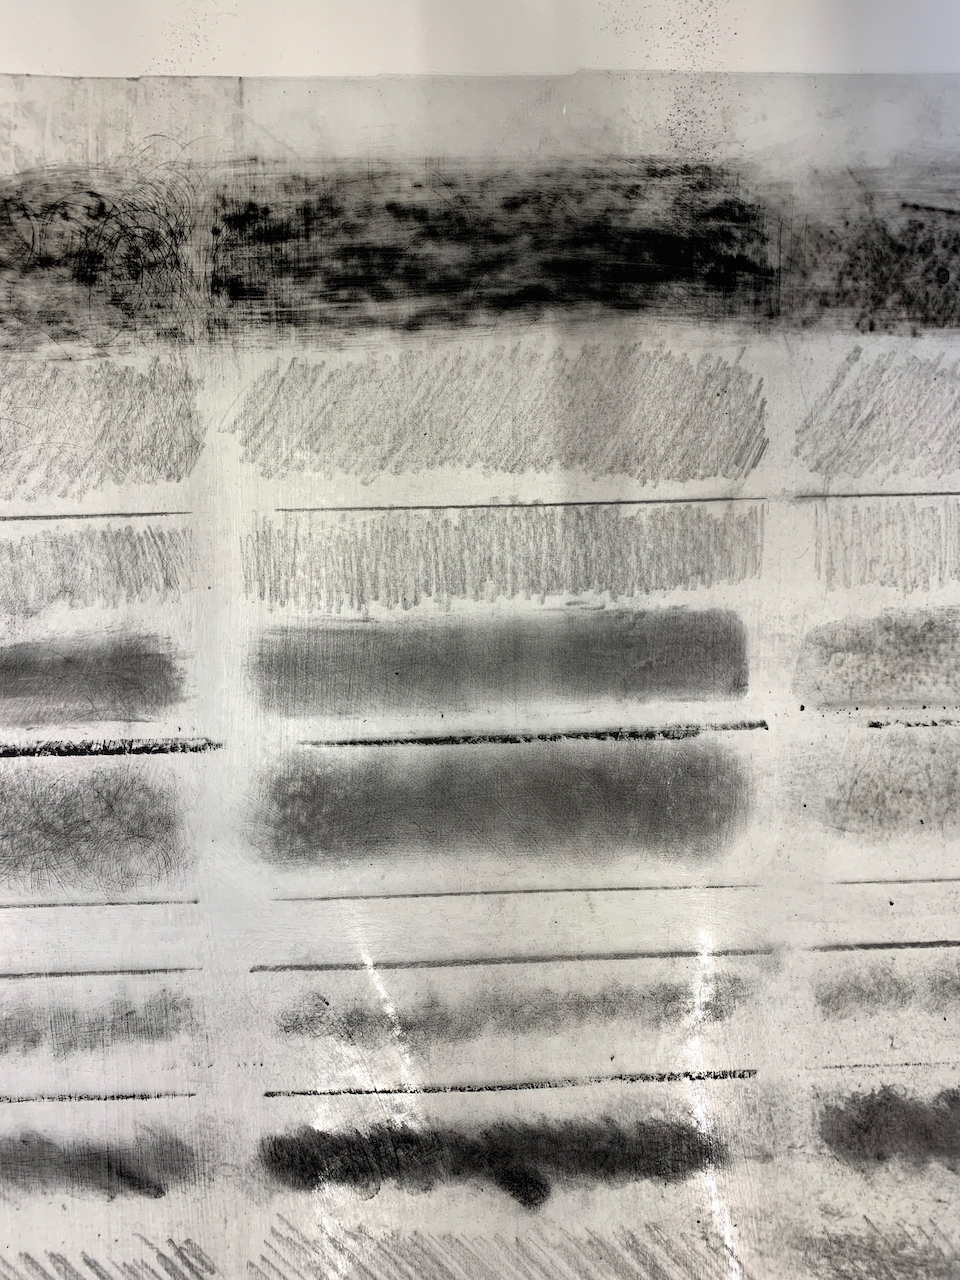
Below are slide sequences of tests to create textured surfaces on melinex polyester film to create irregular, but predictable textures that can then be drawn upon to create positives for exposure on to silk screens. These tests are carried out to provide possible alternatives to commercial manufactured film such as mark resist. They are also making and testing substrates capable of responding to the maker which are not compromised through the photographic process of making a screen-positive.
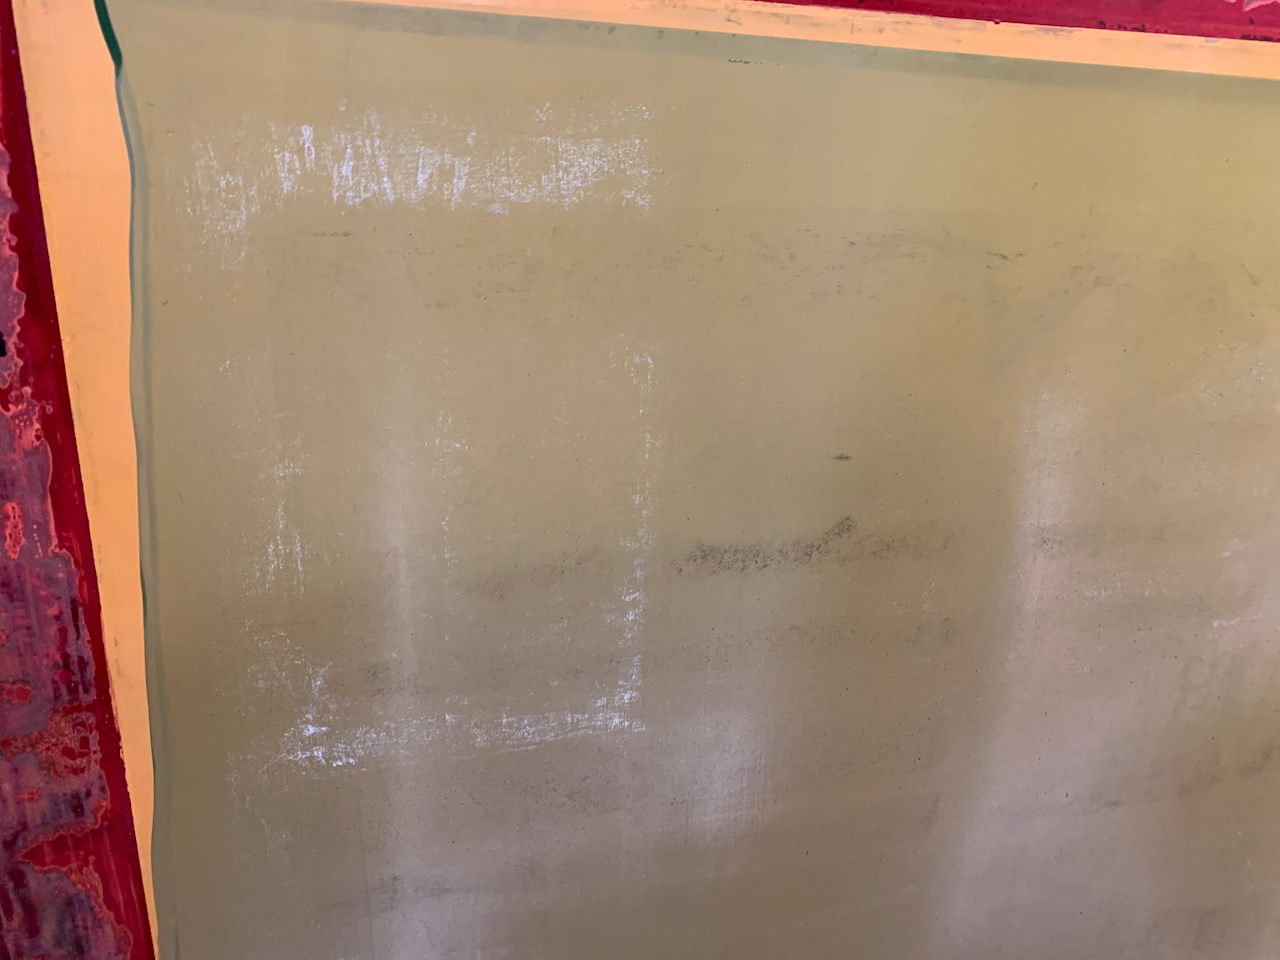
Sanding actions on A1 sheet by area.
top left Water:Circular 1min then horizontal and vertical 1min
top left 2nd down: Circular 1min
top right Water: Circular 1min then horizontal and vertical 1min
top right 2nd down: Circular 1min
Bottom left water: Circular 1min then horizontal and vertical 1min Bottom left
Bottom left: Circular 1min
Bottom right water: Circular 1min
Bottom right: Circular 1min + horizontal and vertical 1
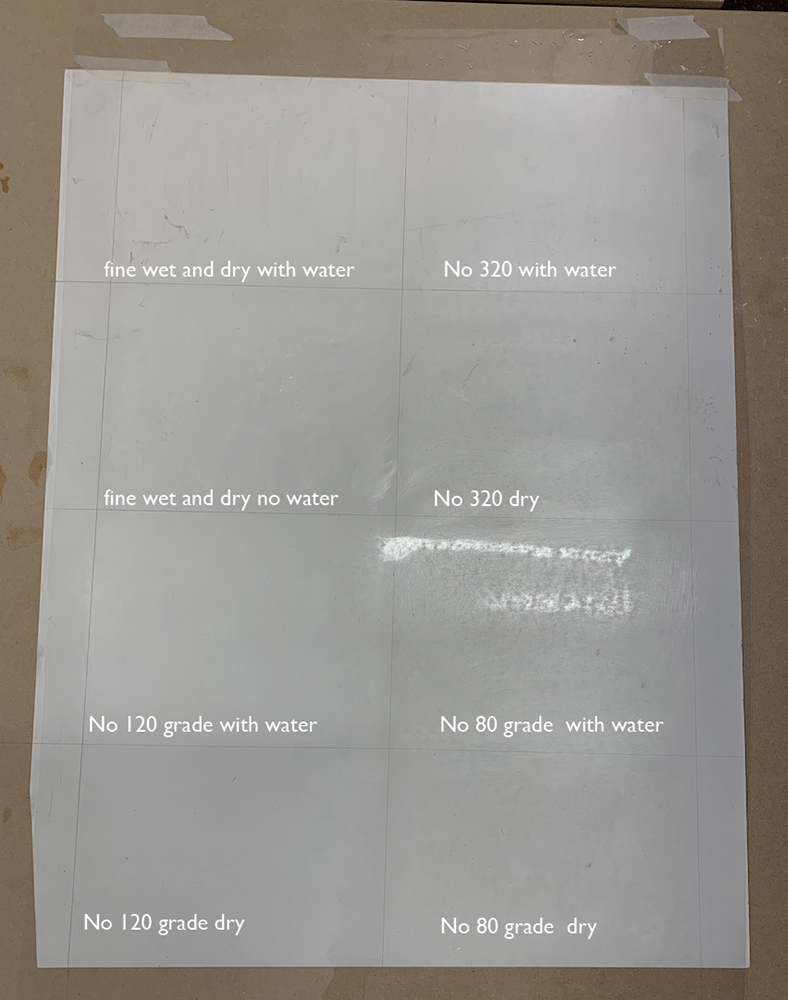
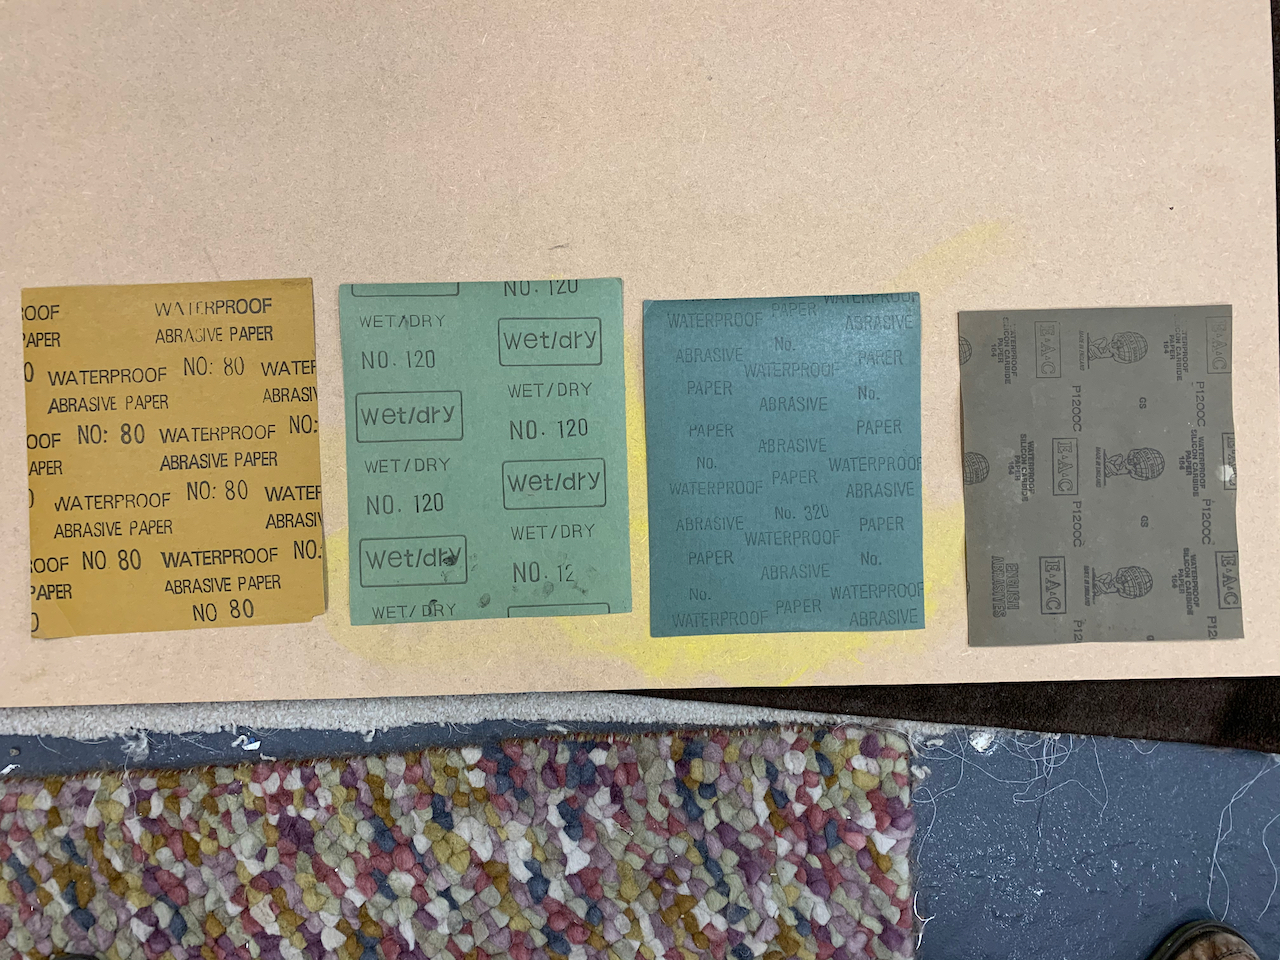
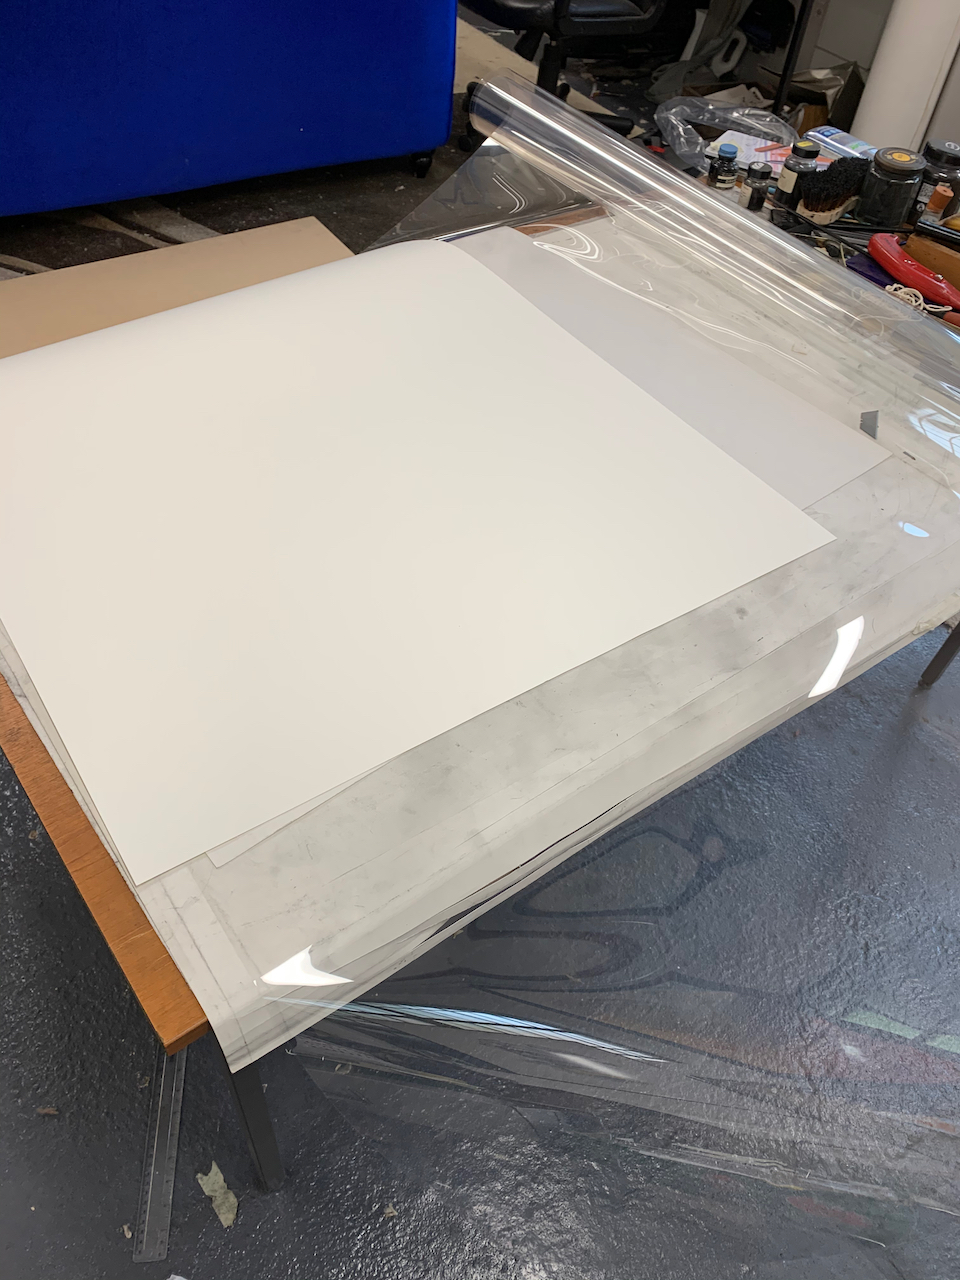
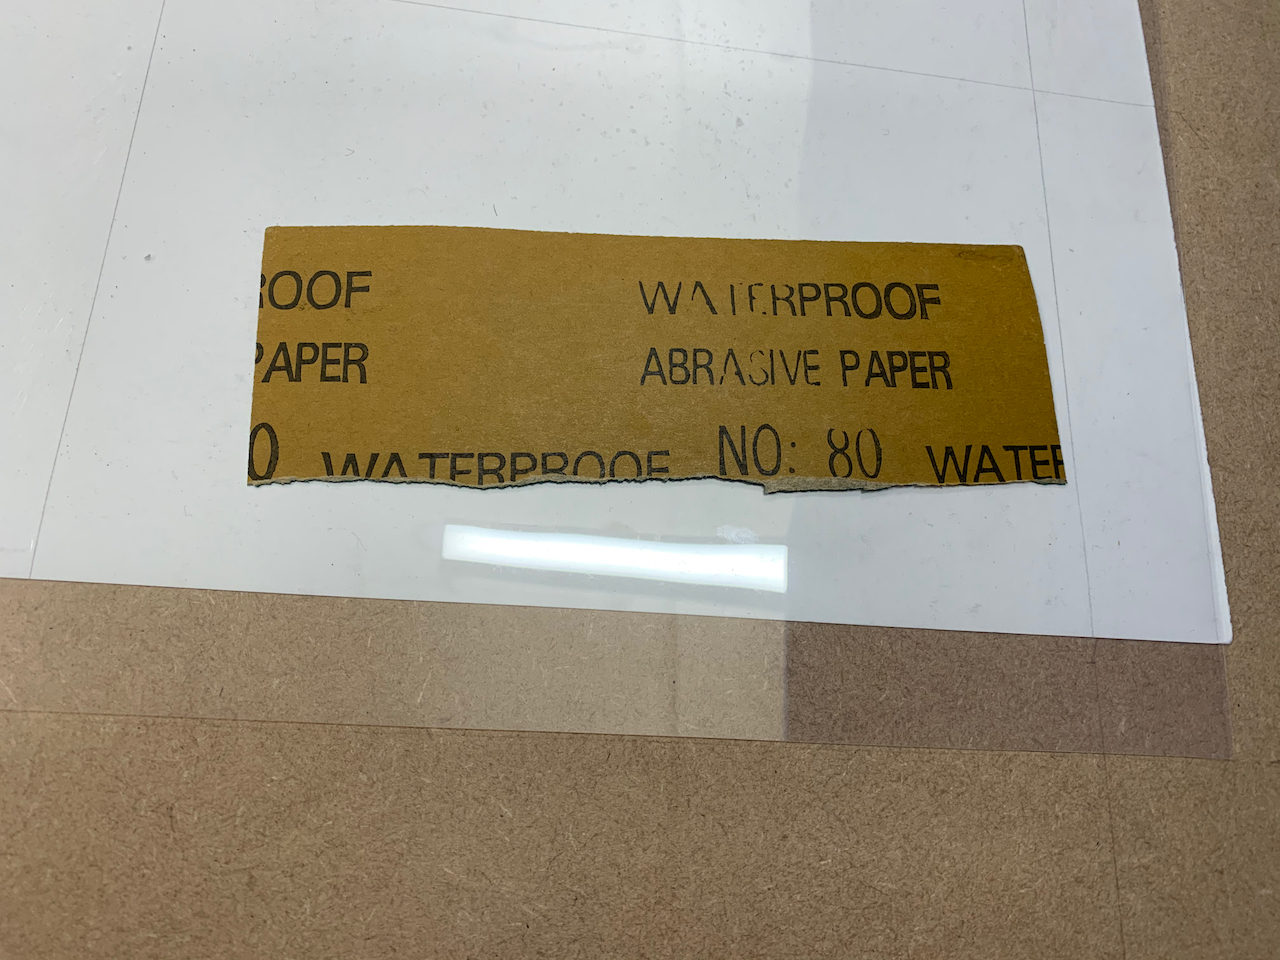
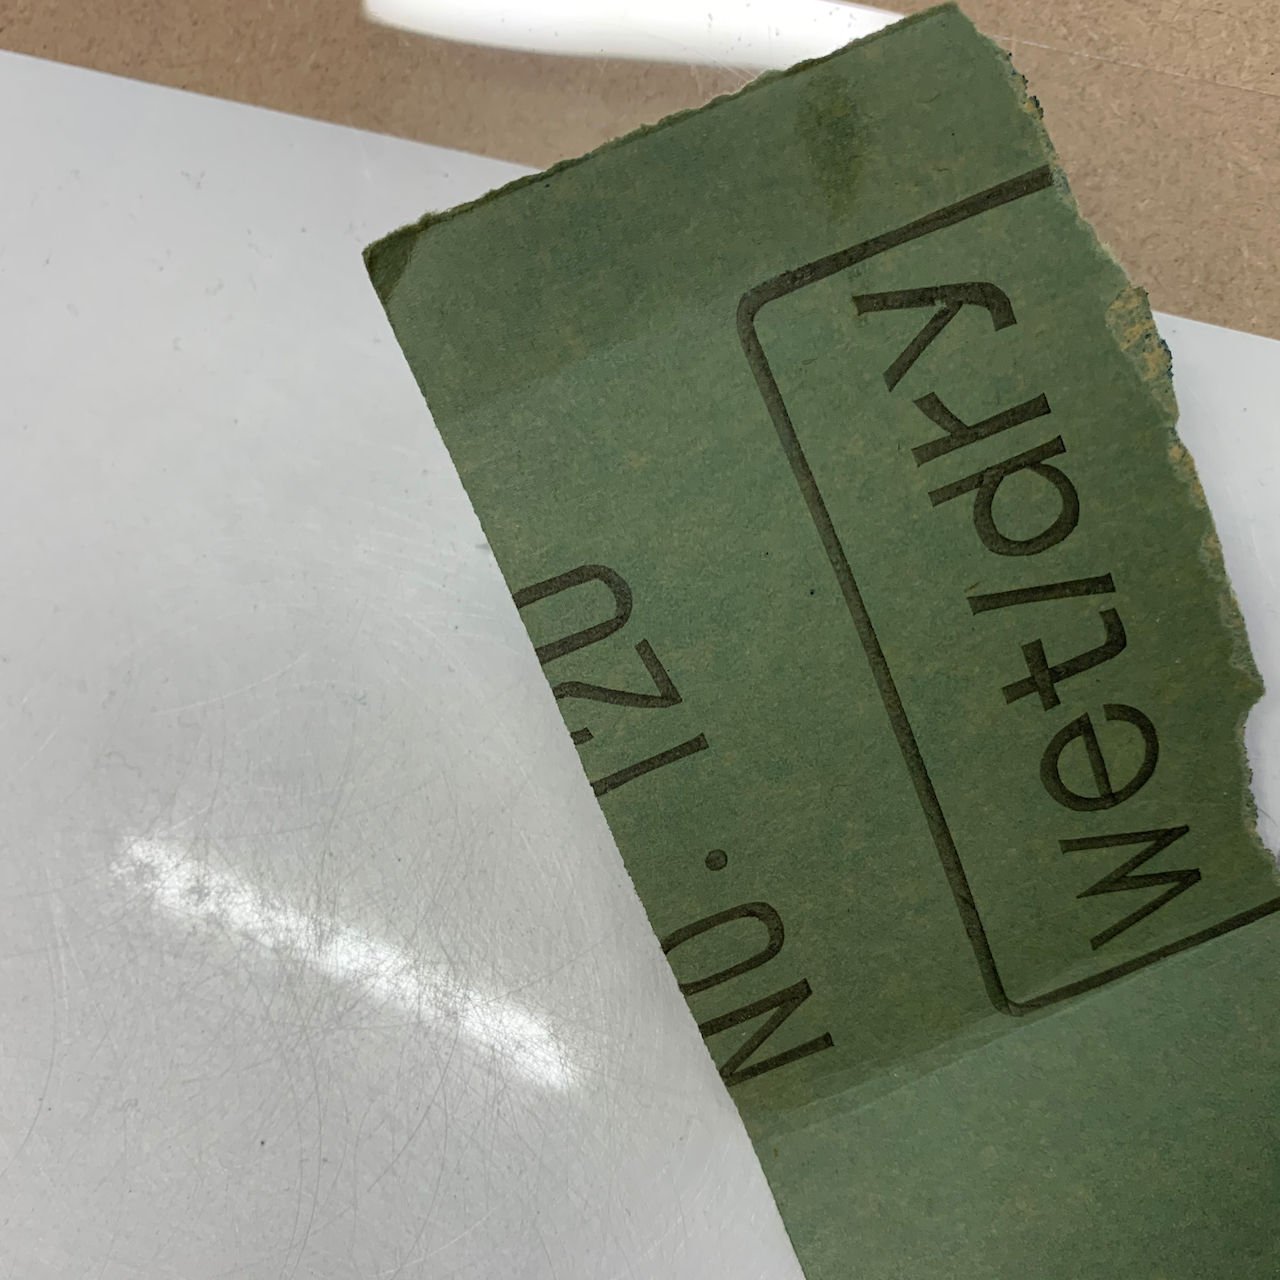
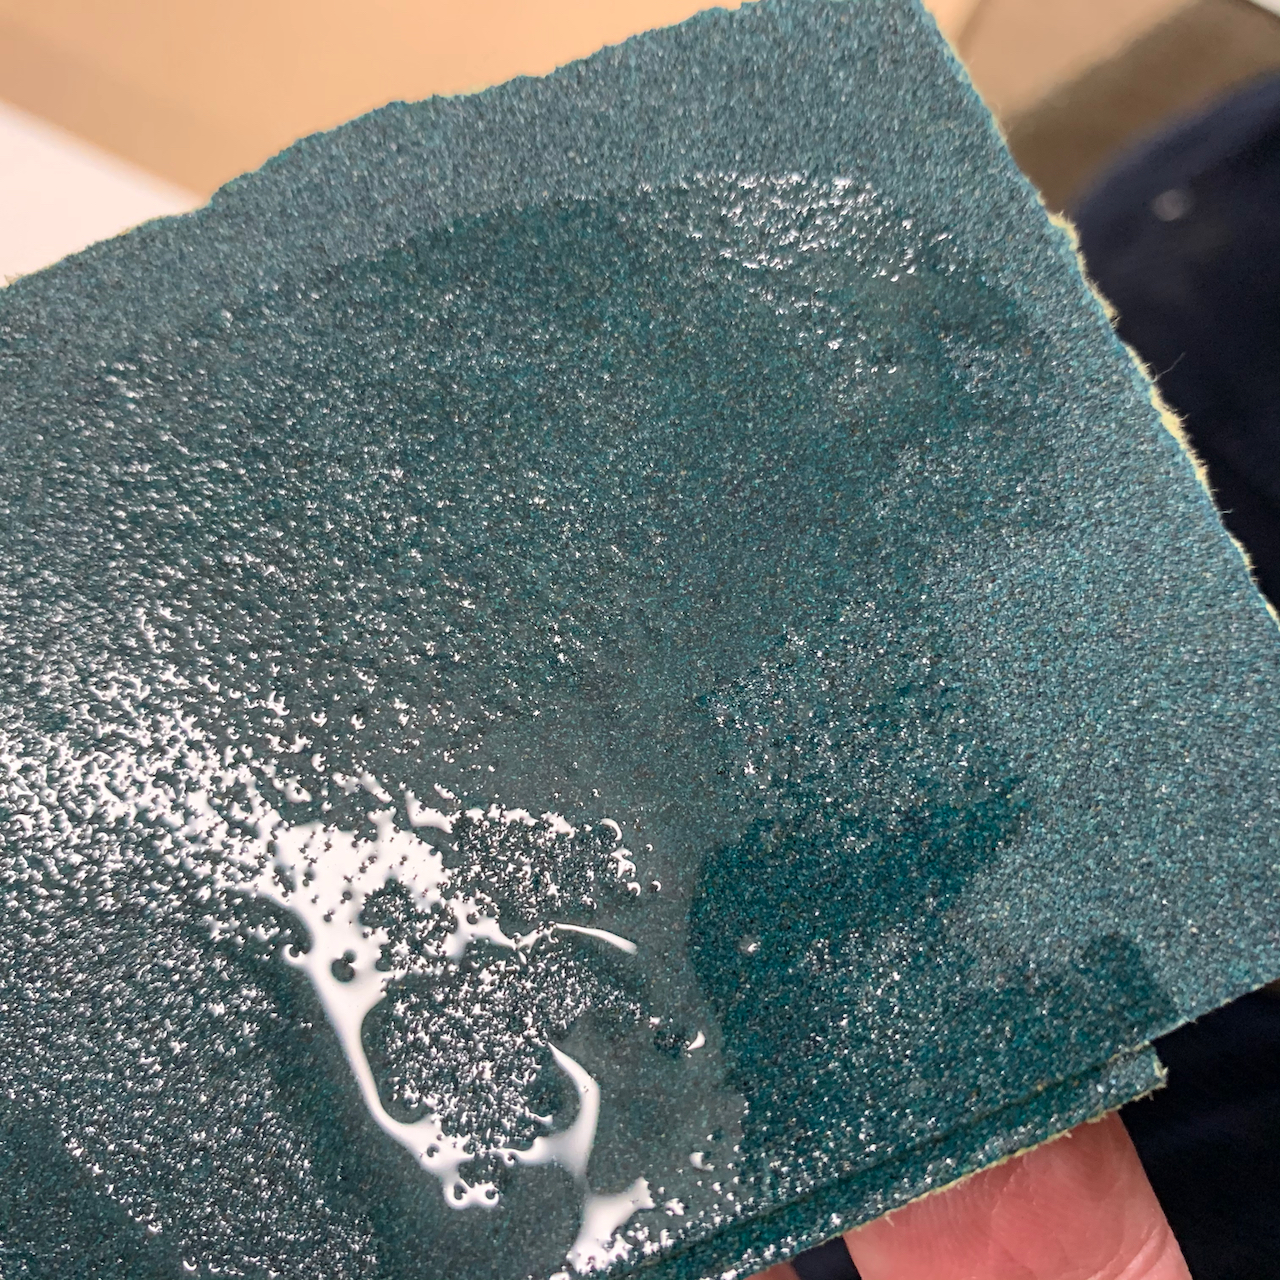
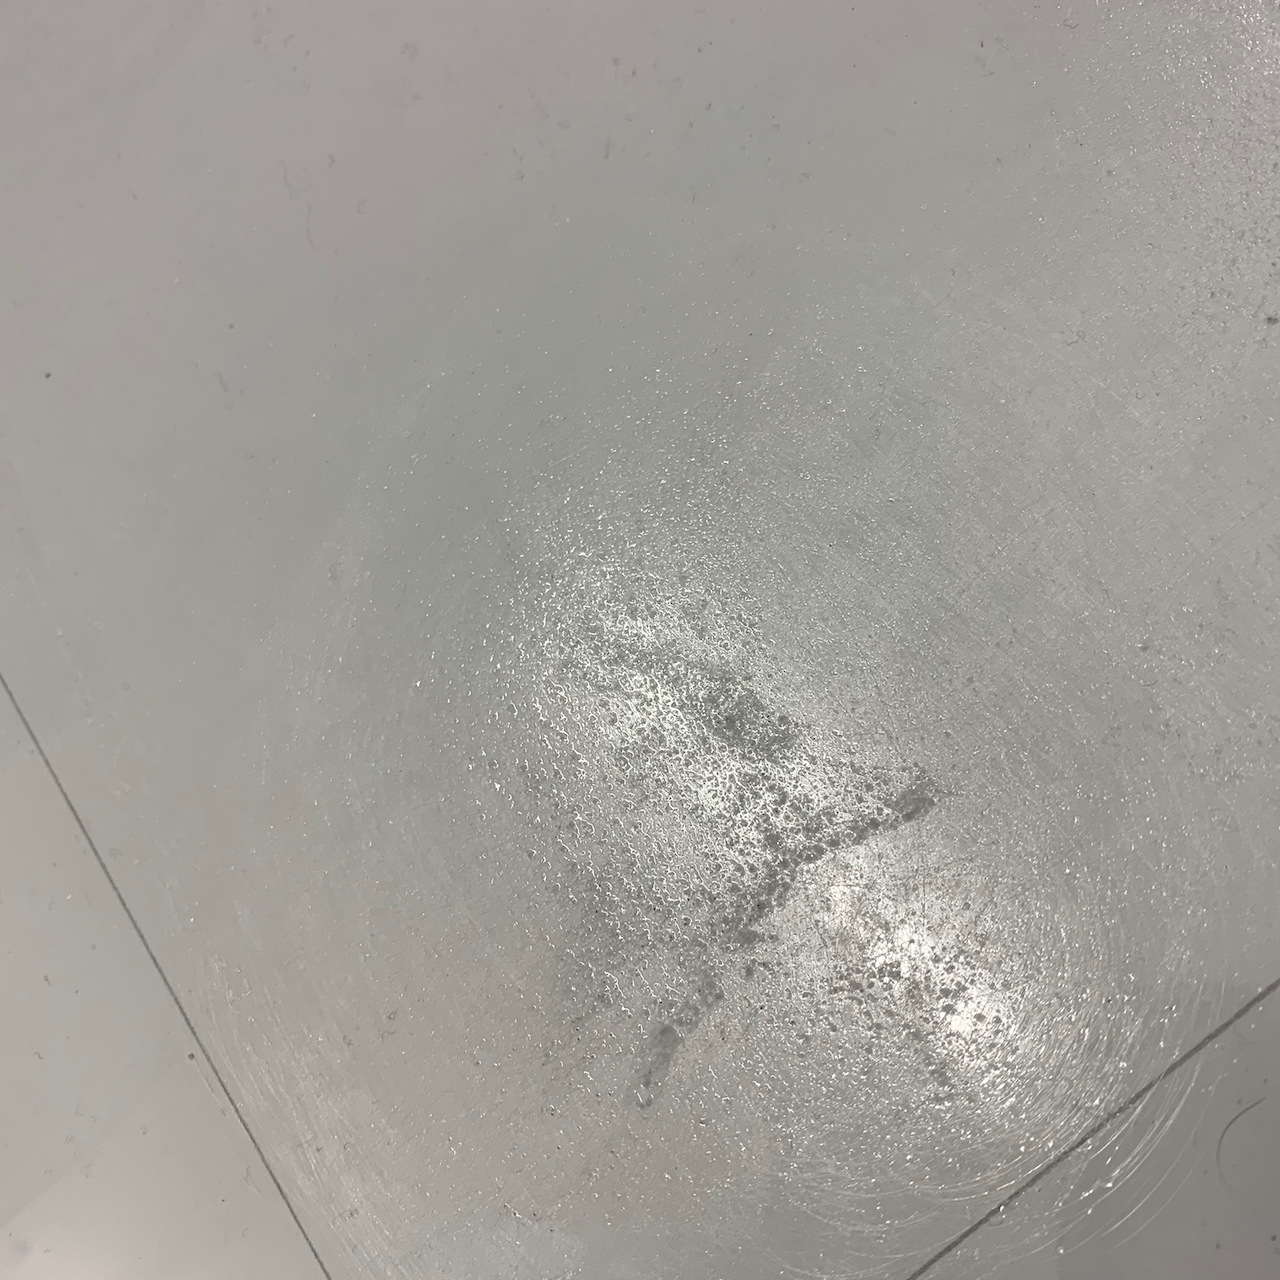
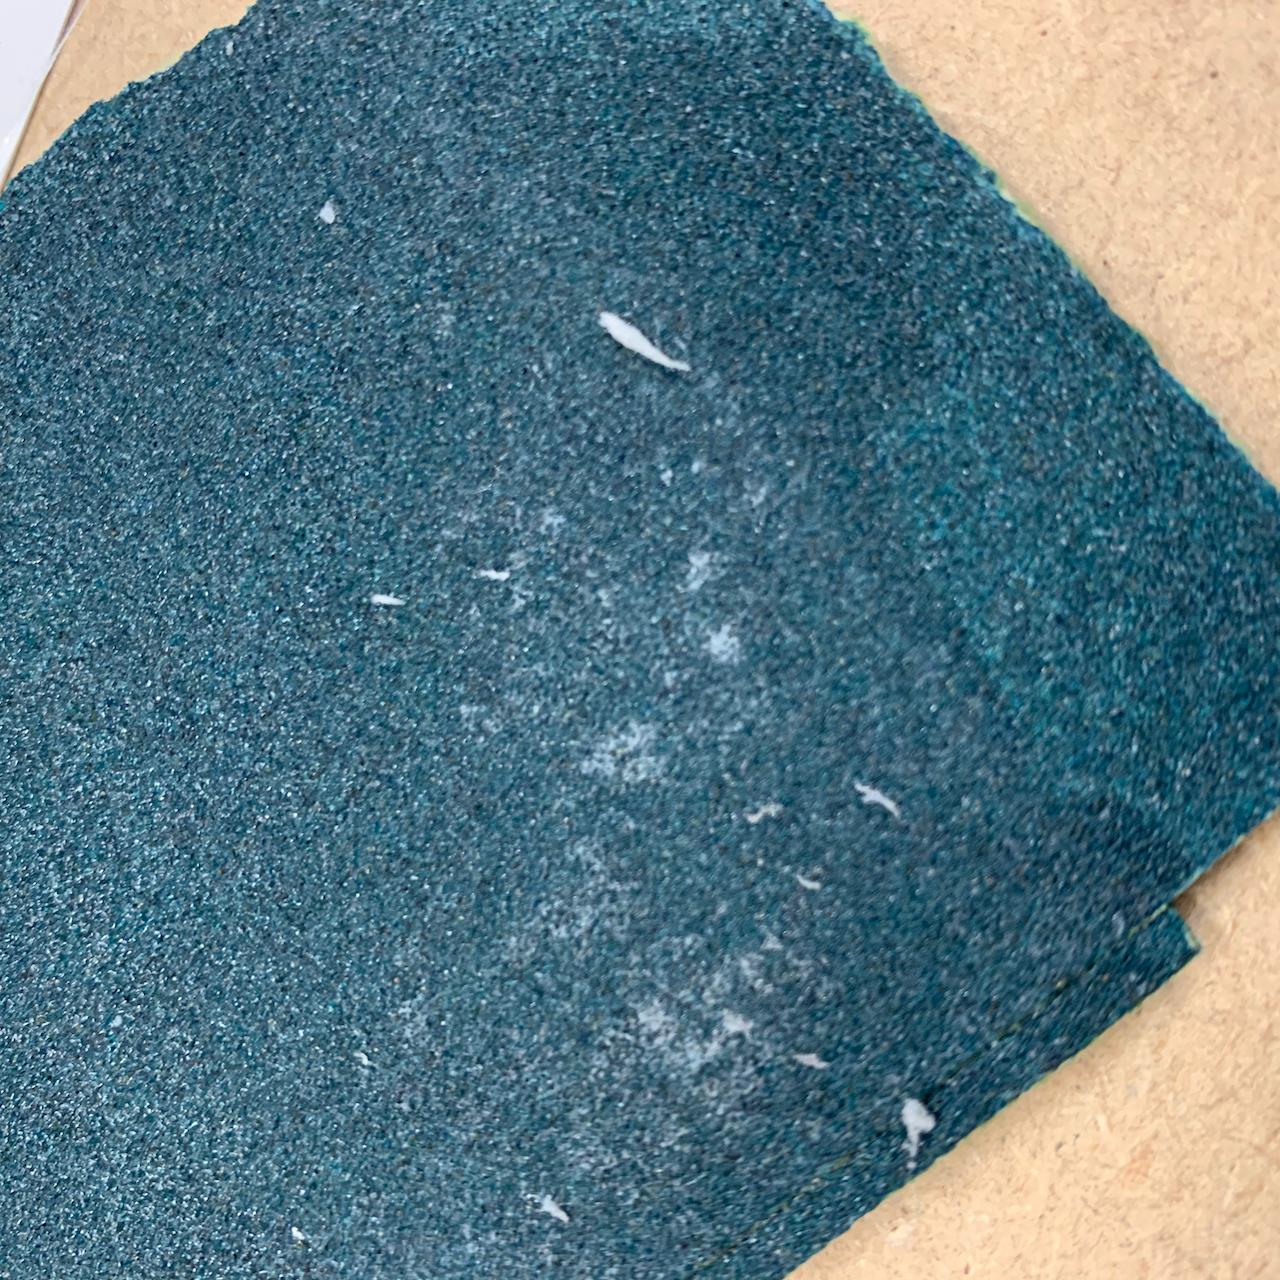
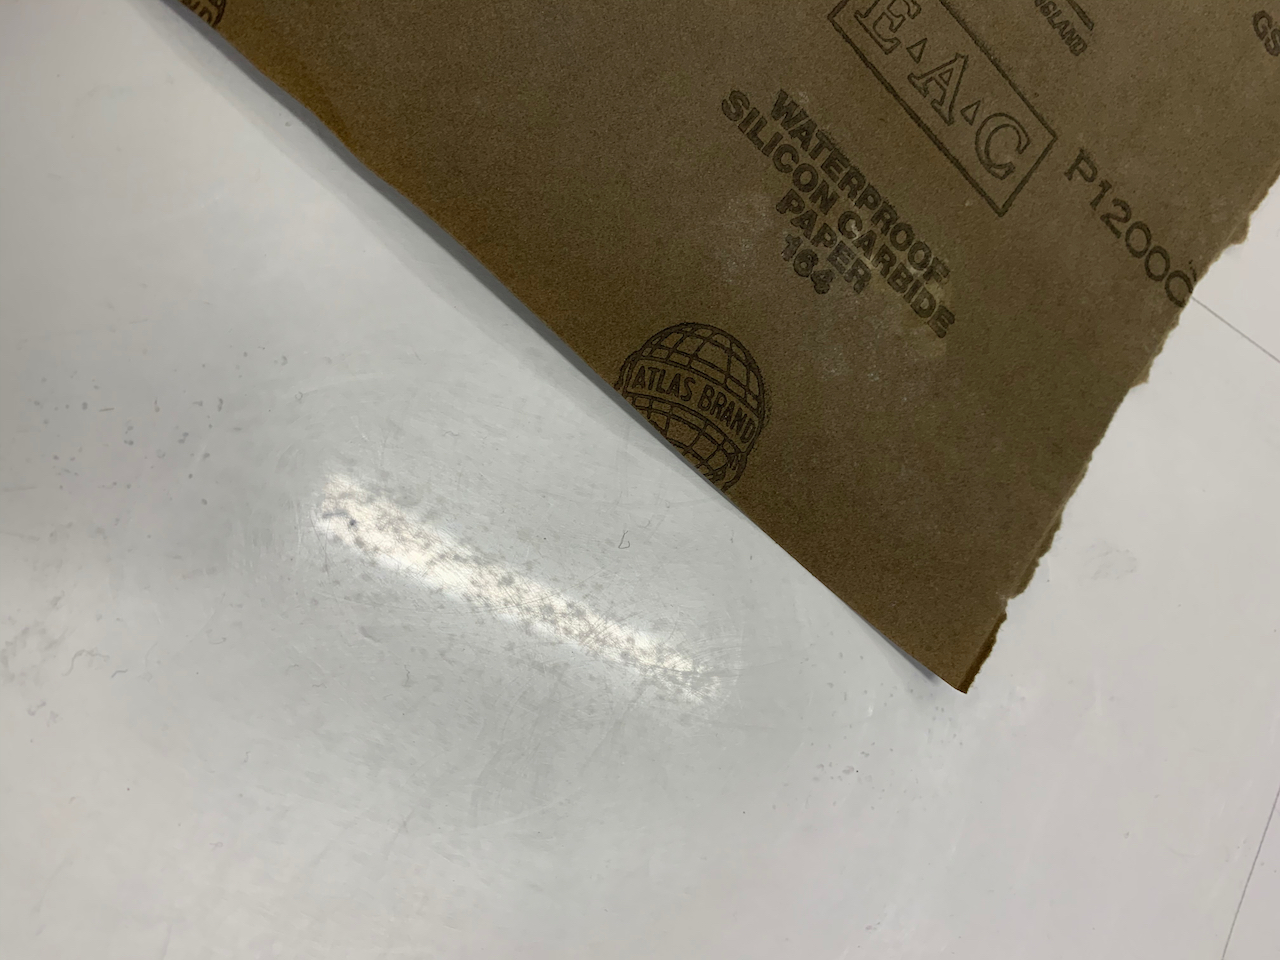
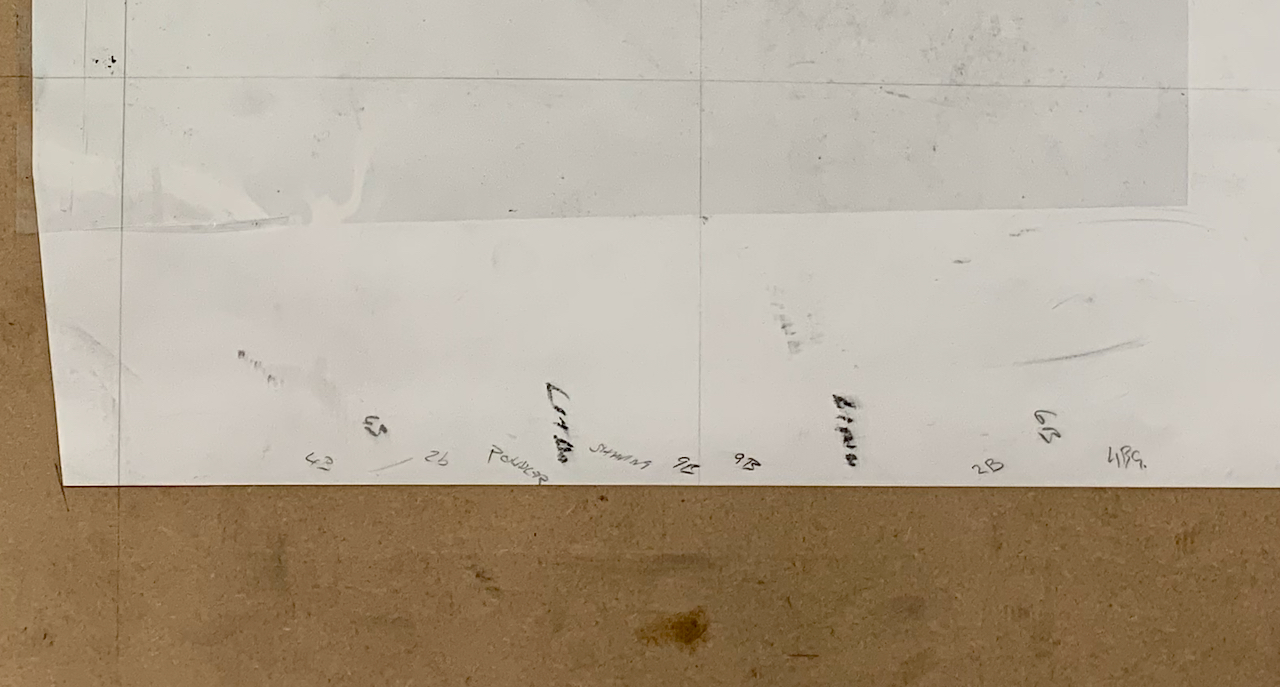
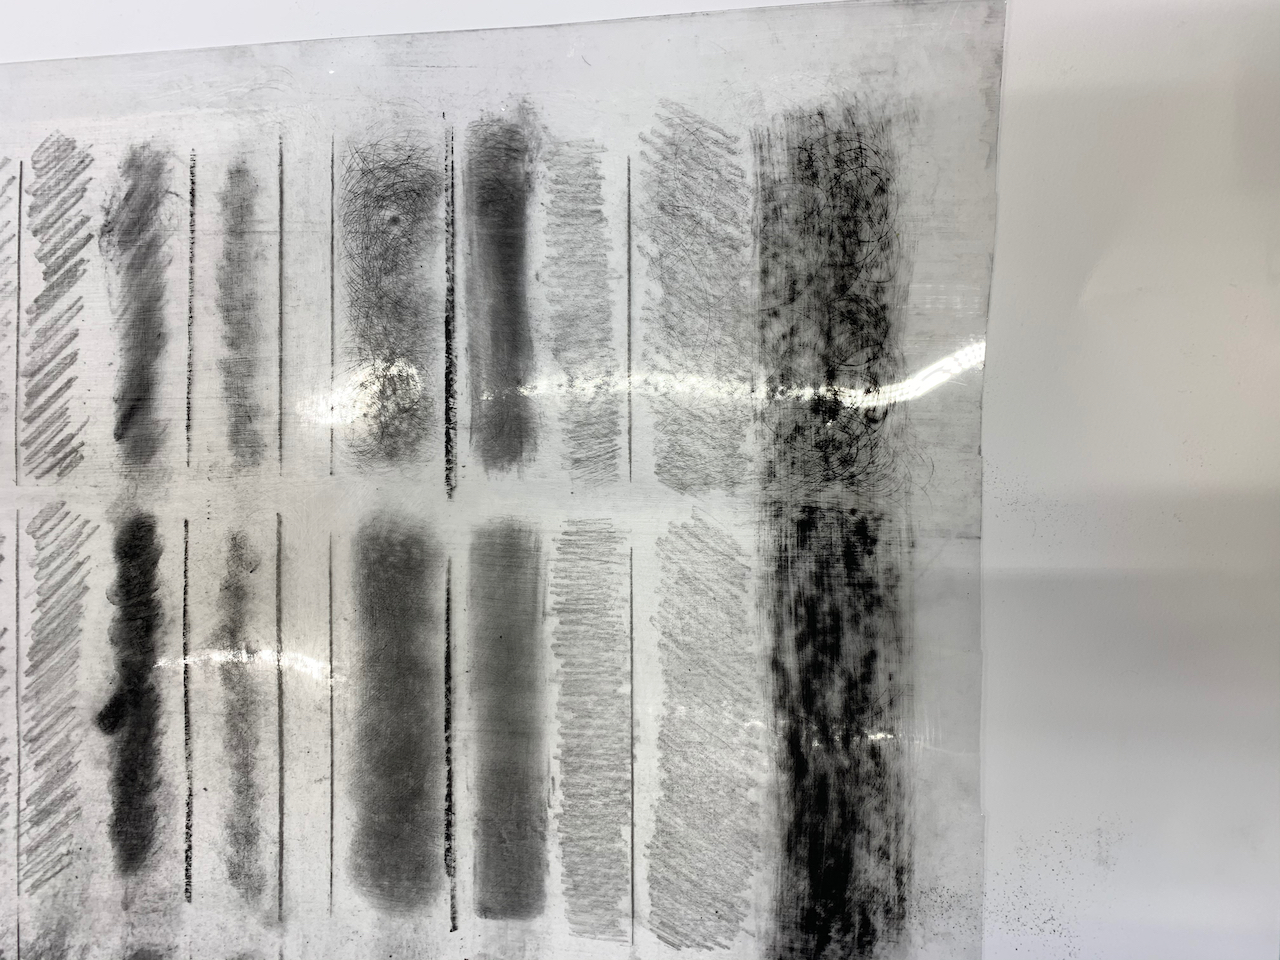
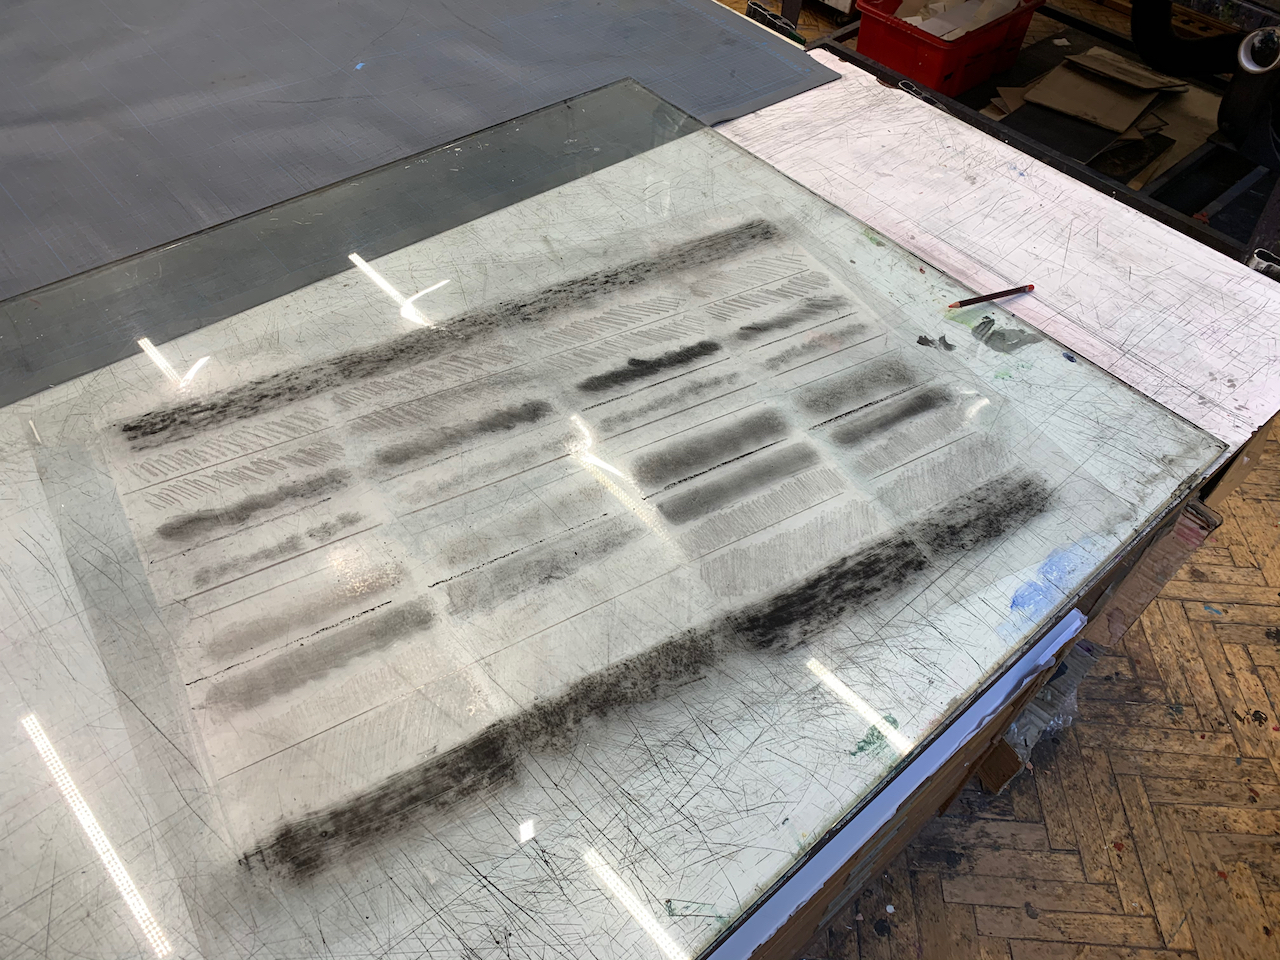
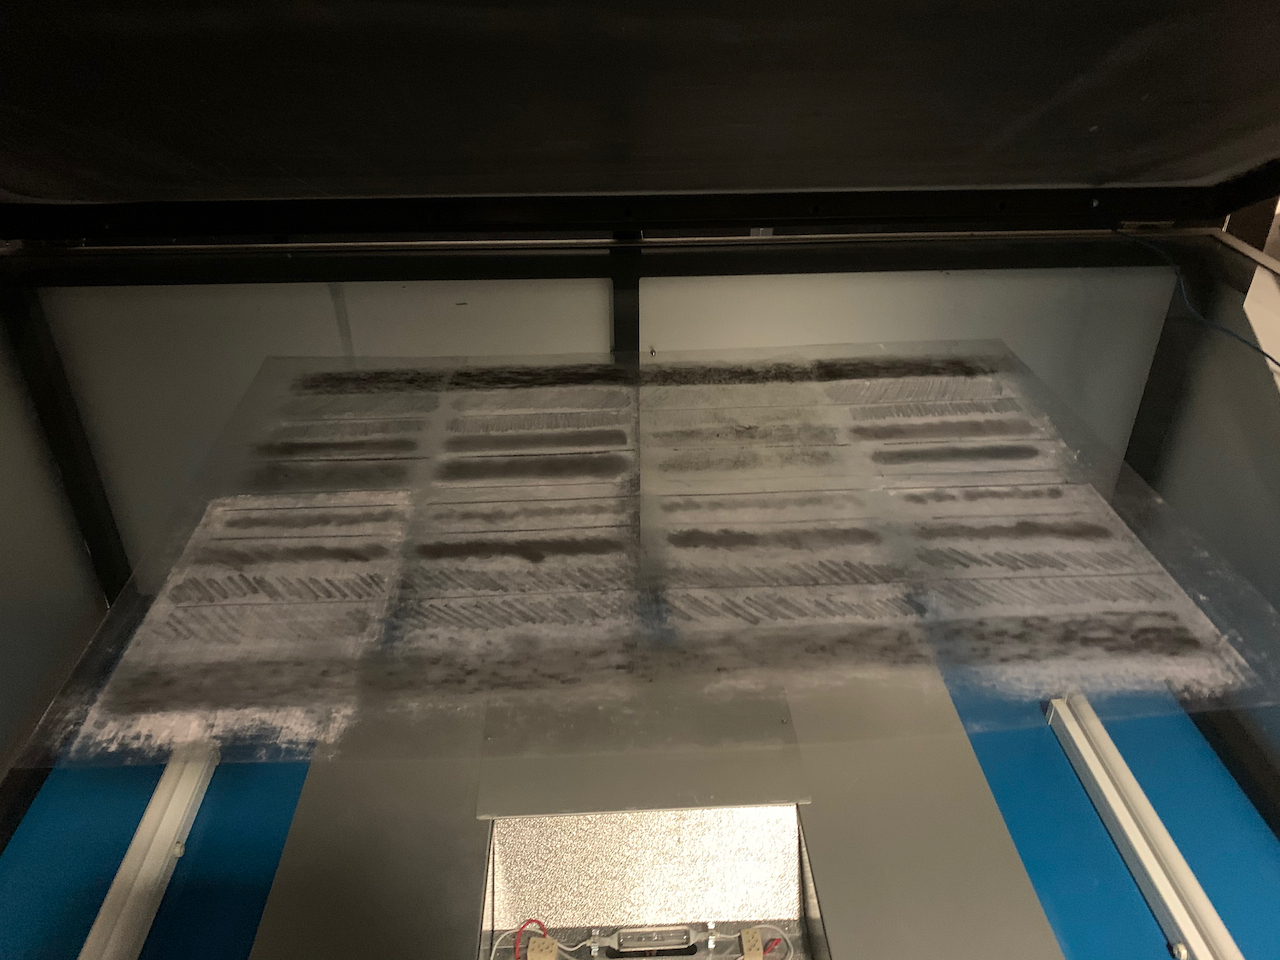
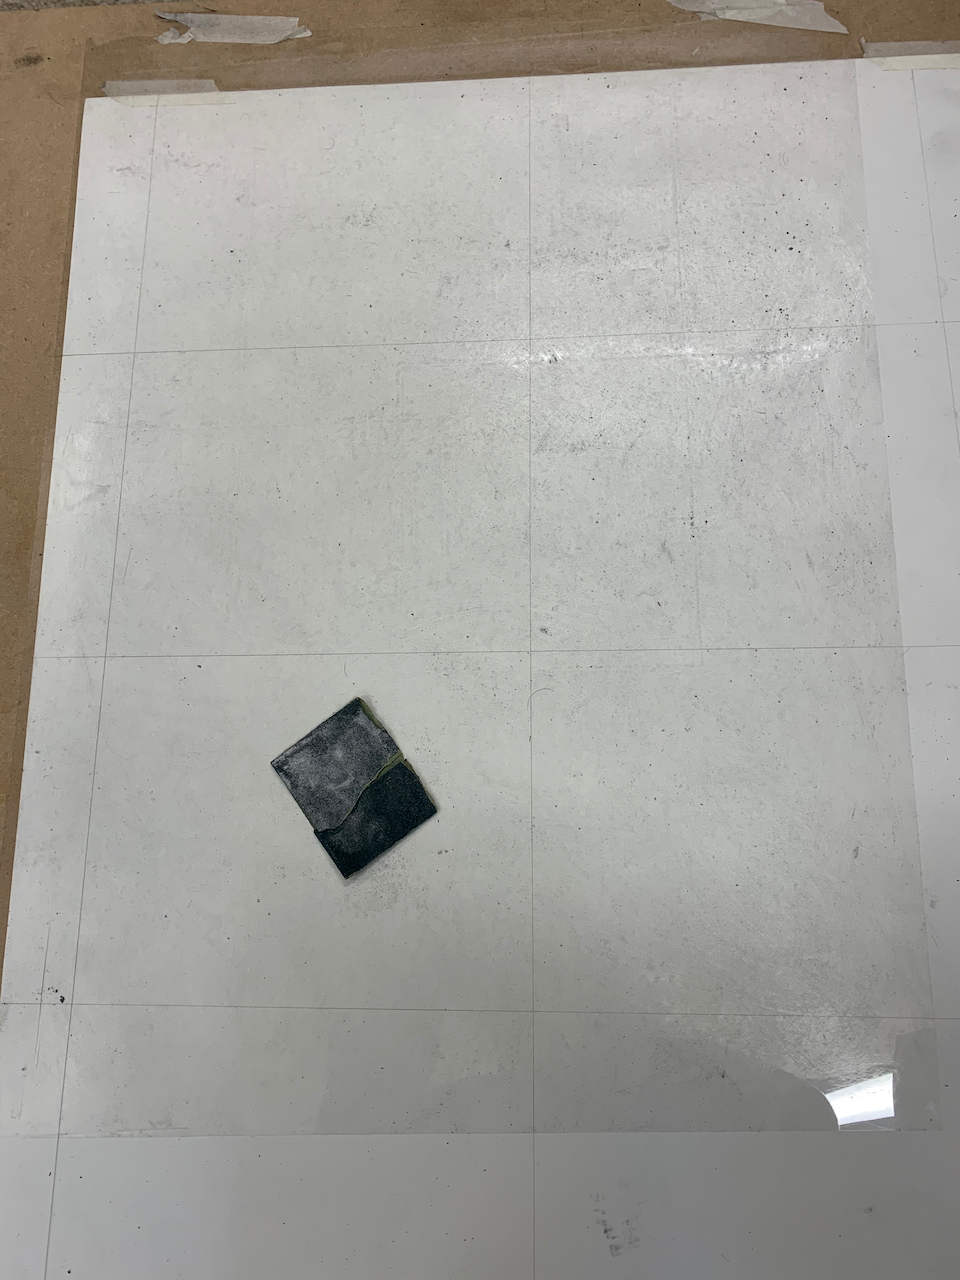
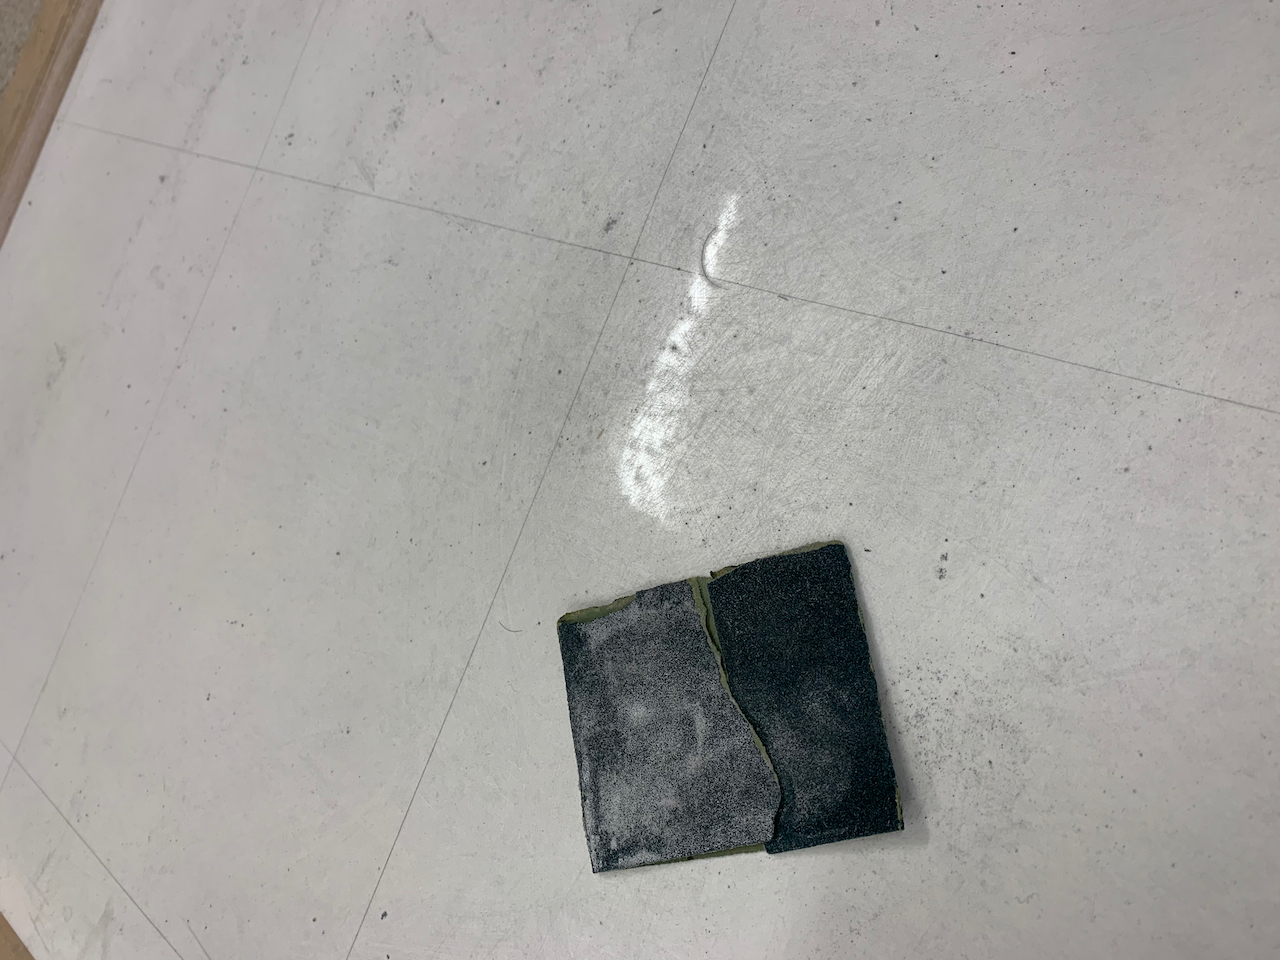
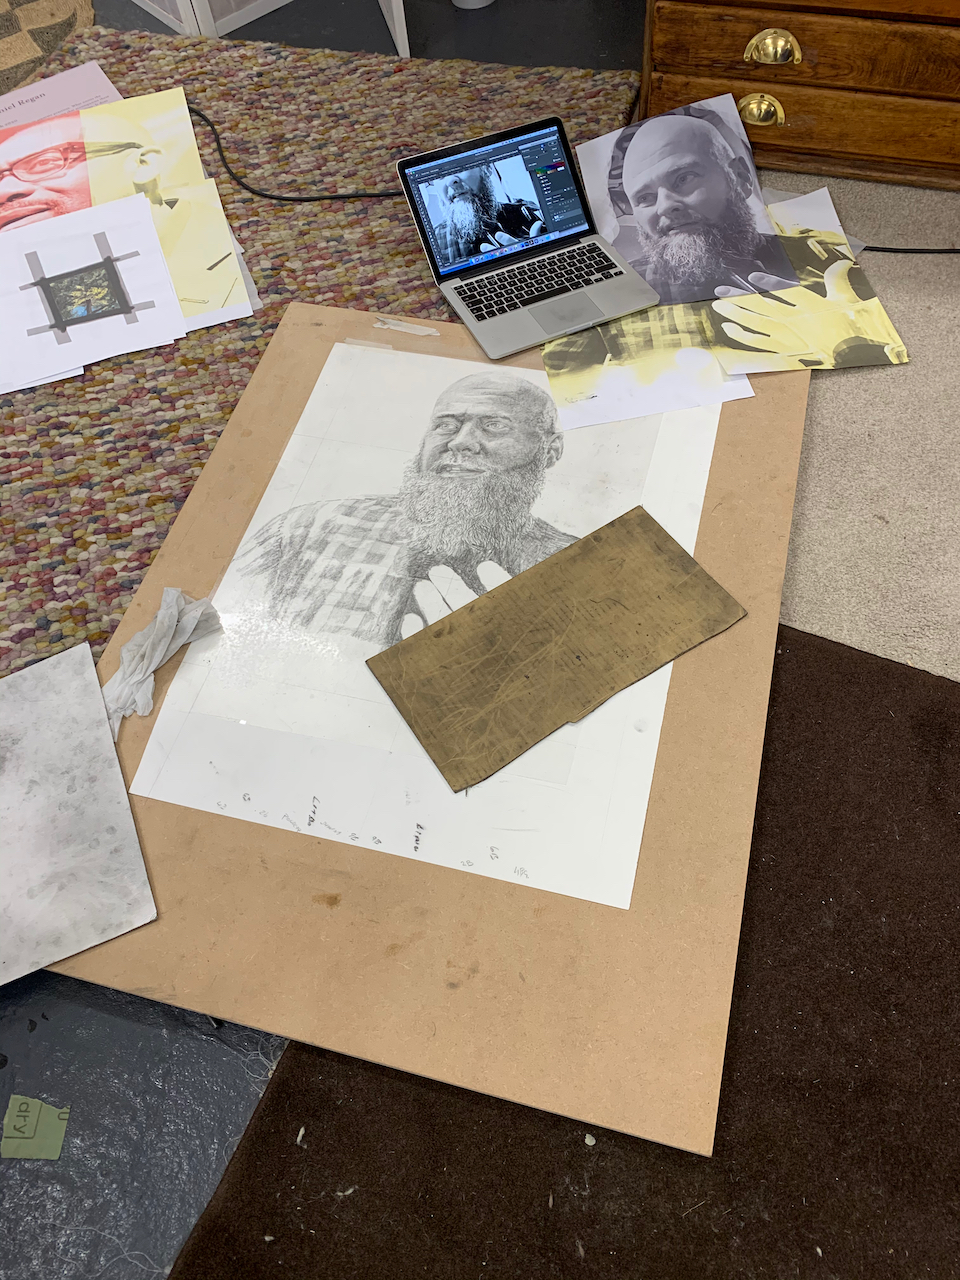
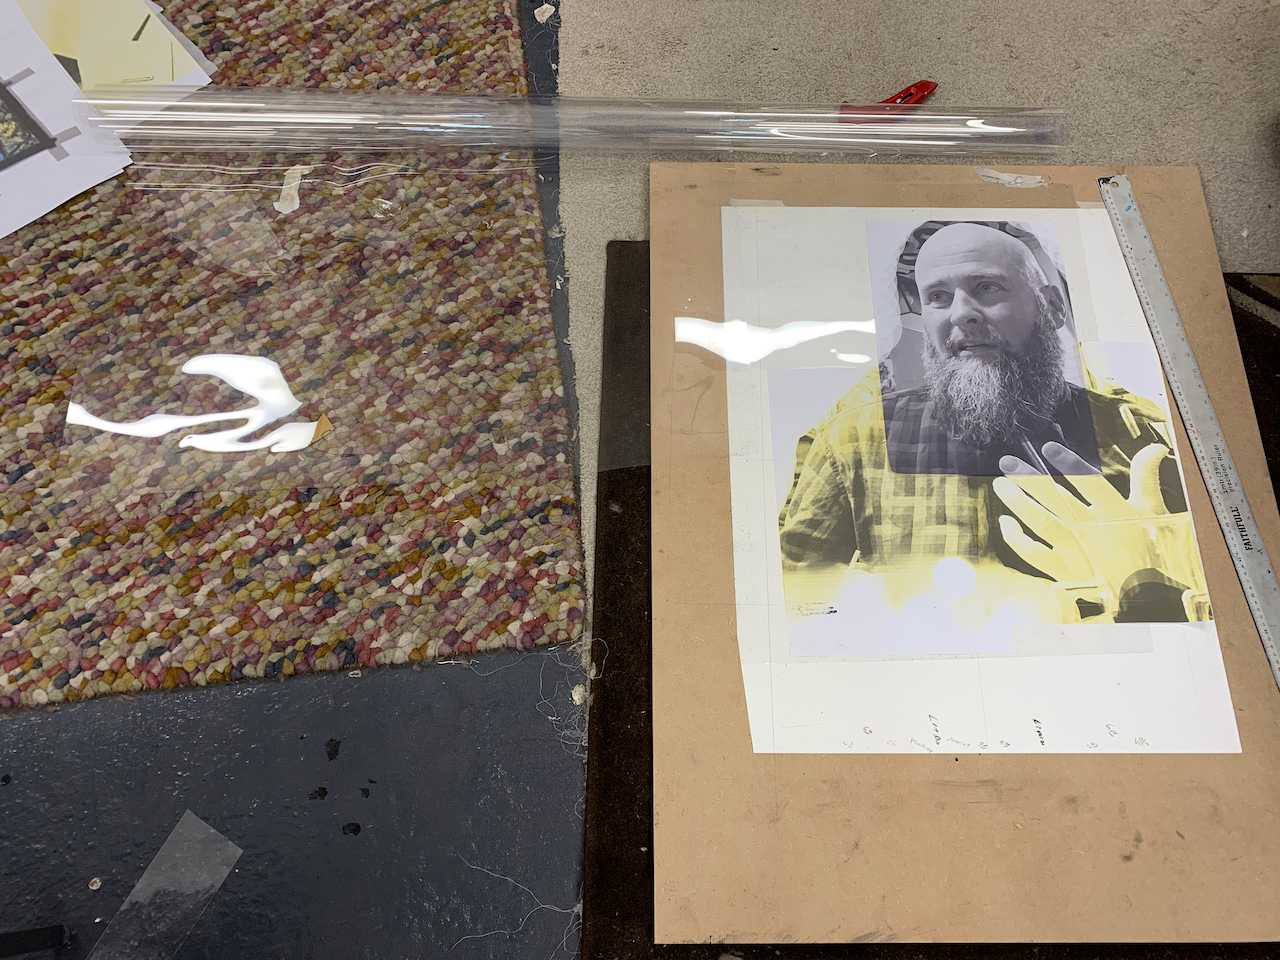
A length of melinex transparent film was cut to cover an A1 sheet of paper that had been split into eight equal rectangles by drawn lines. The bottom of each quarter was sanded with one of four sandpaper grades: No 120, No 80, No 320 and Fine Wet and dry. The top of each quarter was then sanded with the same paper, but with water so a wet and dry texture would be created and compared next to each other. Once dry, a series of marks were made equally on the length of film. Carbon stick, 4B graphite stick, 2B lead pencil, Carbon Powder, Lead shavings, Litho stick and 9B lead pencil were used.

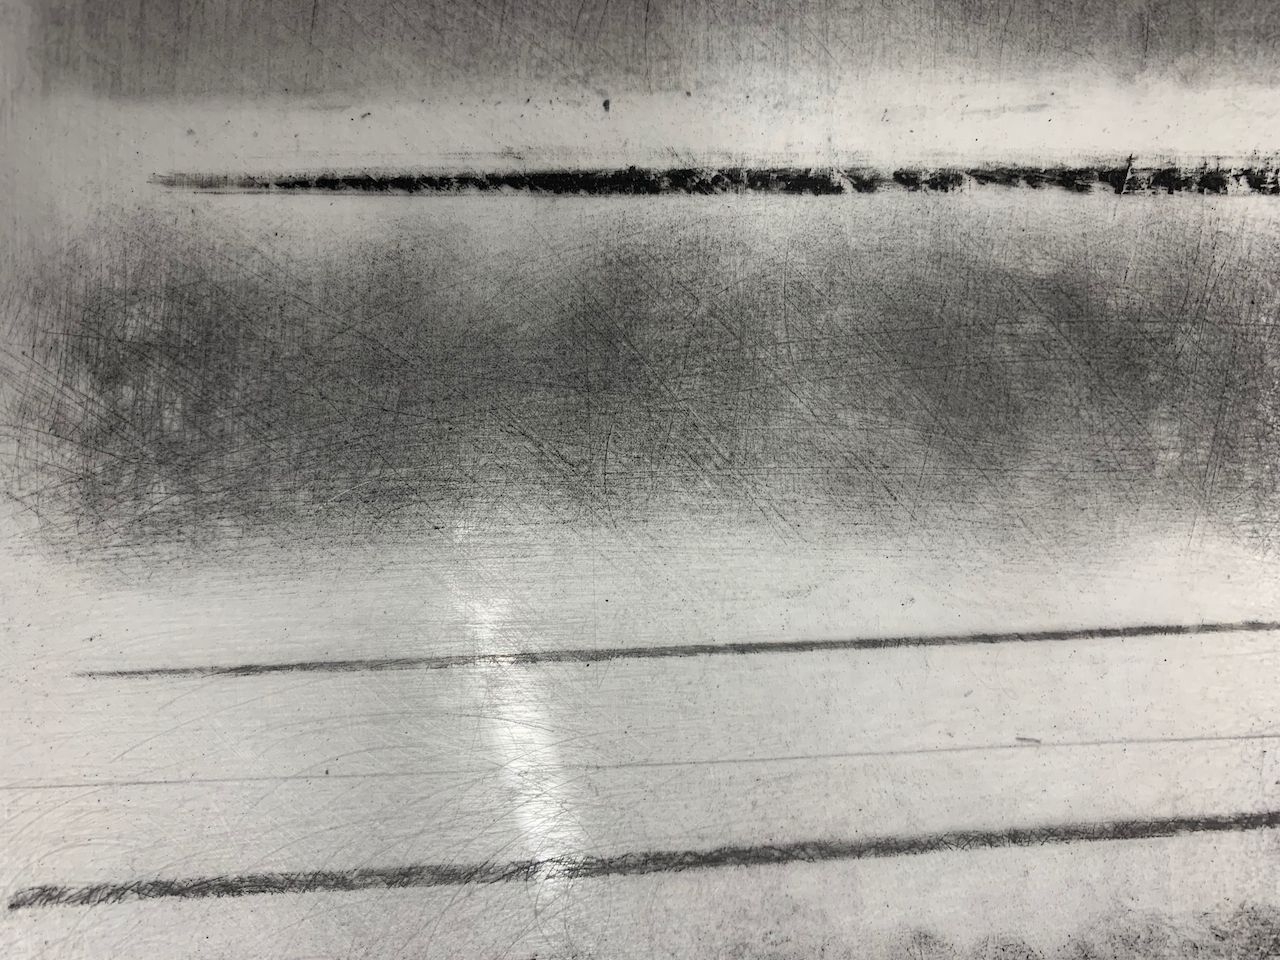
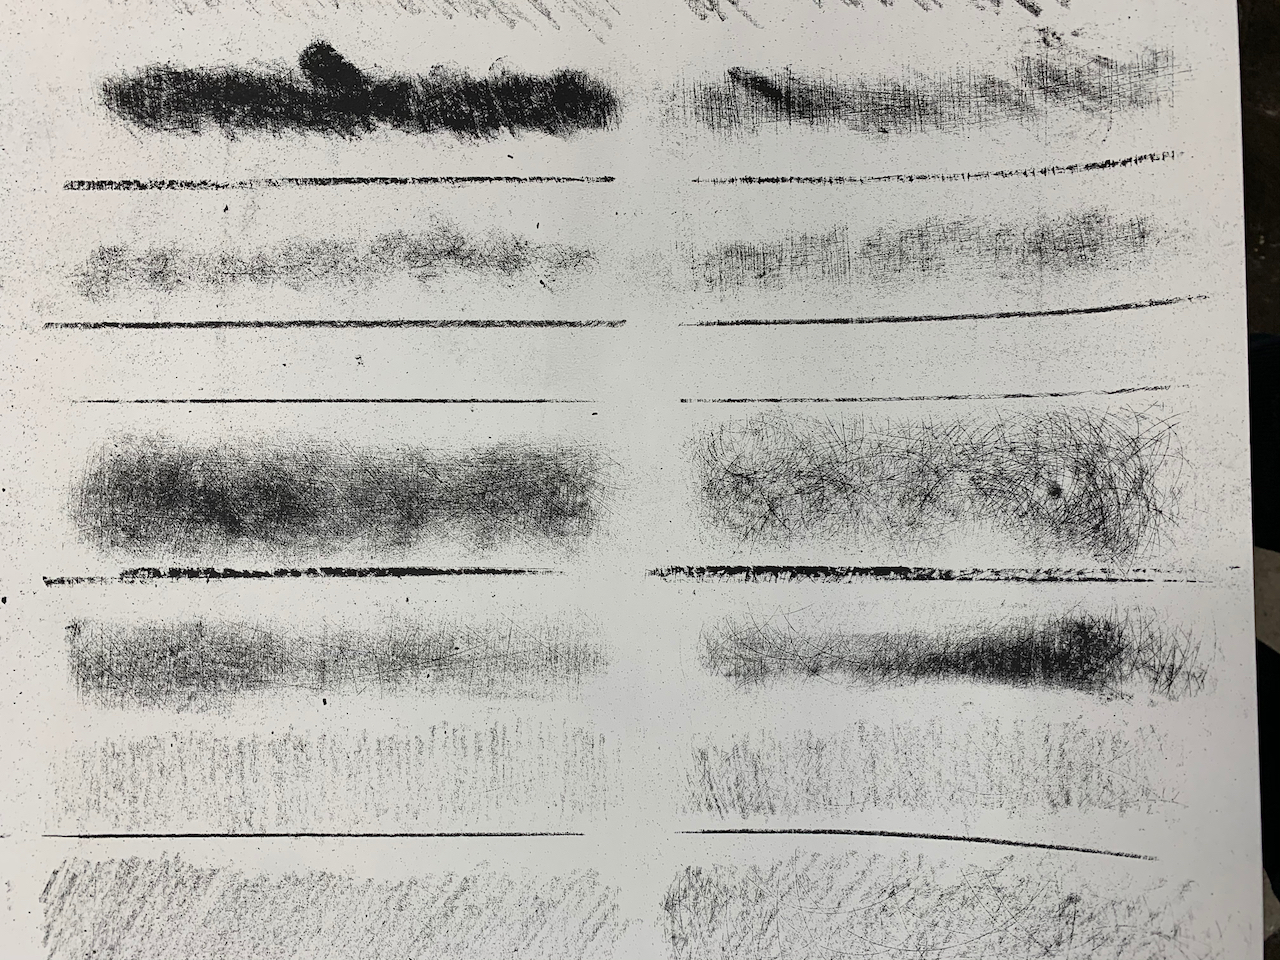
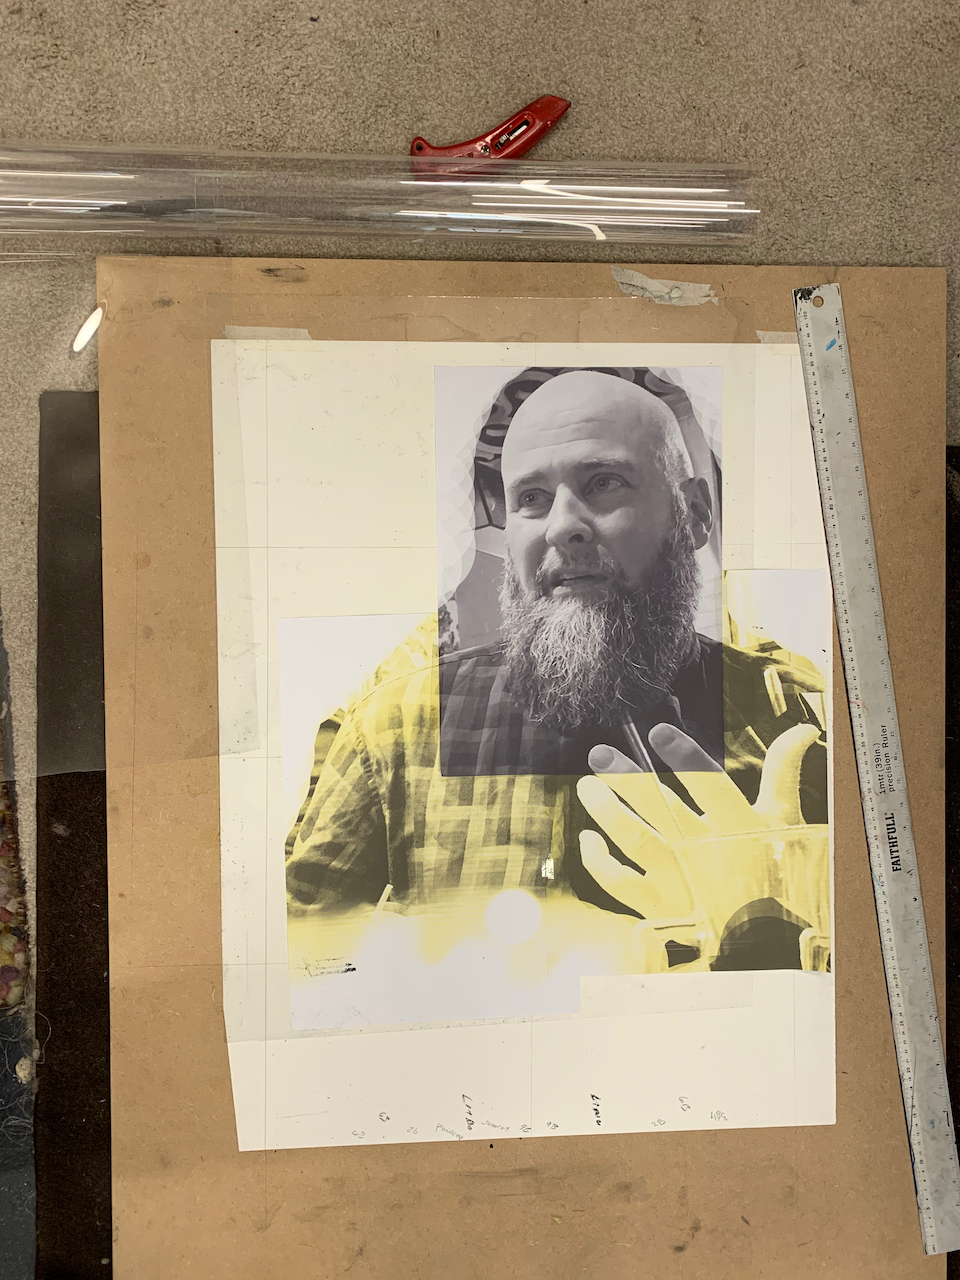
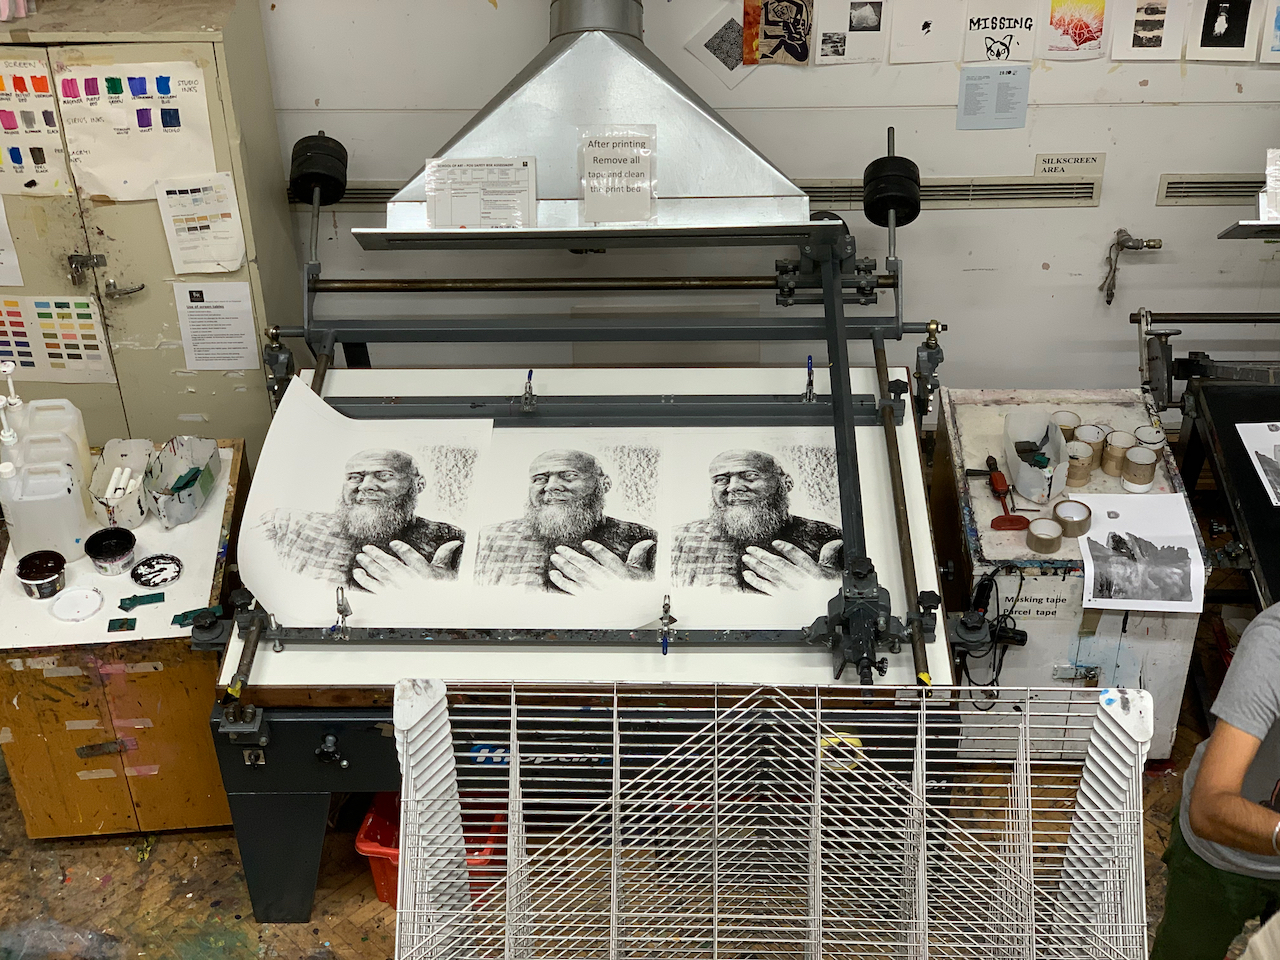
The positive was exposed onto a 165 mesh silk screen for 10 light units. The washed out screen revealed that the test information across the marks and media had been held in the screen and could be printed for review. Printing with Mars Black ink mixed with retarder and medium was made by applying 3 pulls and 2 floods to ensure adequate coverage on white cartridge paper. On review the 120 rectangle with the lead shaving rubbing was selected to make a full A1 test drawing. This area had preserved a range of sanded abrasion from thin, but deep circular scratches though scrapes, skims and scuffs. To achieve this for a full size drawing the whole sheet was sanded with circular, horizontal and vertical motions. As the sanded marks were made, they were observed and preserved to keep the scratch motion marks, without being over-sanded with the result of flattening the abrasions. Over sanding would leave the pockets of sand scratches for the graphite to be retained in and therefore occlude the exposure light reaching the screen emulsion. The drawing was begun with a sharpened 9B graphite pencil.
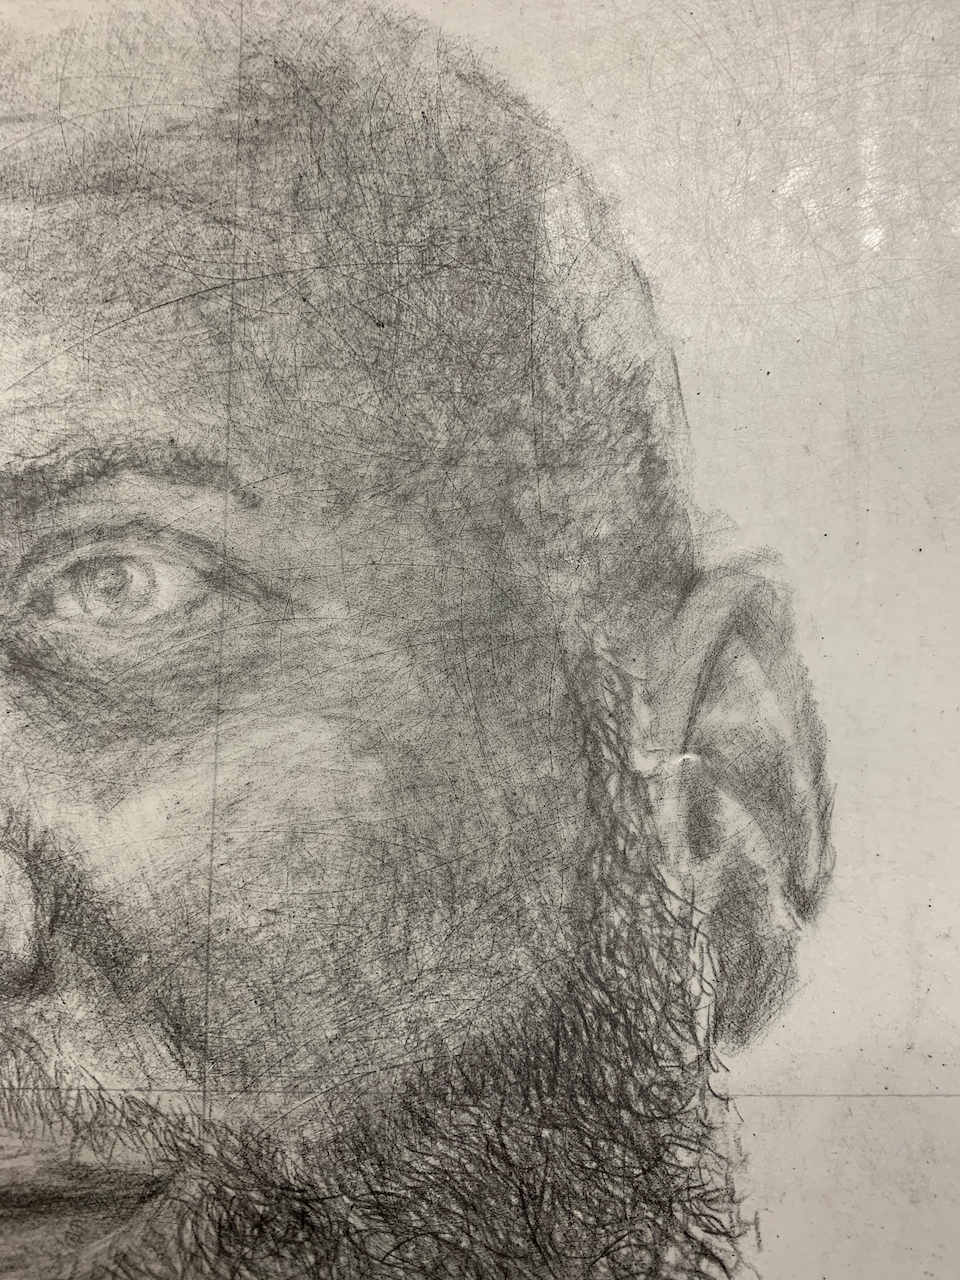
Drawing with graphite stick on the hand sanded surface develops a different physical response than on the manufactured tooth/texture of mark resist. It is very sensitive as the sanded surface has an abrasion rather than a smooth tooth. The graphite not only takes hold in the surface, but gathers into small deep black clumps / crumbs of graphite that have to be blown away, lest they create unplanned marks or spots. The graphite was built up application by application taking care to preserve the sanded rough, smooth, fine and grained textures rather than obliterate them. This was particularly important in the highlight areas, whereas in the shadows the pencil could be applied with more pressure to create levels of dark upon darkness without the substate textures being maintained.


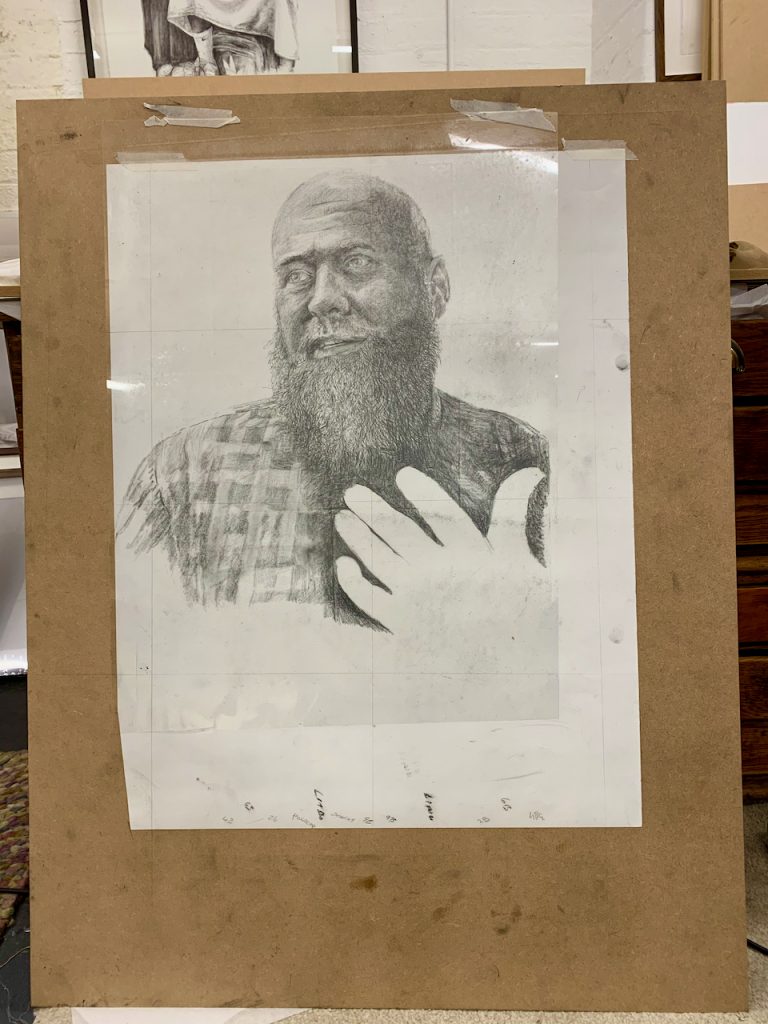
Further pre print considerations: the textures of the lead pencil shaving rubbed into the sanded surface could be applied to create abstract surrounds to the figure. This would offer the viewer insight into the material process involved in the making of the image.
A radical, not figurative, test could be embarked upon: sand an A1 sheet of film with selected paper and use carbon powder or stick to make a single expressive drawn gesture held in the surface and perhaps titivated to reveal, on close inspection, the material surface.
Further drawing on drawing. Adding graphite to enhance modelling, but also giving clarity of sanding scratch marks.


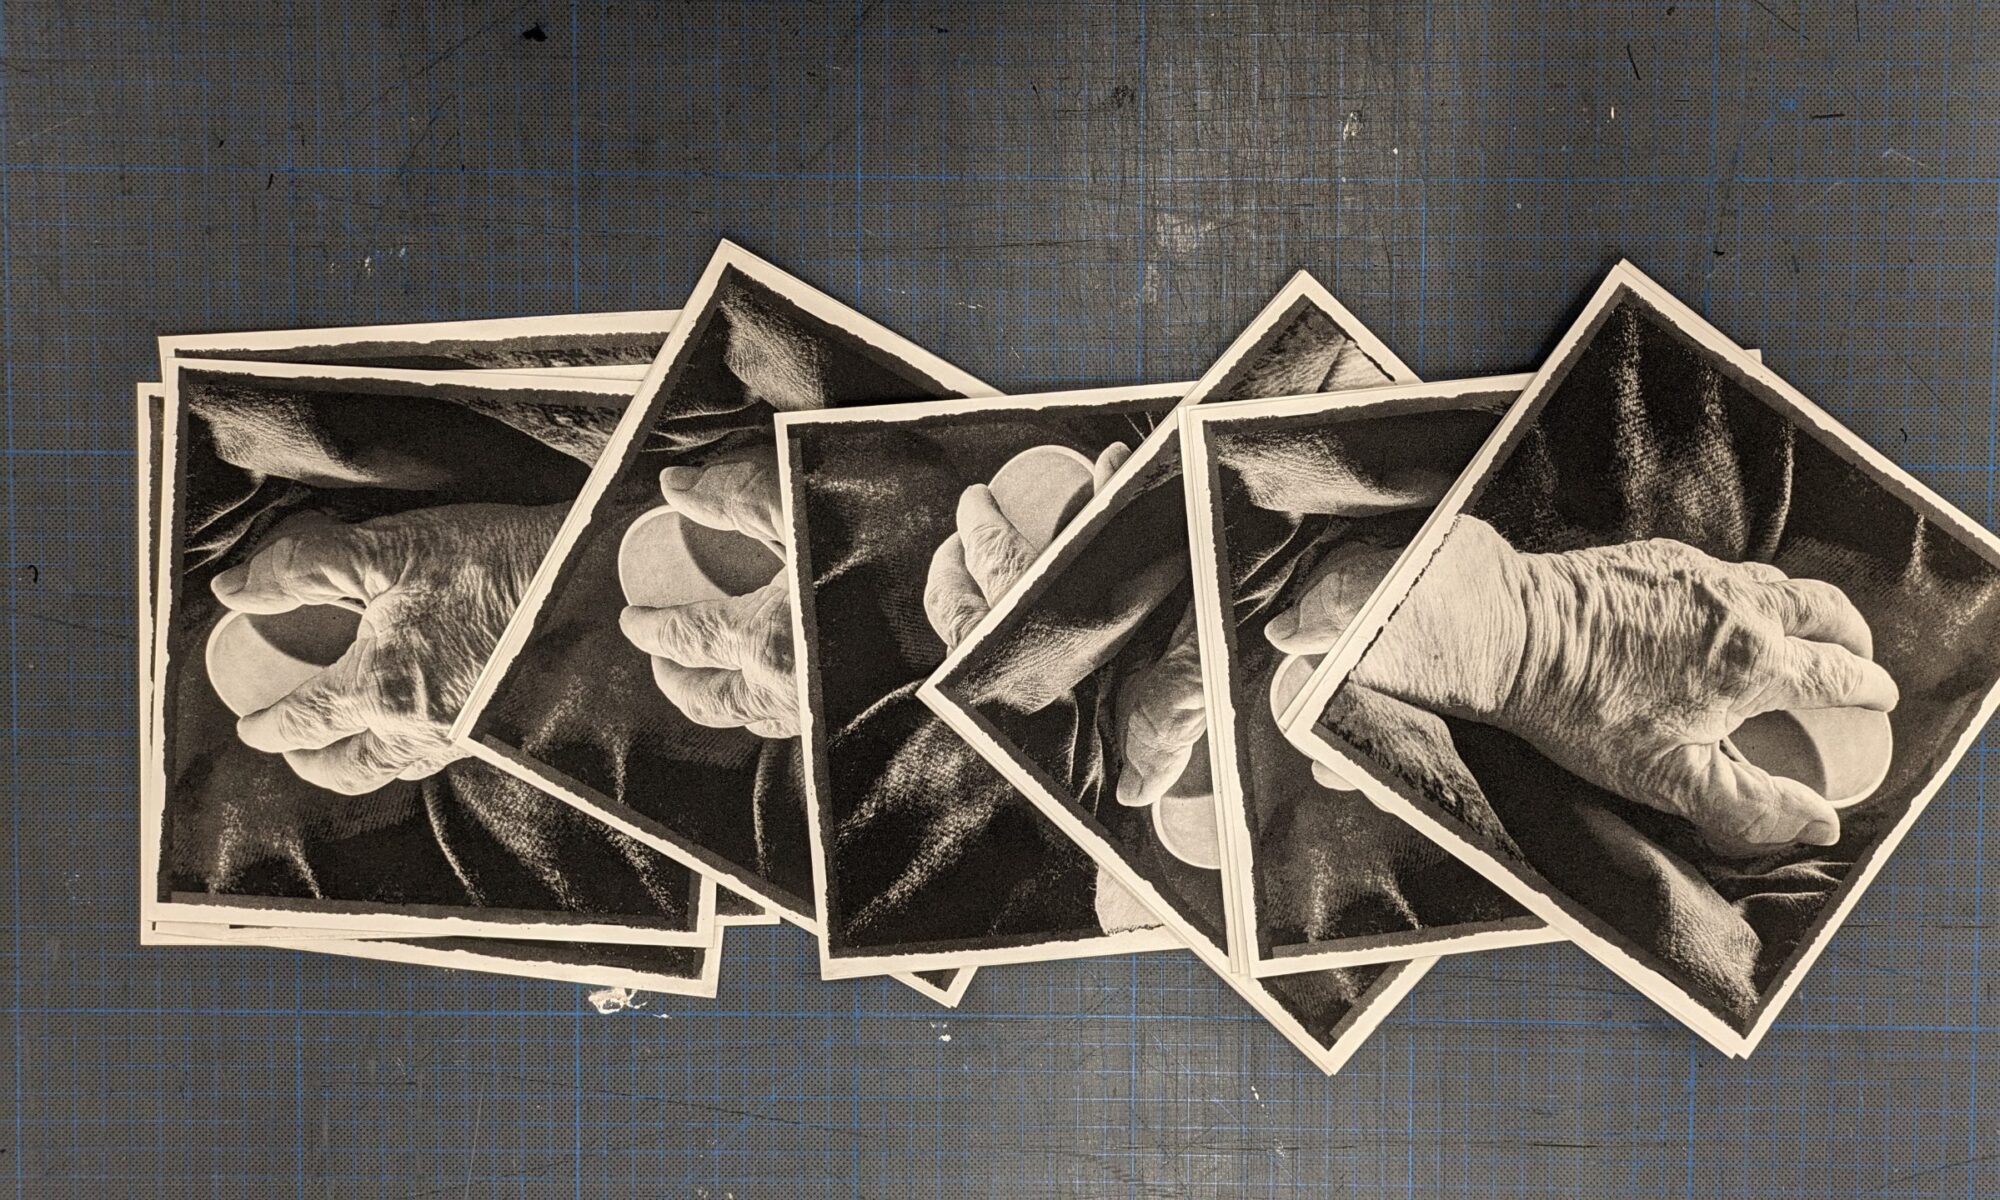
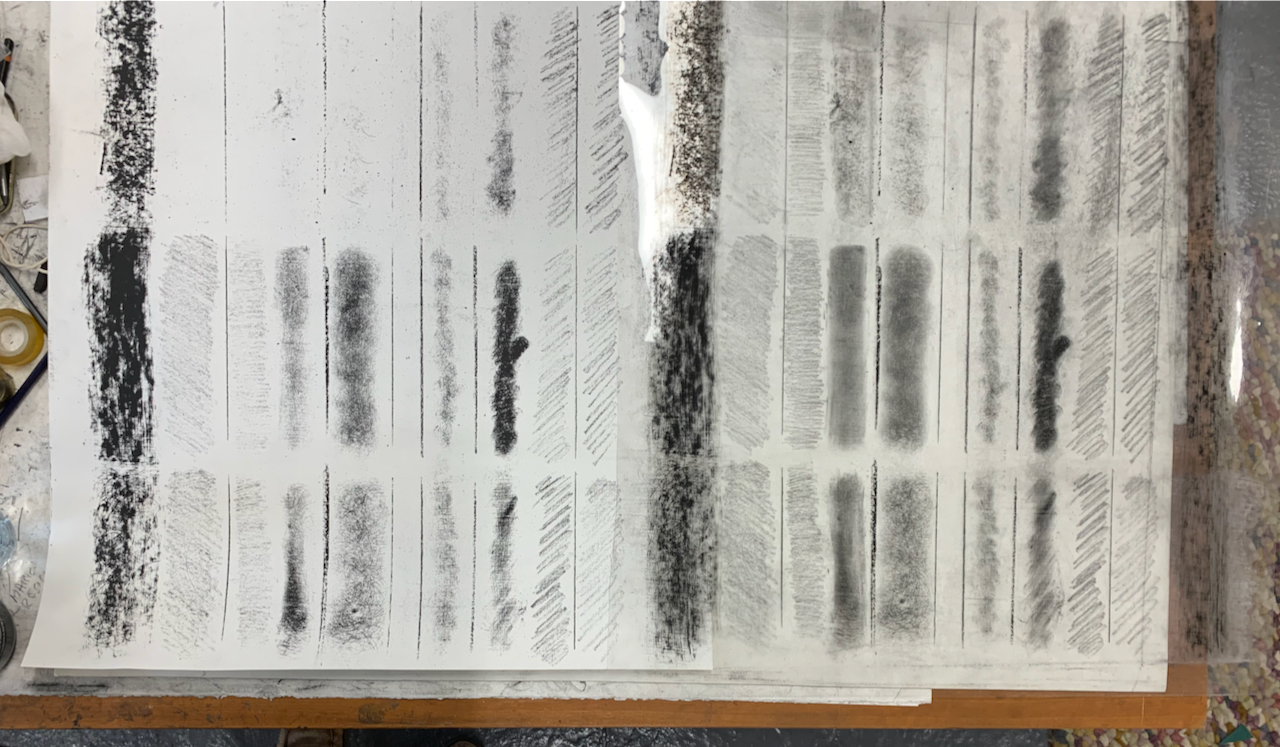
Prints on Cartidge, Canaletto and Fabriano papers were made to review the silkscreen printed ink marks in comparison with the drawn positive. There is always a difference between the two. The drawn image has a wider tonal range and the printed marks have more contrast. This borne of the nature of the silk screen mesh and the breaking down of tone into dots to be held in the mesh. This was the case in reviewing the printed image, however the quality was valuable as the mesh gives tones made of marks similar, but smaller and less uniform than half tone that is used to hold photographic tones in screens. The density of ink on the prints on cartridge were varied by the number of pulls on each print: 3, 4 and 5 pulls, each with 2 floods to charge the screen with ink. The results show corresponding increased ink deposits and therefore higher contrast images.
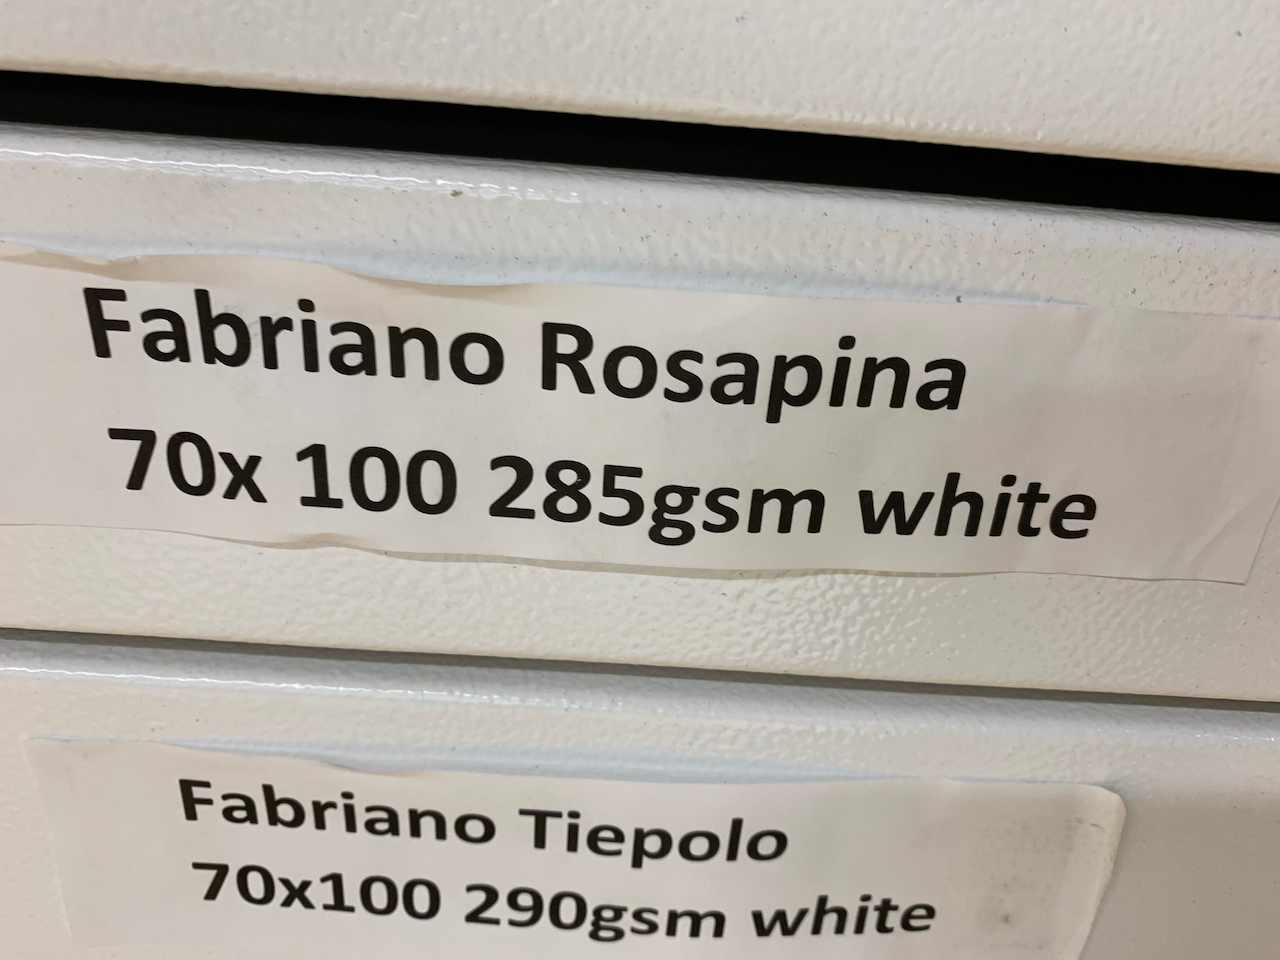
The 300gsm Canaletto paper has a smoother surface and the definition of the silk screened printed ink marks is higher than the courser A1 cartridge. The paper is also larger at 70x100cm and gives more space for the portrait to sit, float be located upon. This is true of the 285gsm Fabriano Rosapina, with is less course than cartridge, but heavier and offers a more substantial substrate.
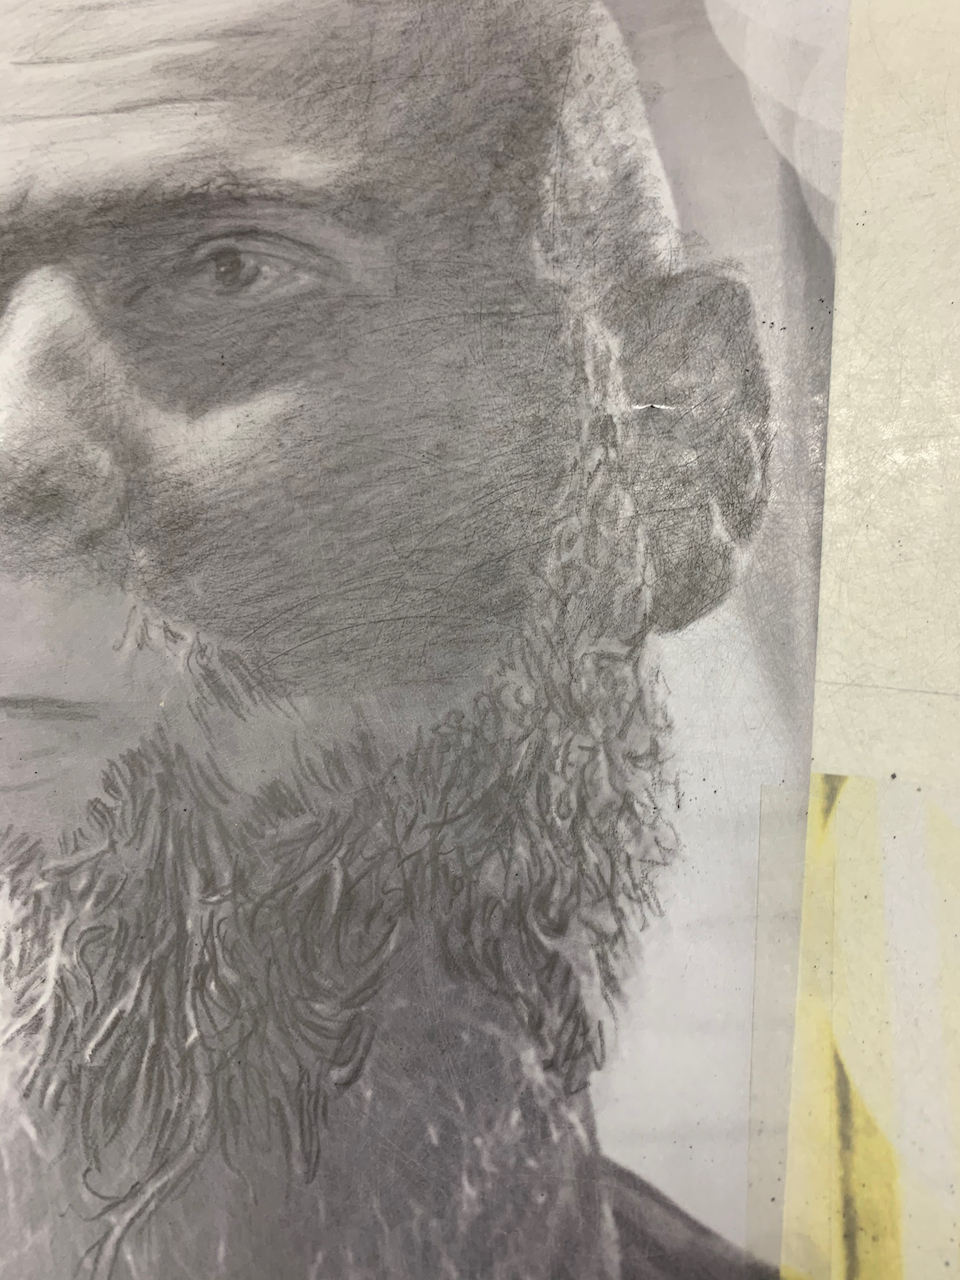
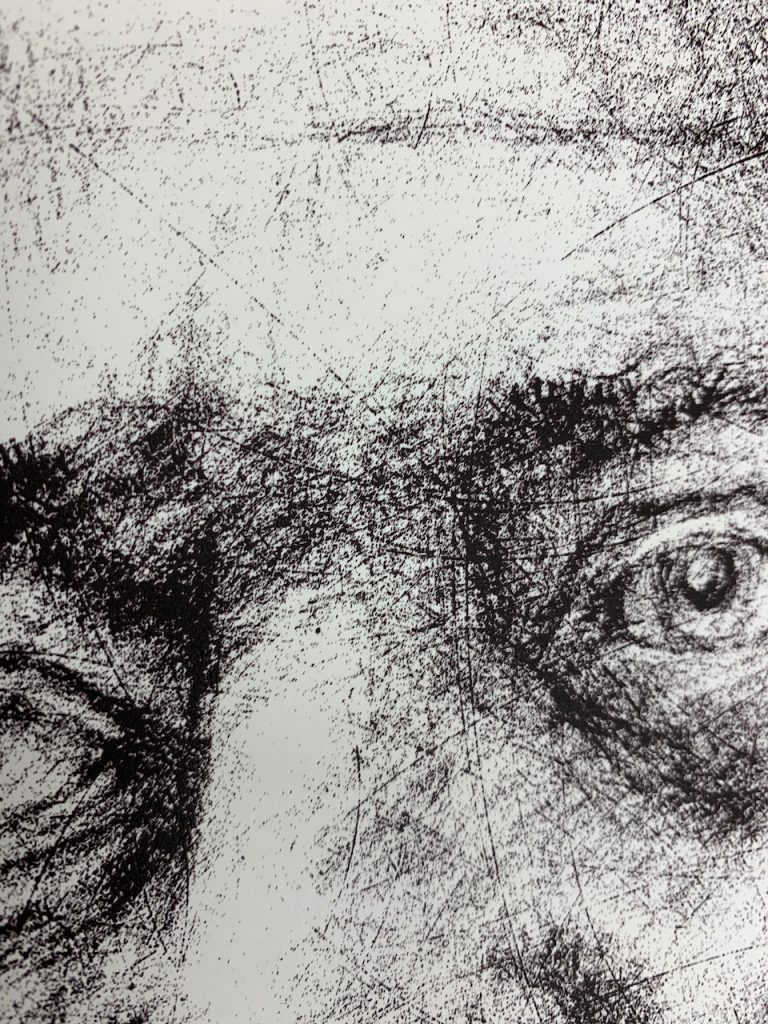
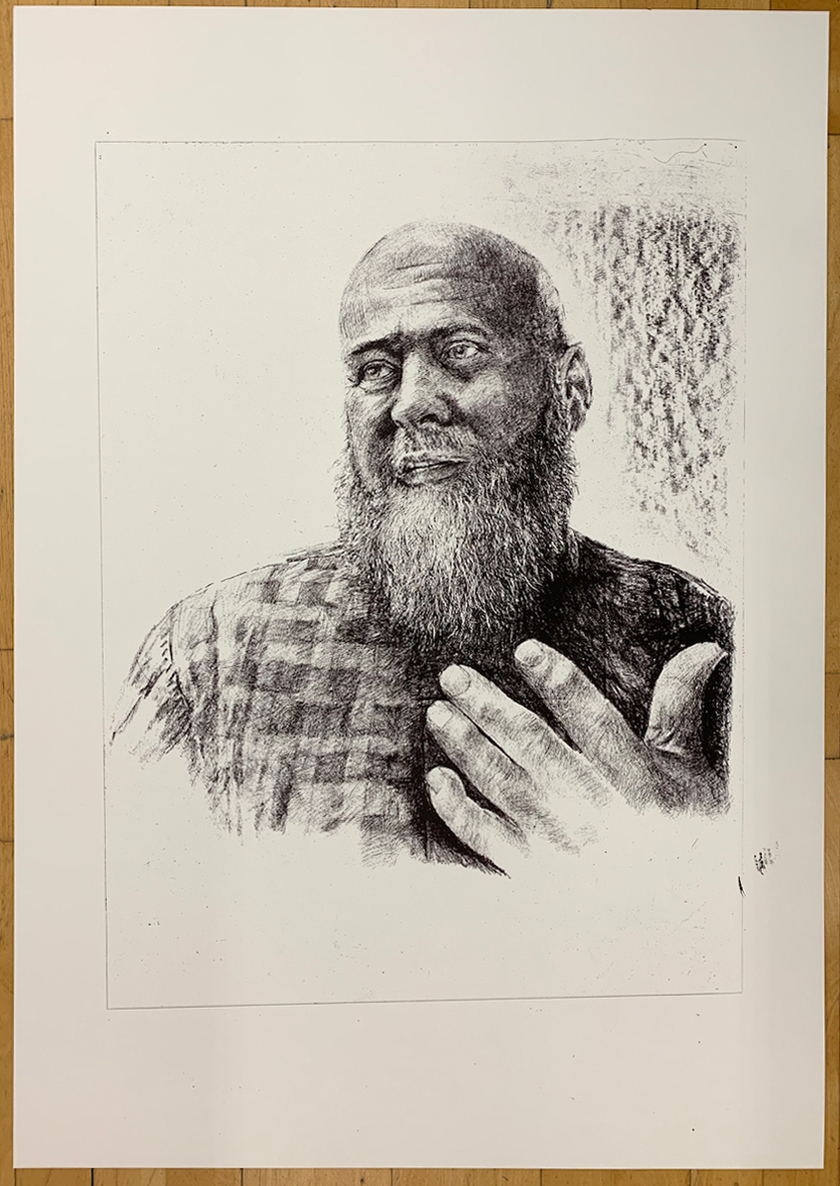
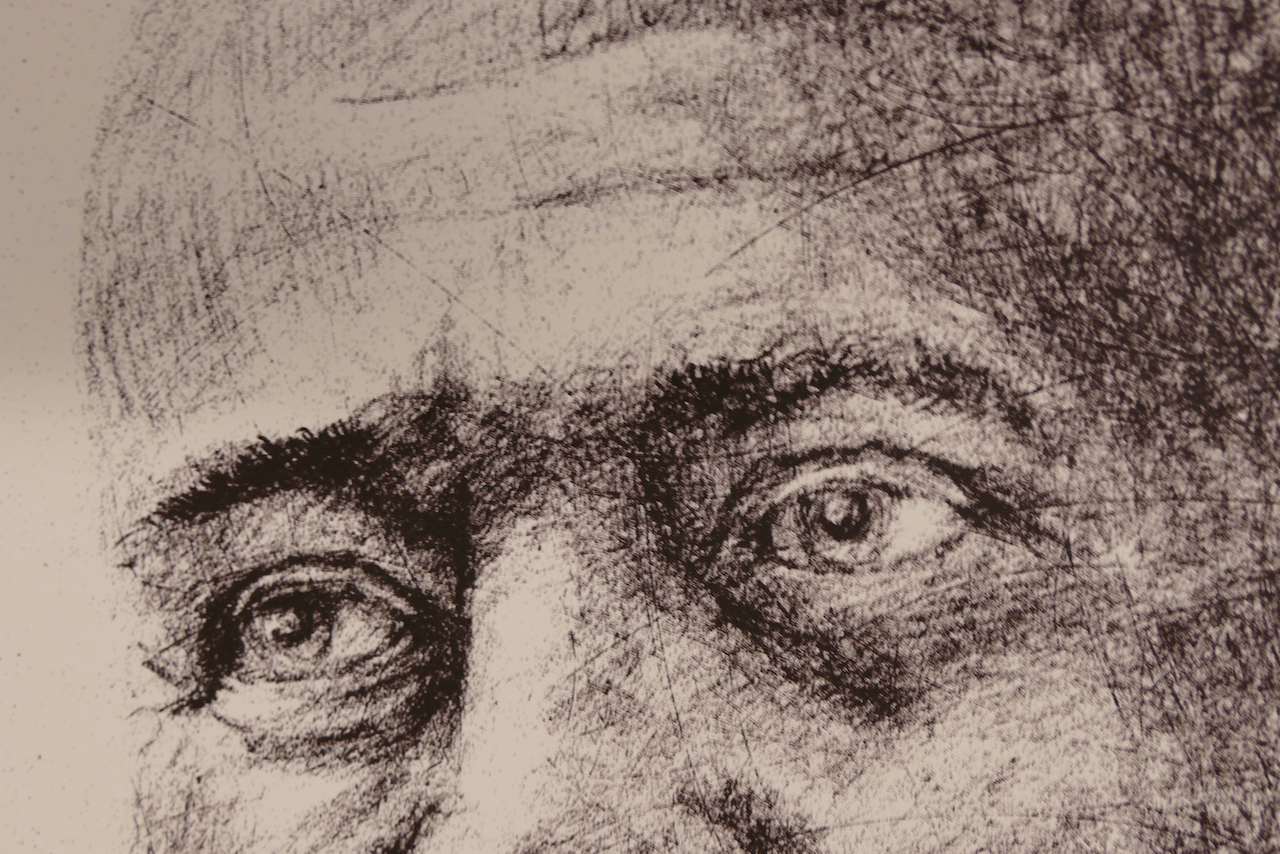
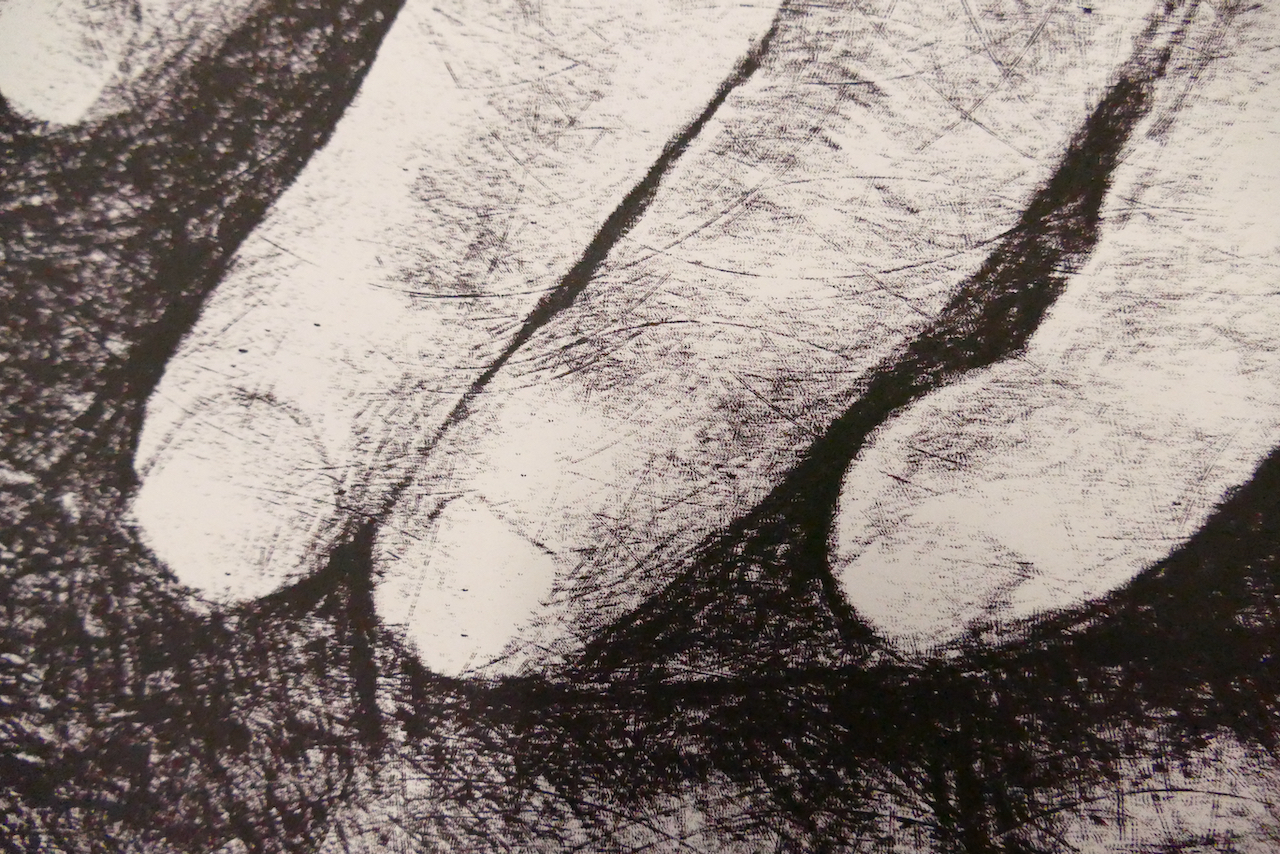
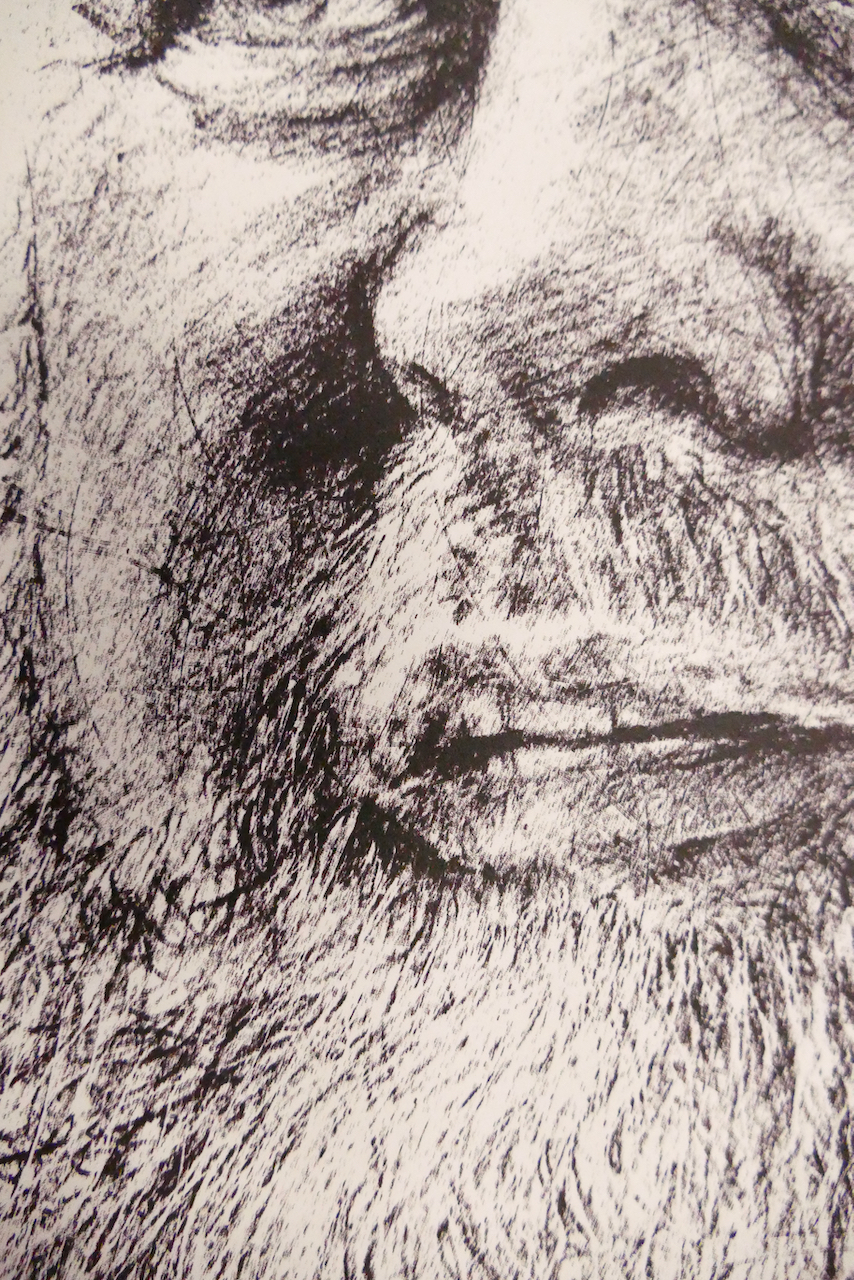
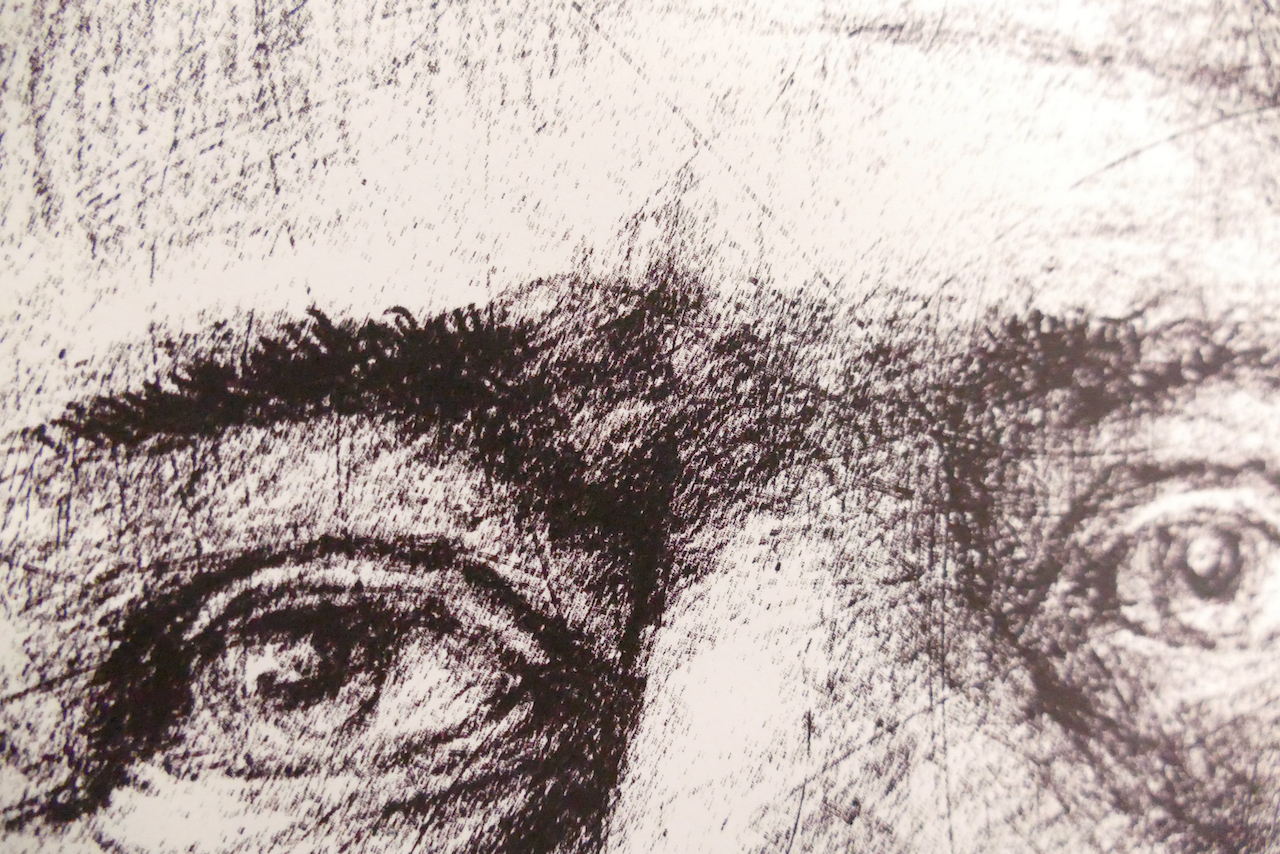
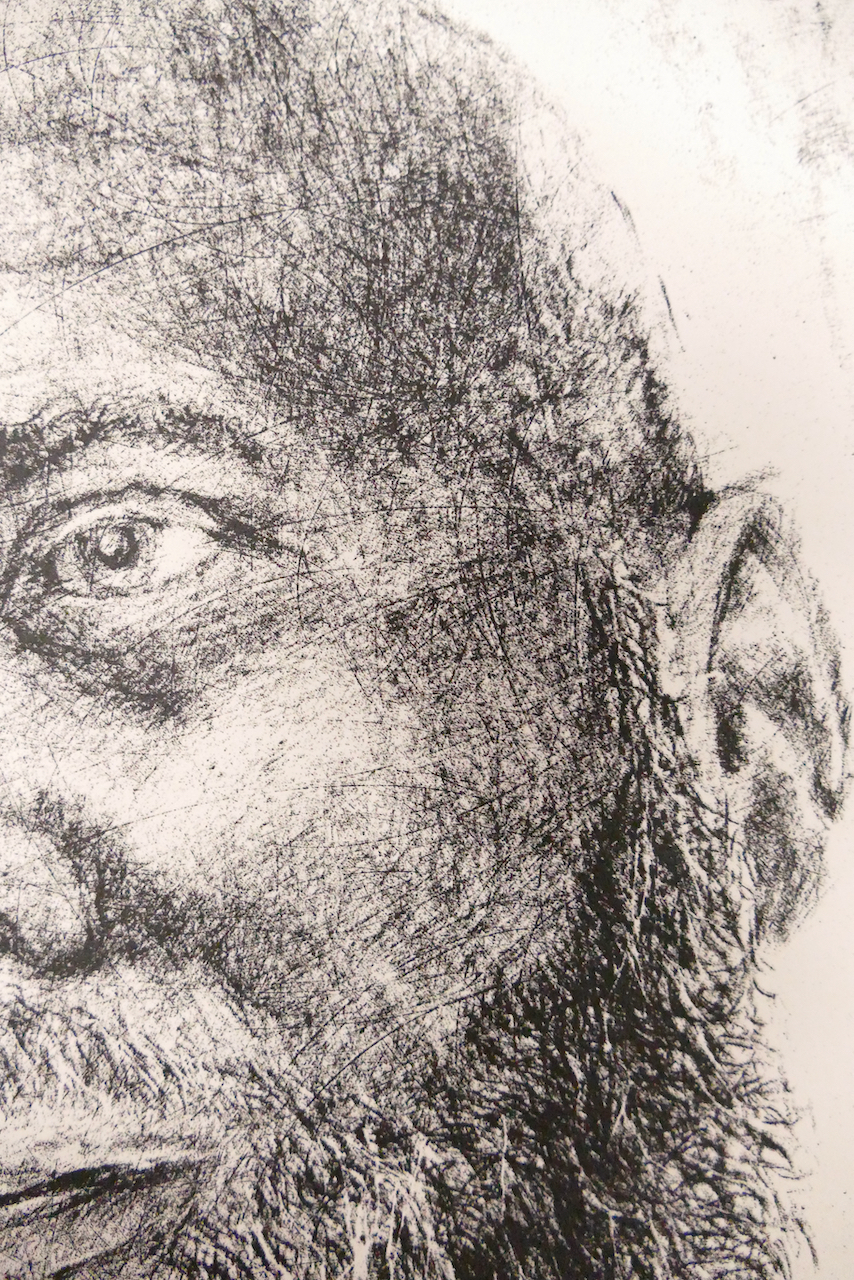
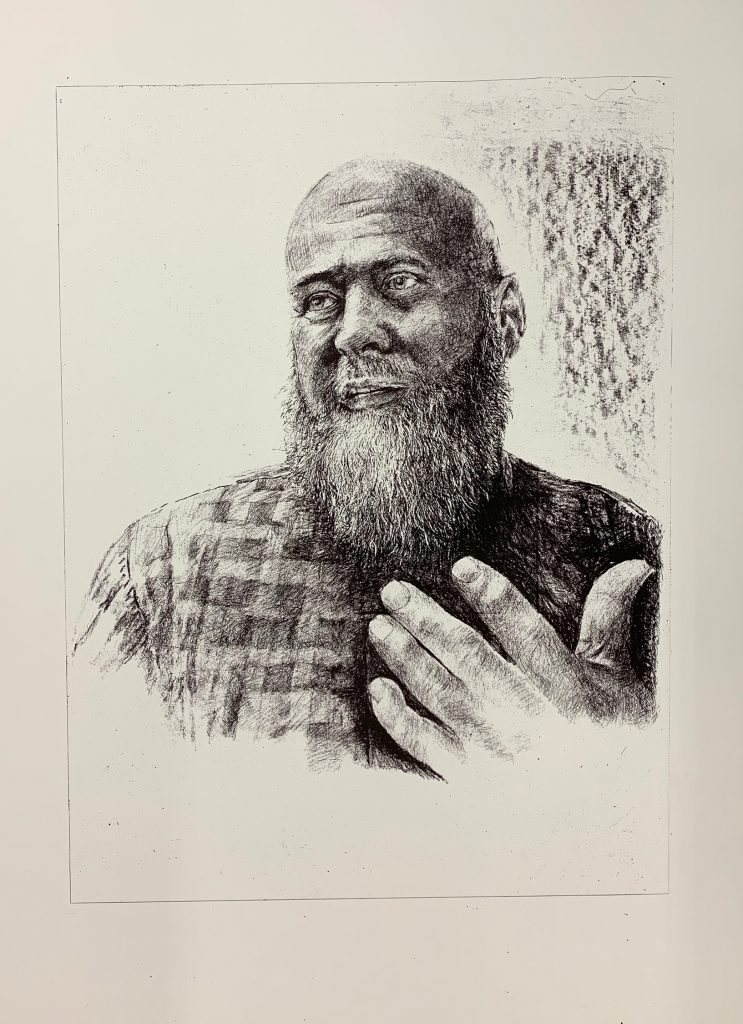
The Canaletto prints provide detail across the printed image in shadow and highlight areas. Viewed from a distance the portrait effectively reflects the character and breadth of marks of skin surfaces, hair and patterned garment. Perhaps this would not be perceived as dissimilar to a drawing using the drawing technique on mark resist, however on closer inspection the sanded marks of motion and depth have been retained. These bring a quality to the printed drawing that point to an inconsistent, uneven means of representing the subject as opposed to standardised grain or systematic photomechanical methods. The sanded marks are most apparent in the skin tone areas of hand, head and face and patterned shirt. While the modelling of the image is created through the drawn marks, the sanded marks do not contribute in a figurative manner to the representation. In fact they counter many of the shaping marks. However they add a vibrant contrast and alternative abstract patterning to the figurative. They offer an insight into the materiality of the image and it’s making.
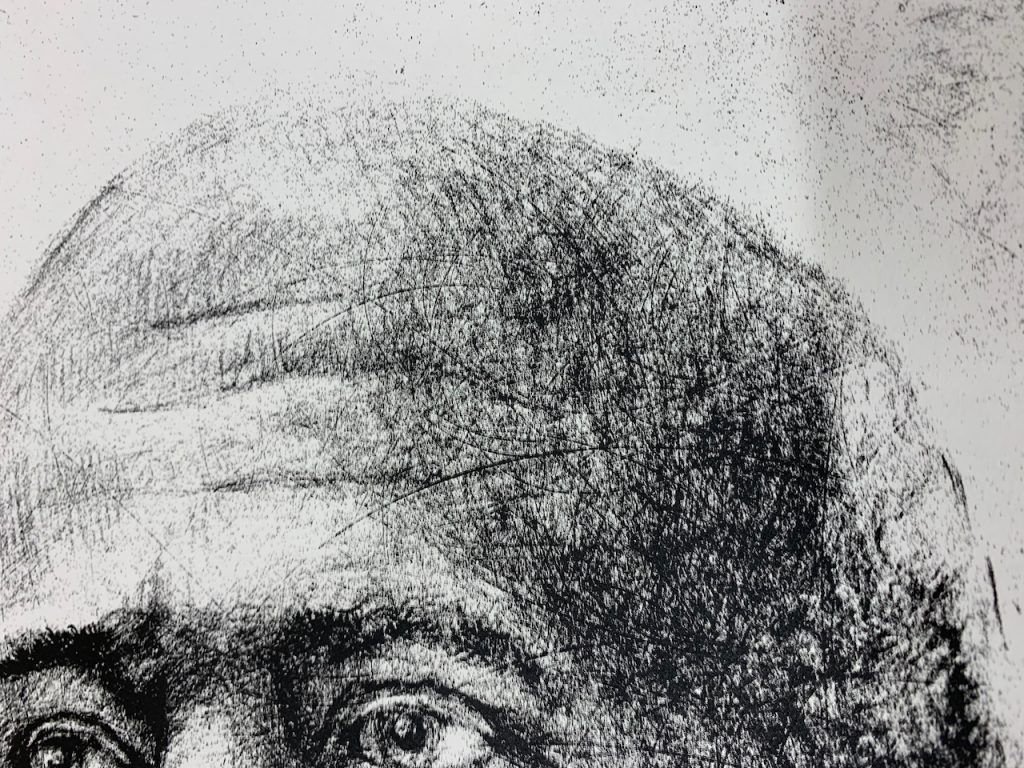
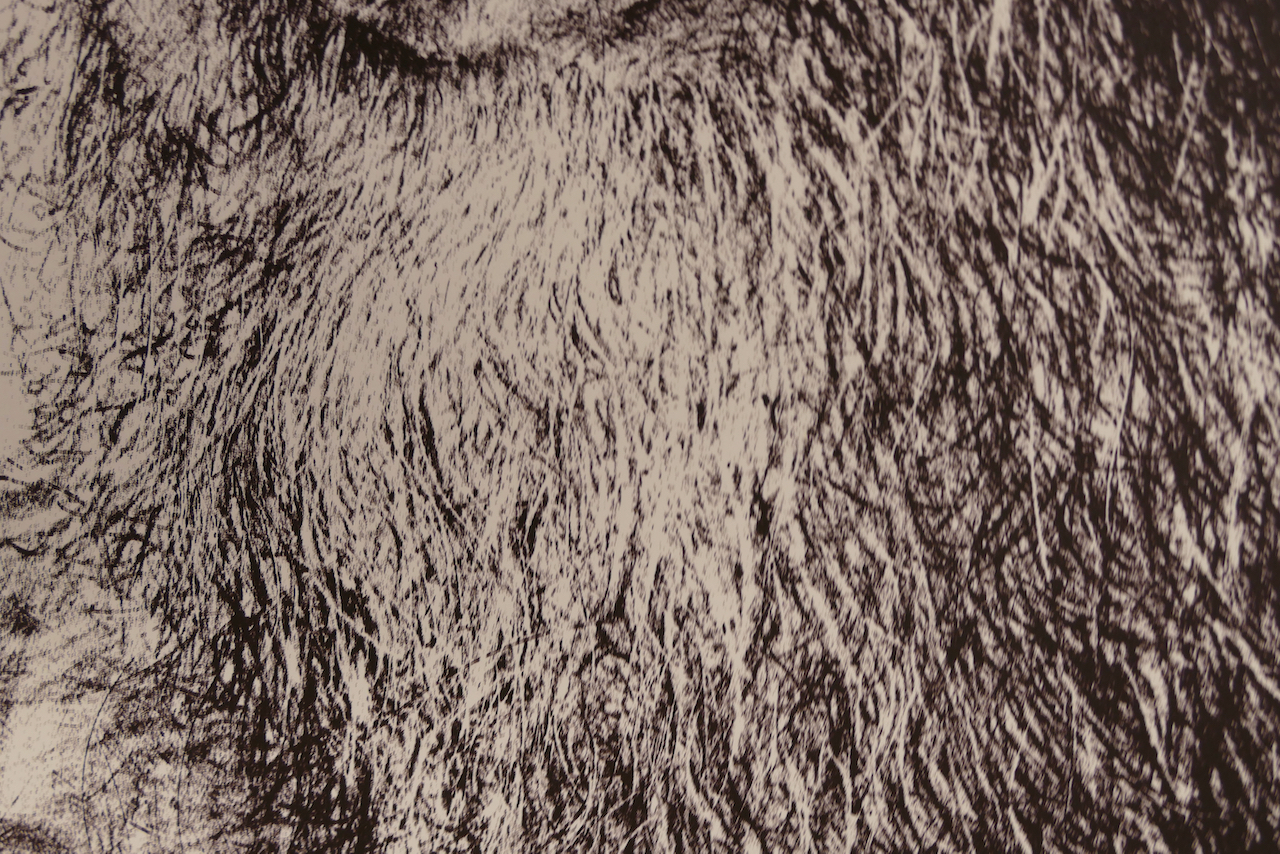
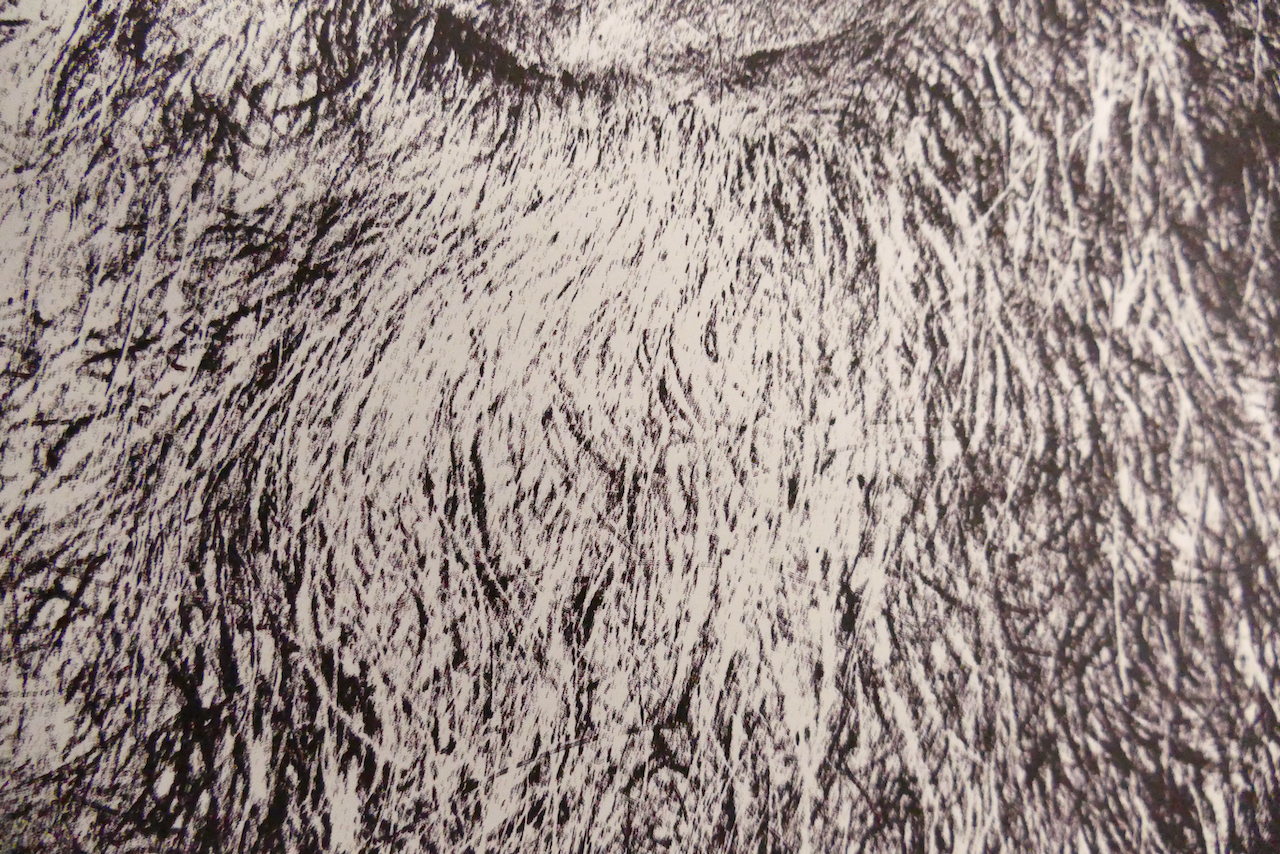
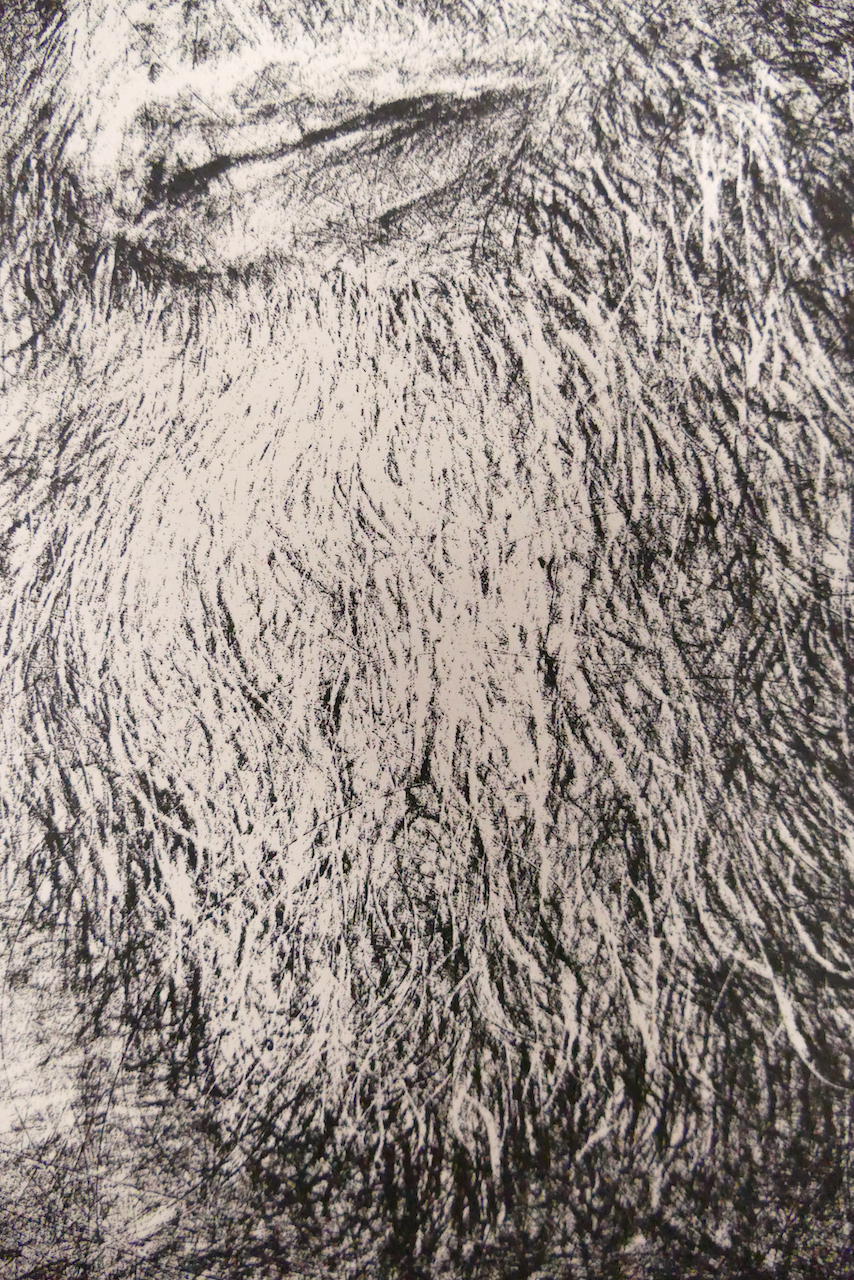
The content in the image that has not held the sanded marks is the beard which has been drawn with strong dark lines and bright highlights exacerbated with scraped highlights made with a sharp blade. These marks have obliterated the more subtle sanded surface.
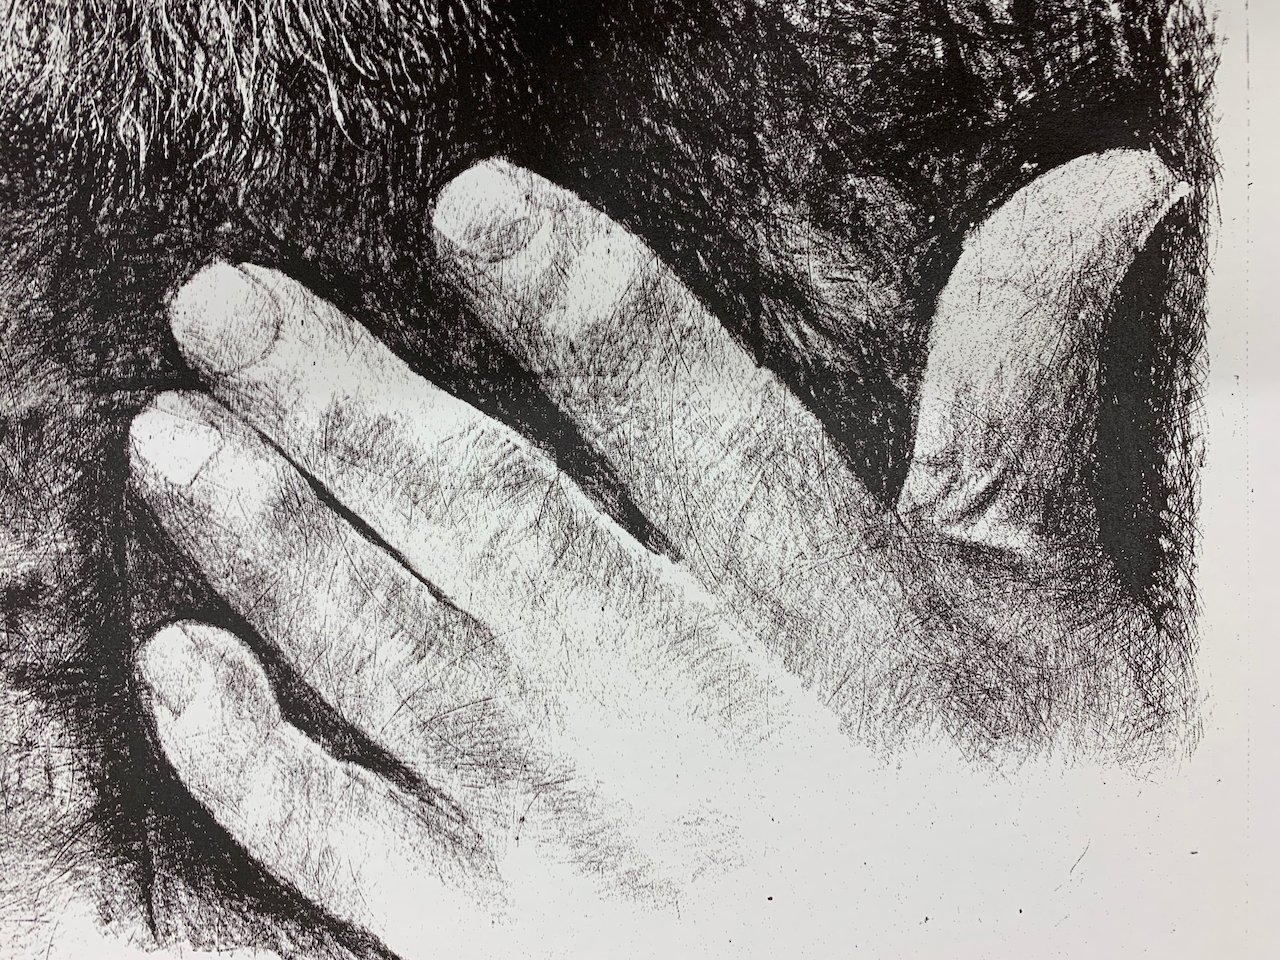
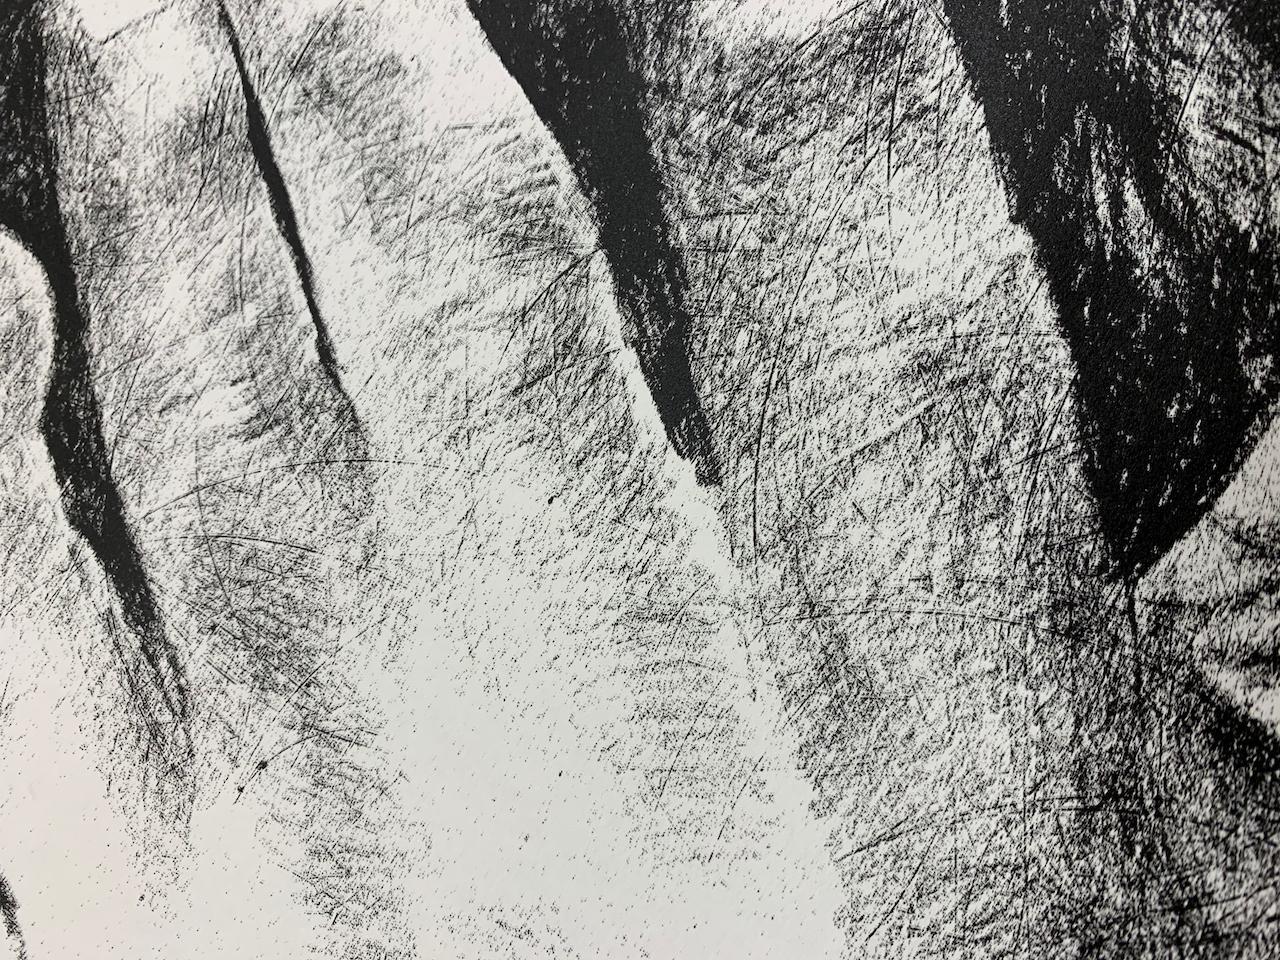
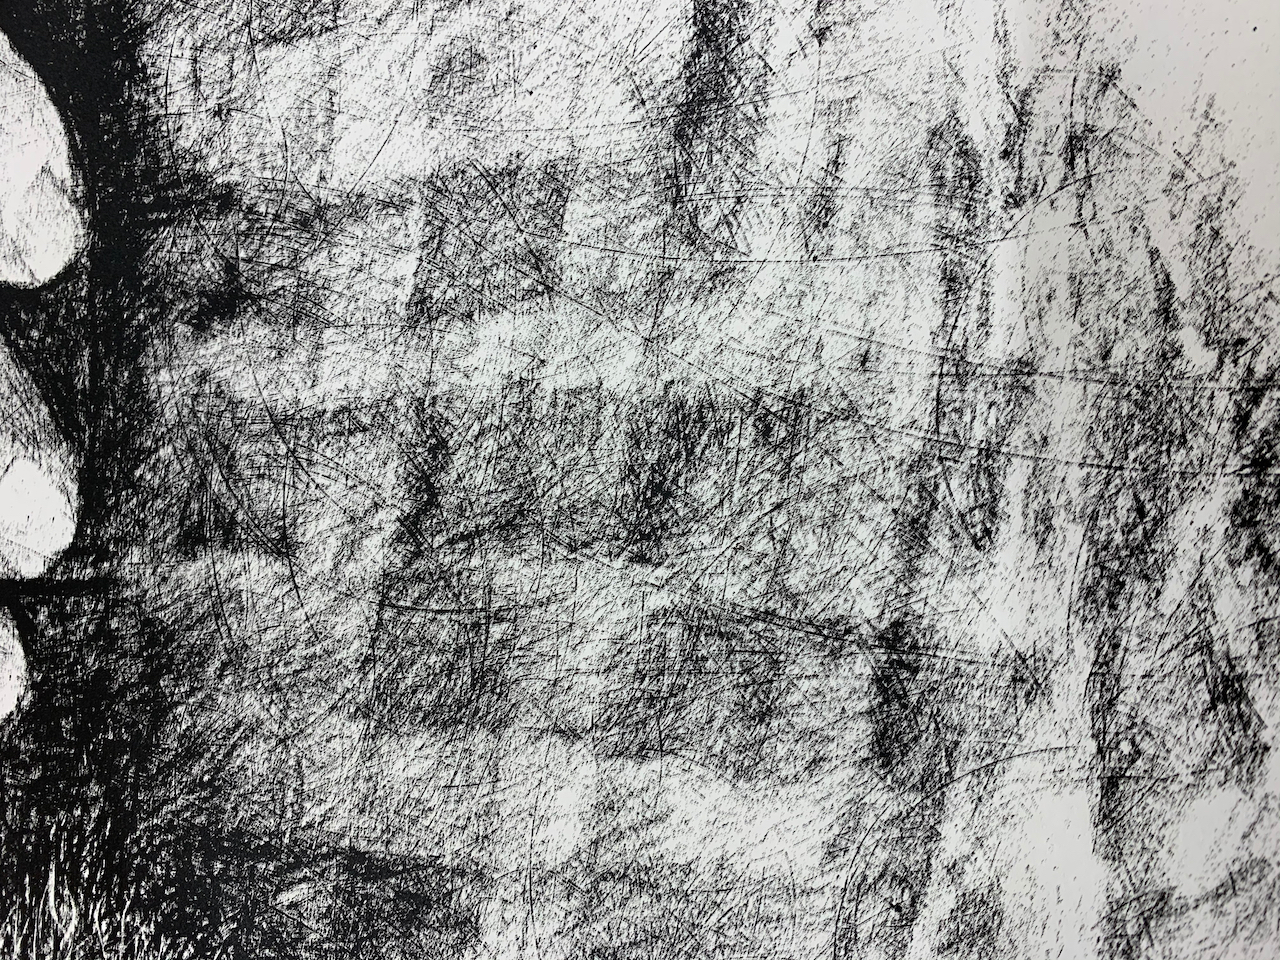
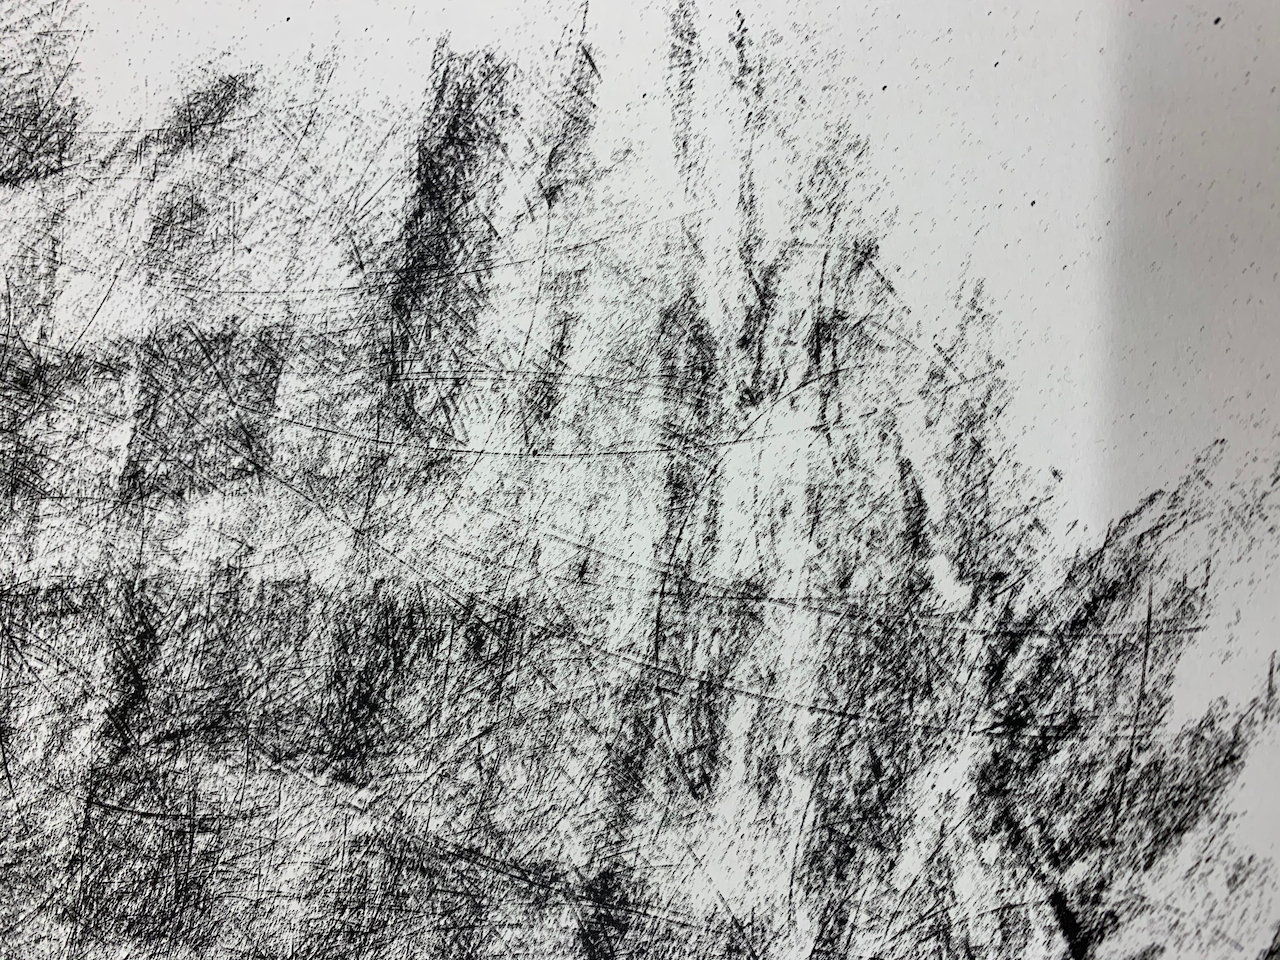
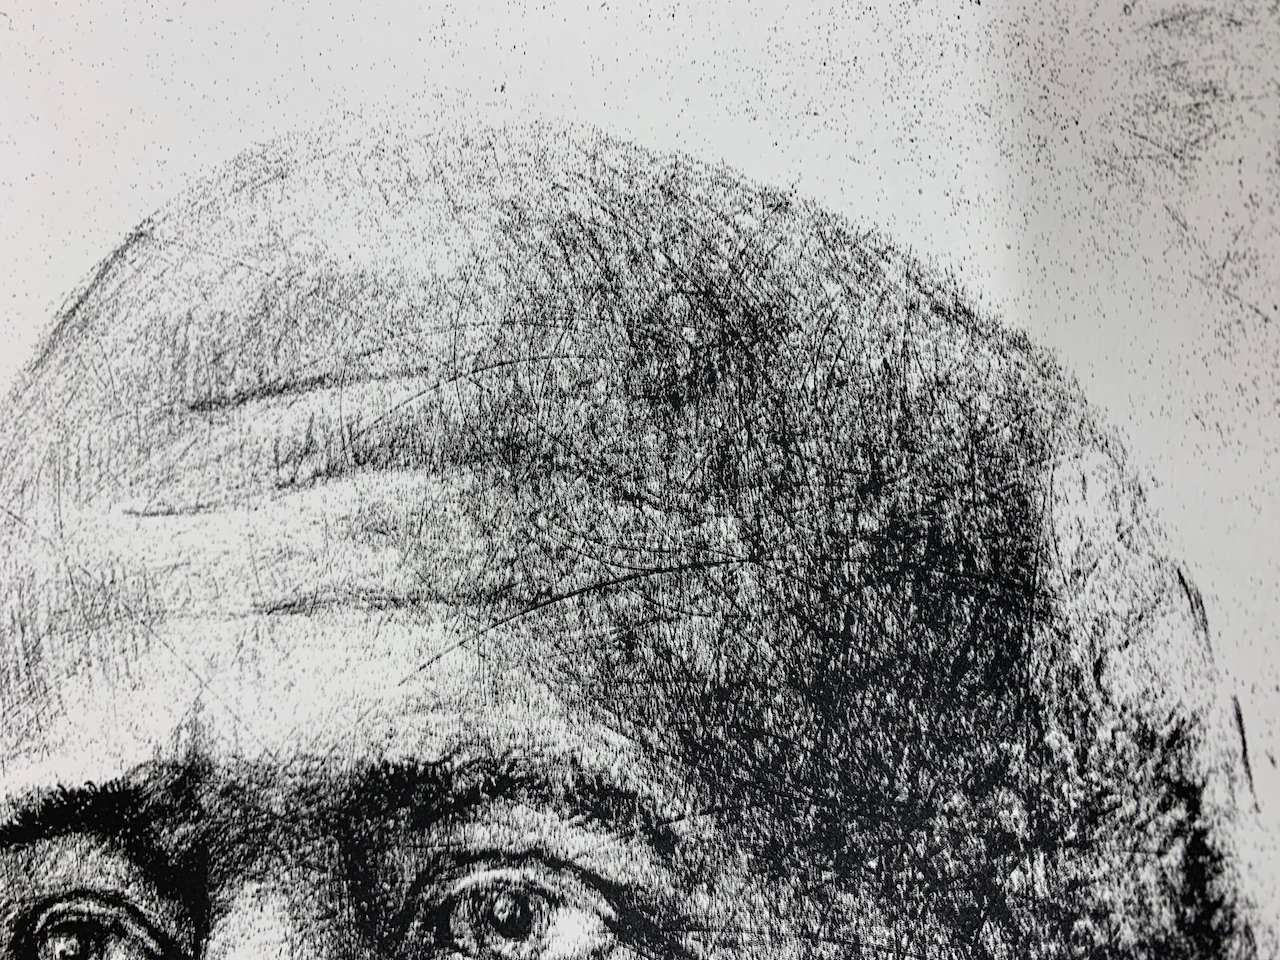
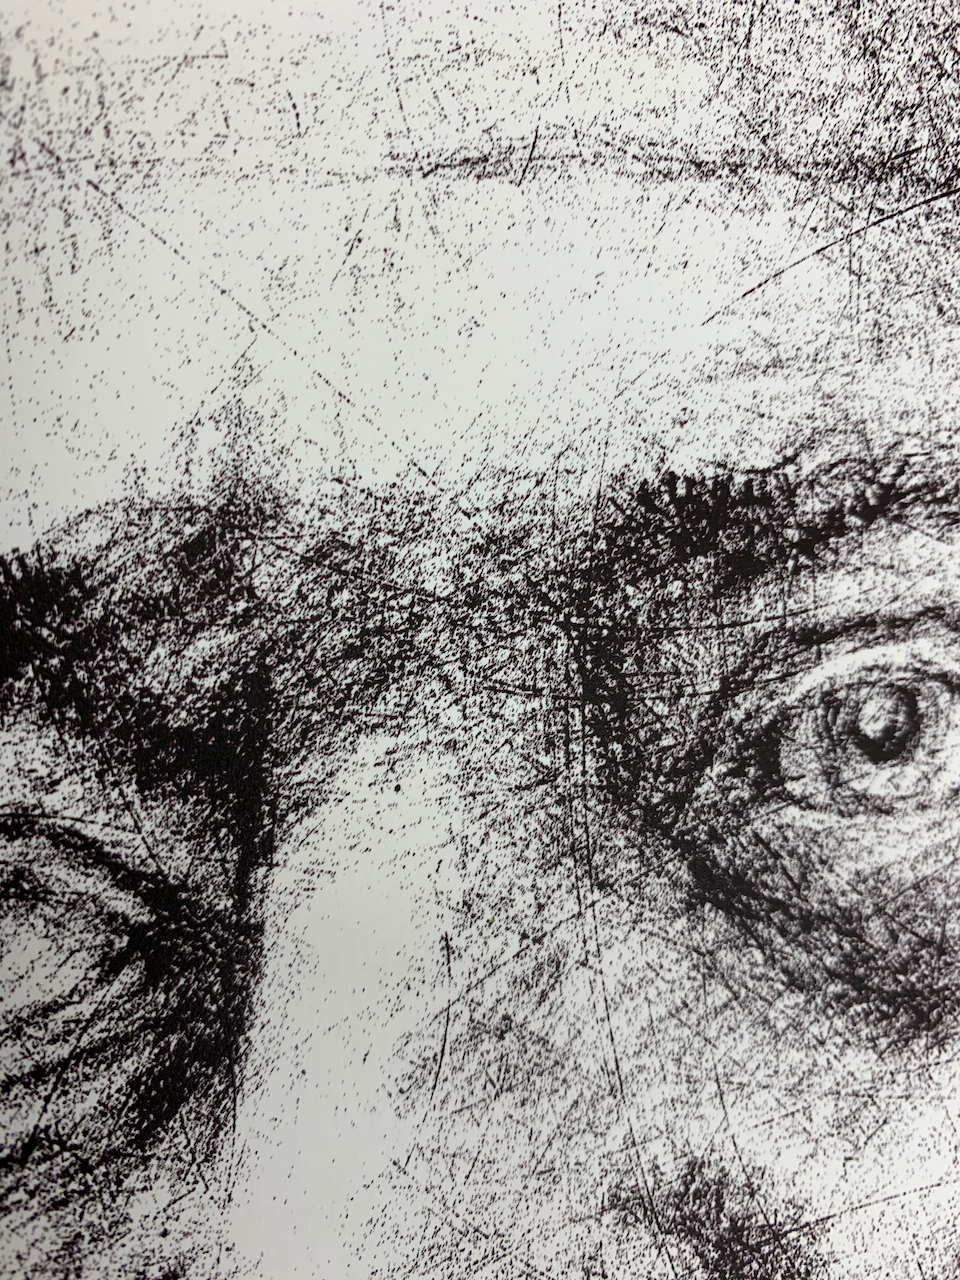
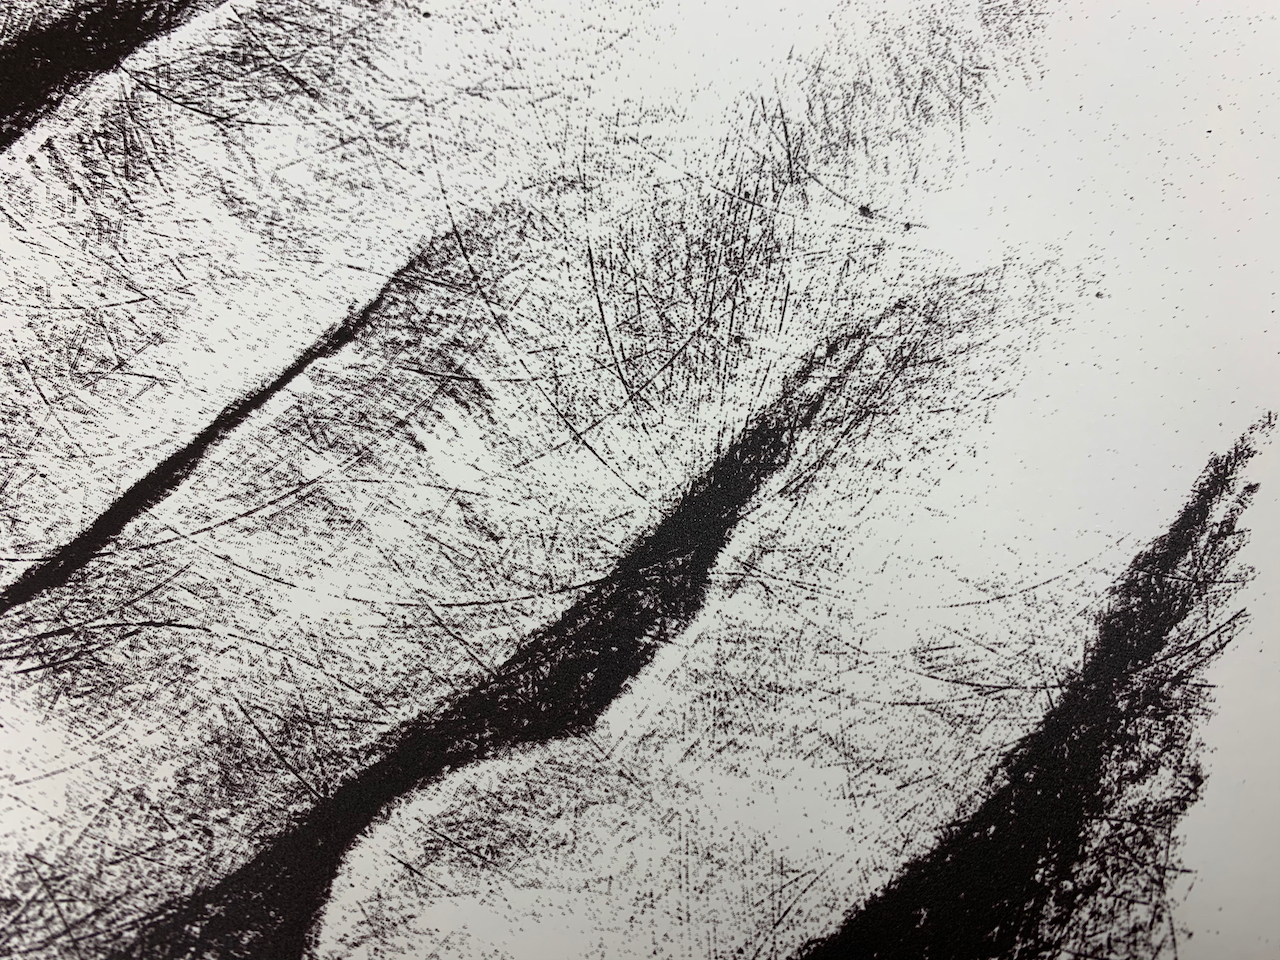
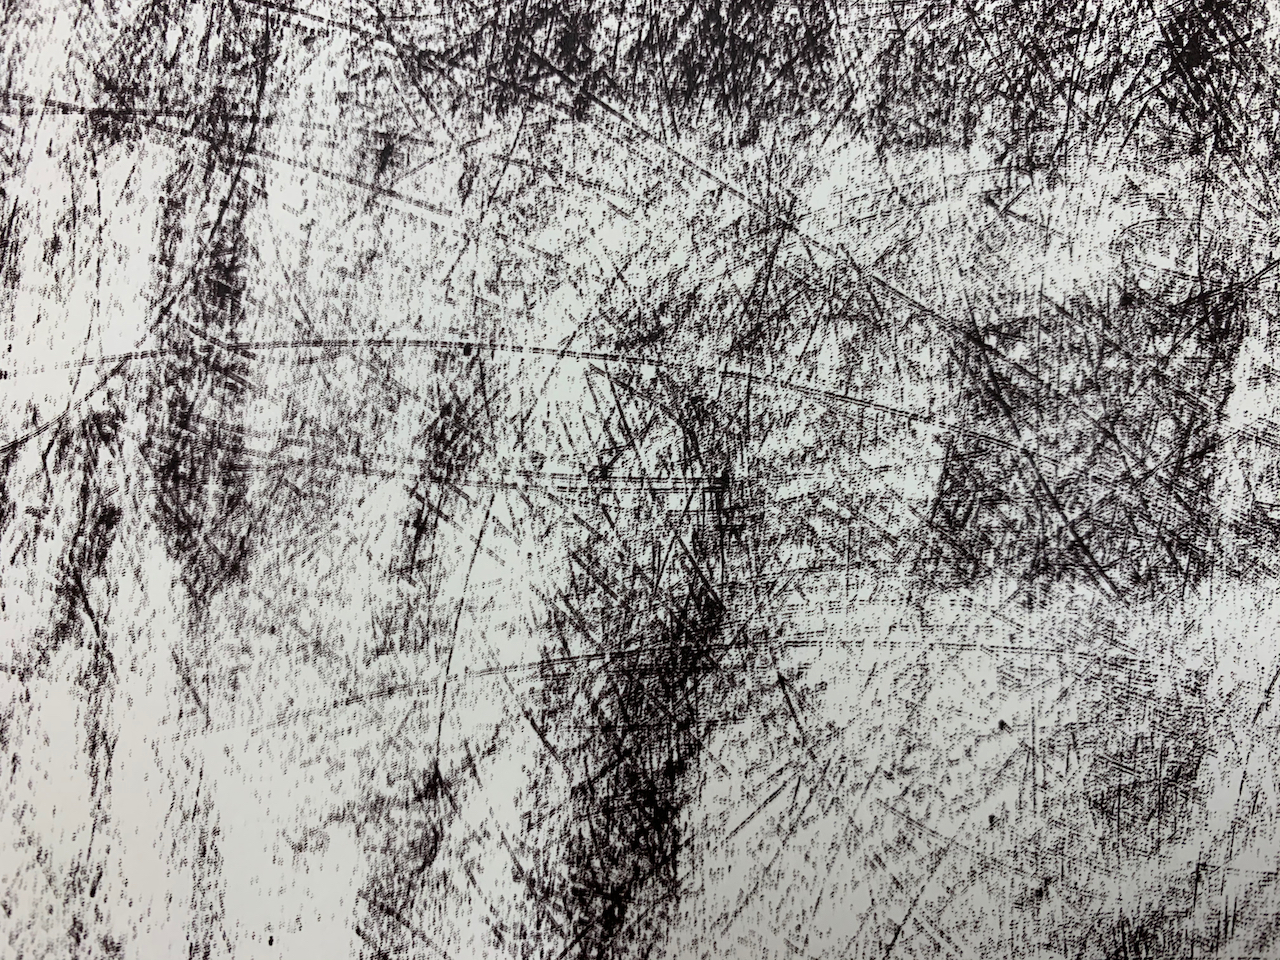
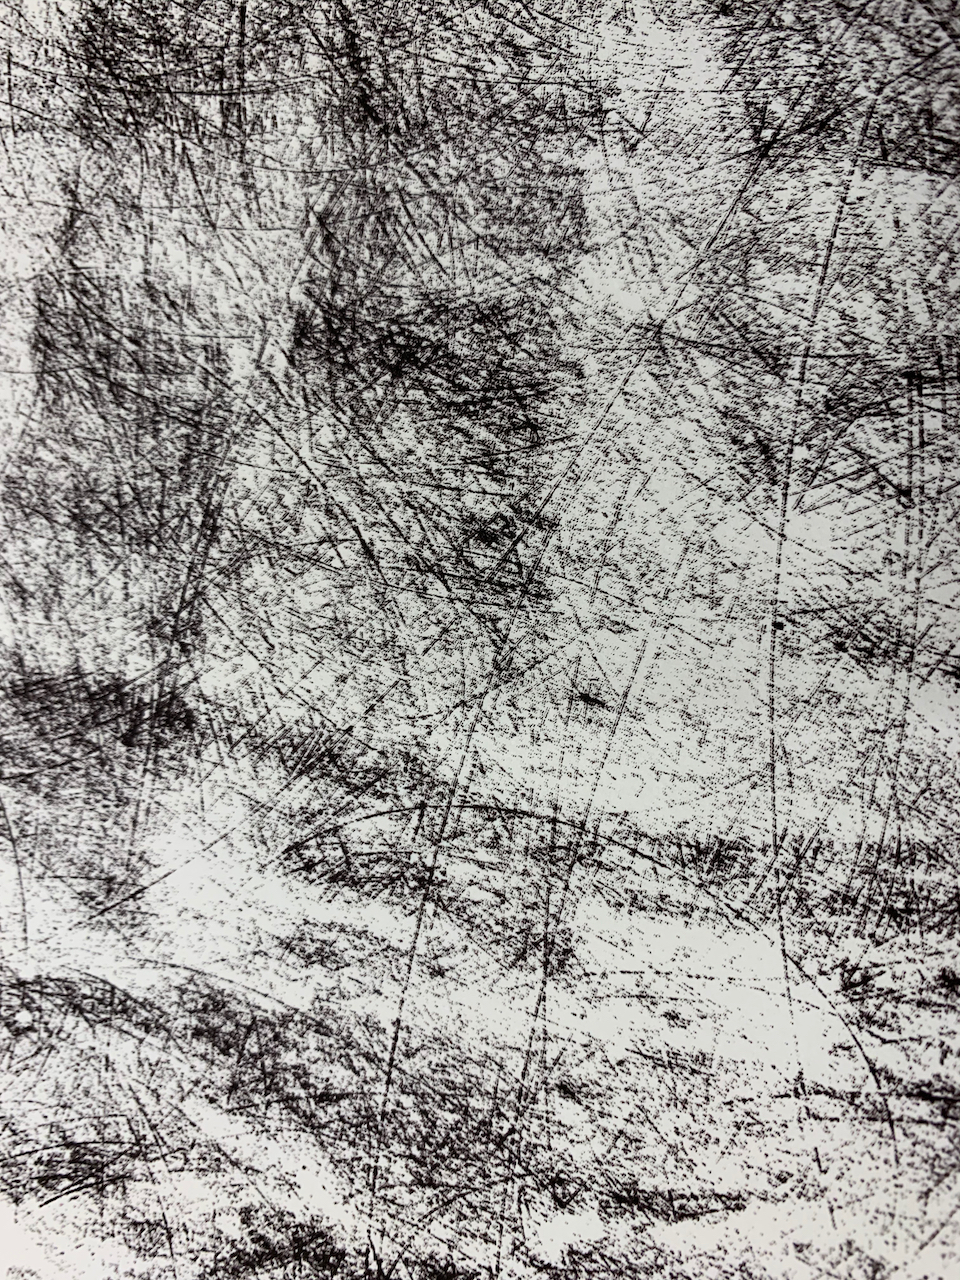
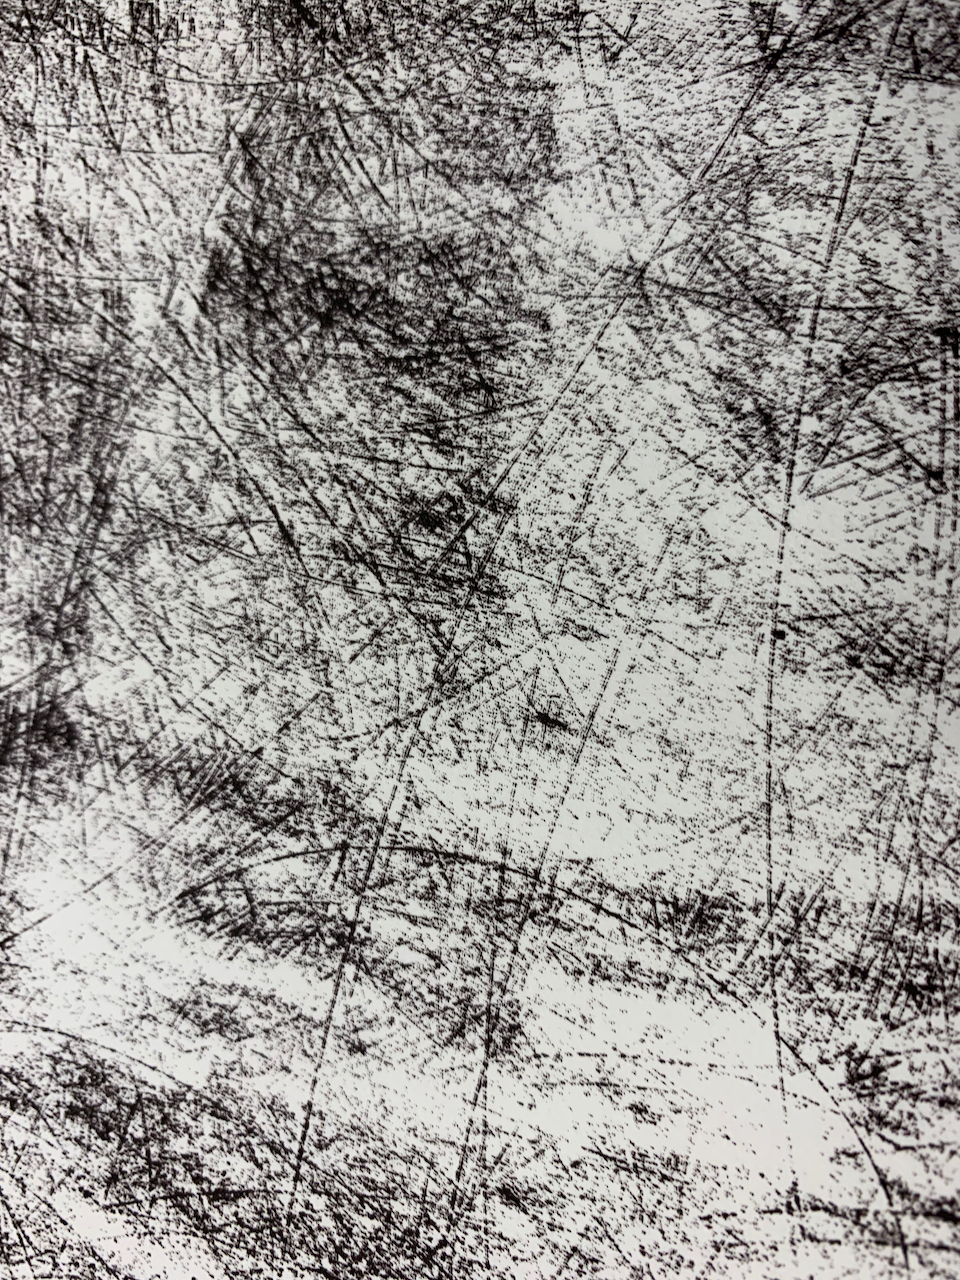
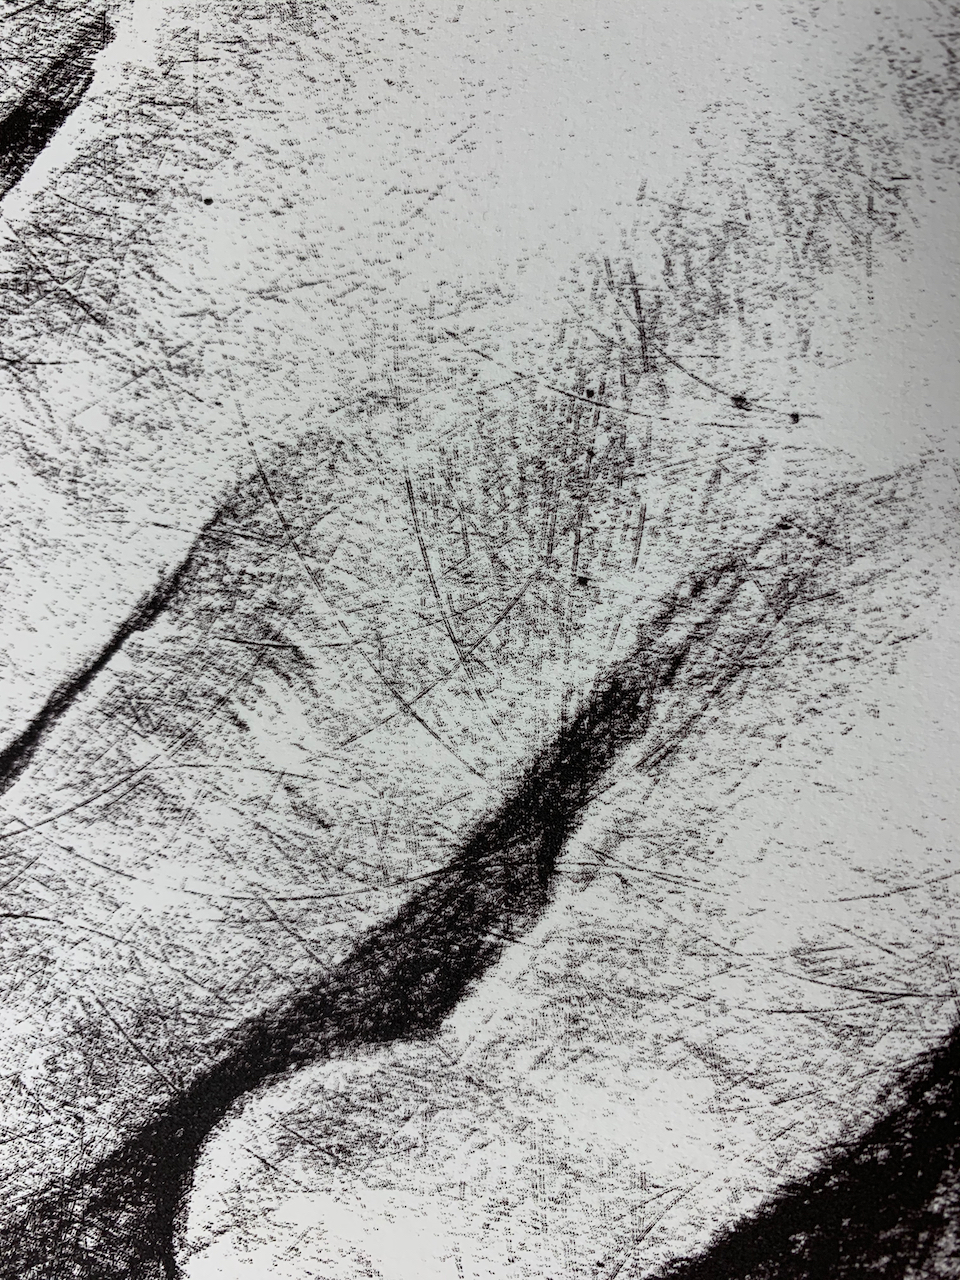

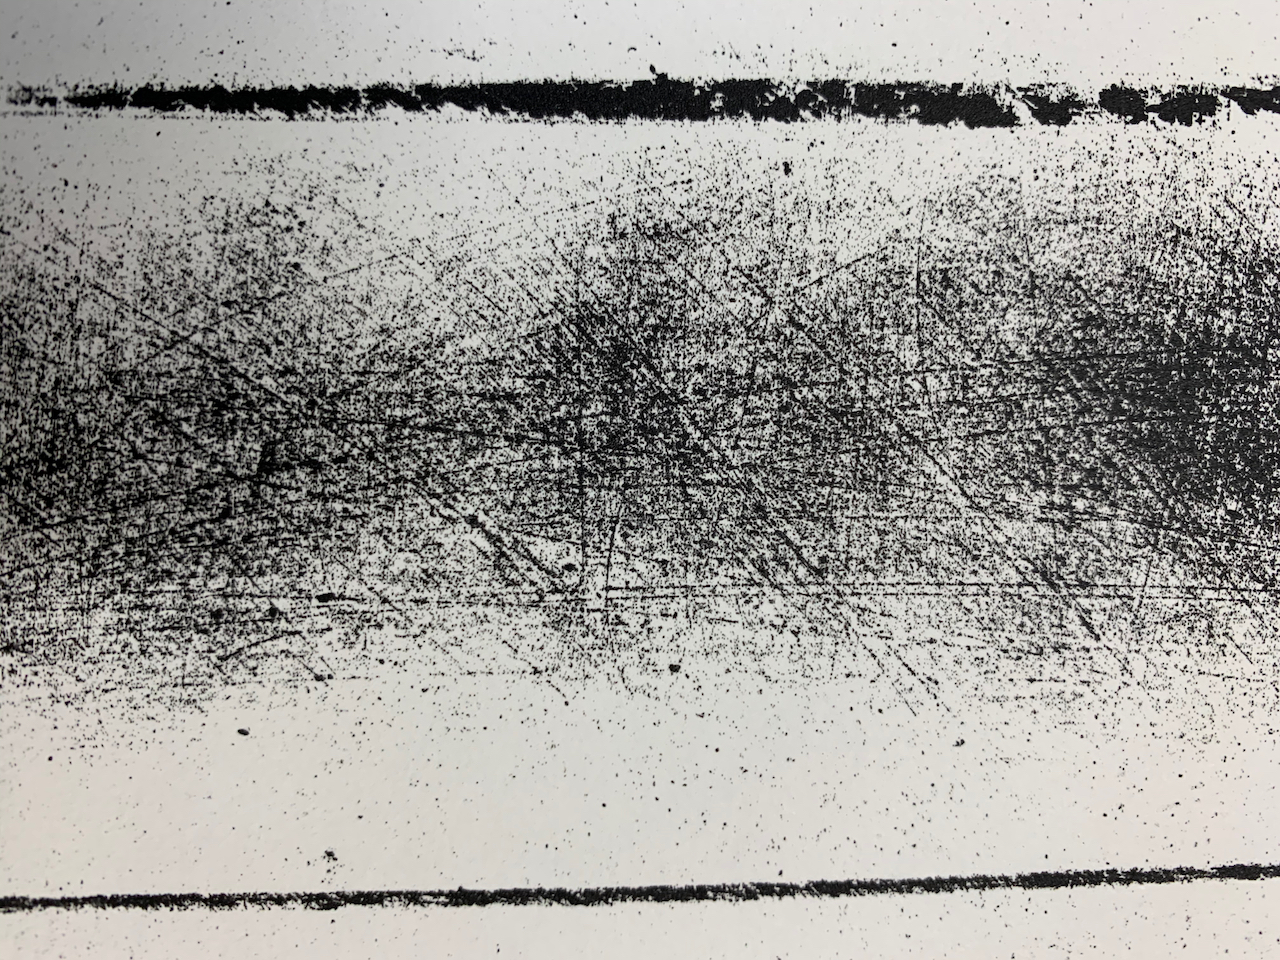
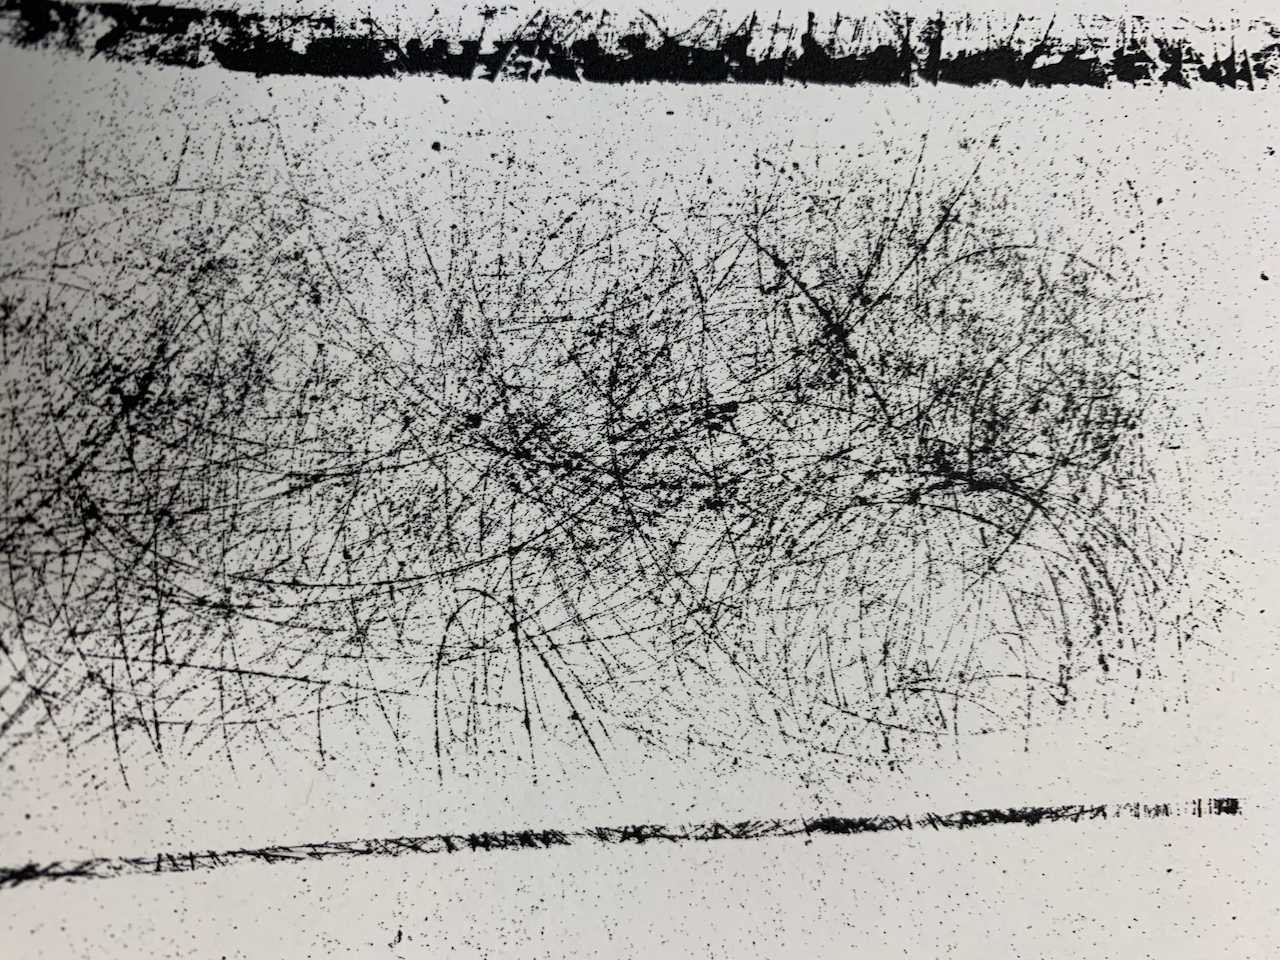
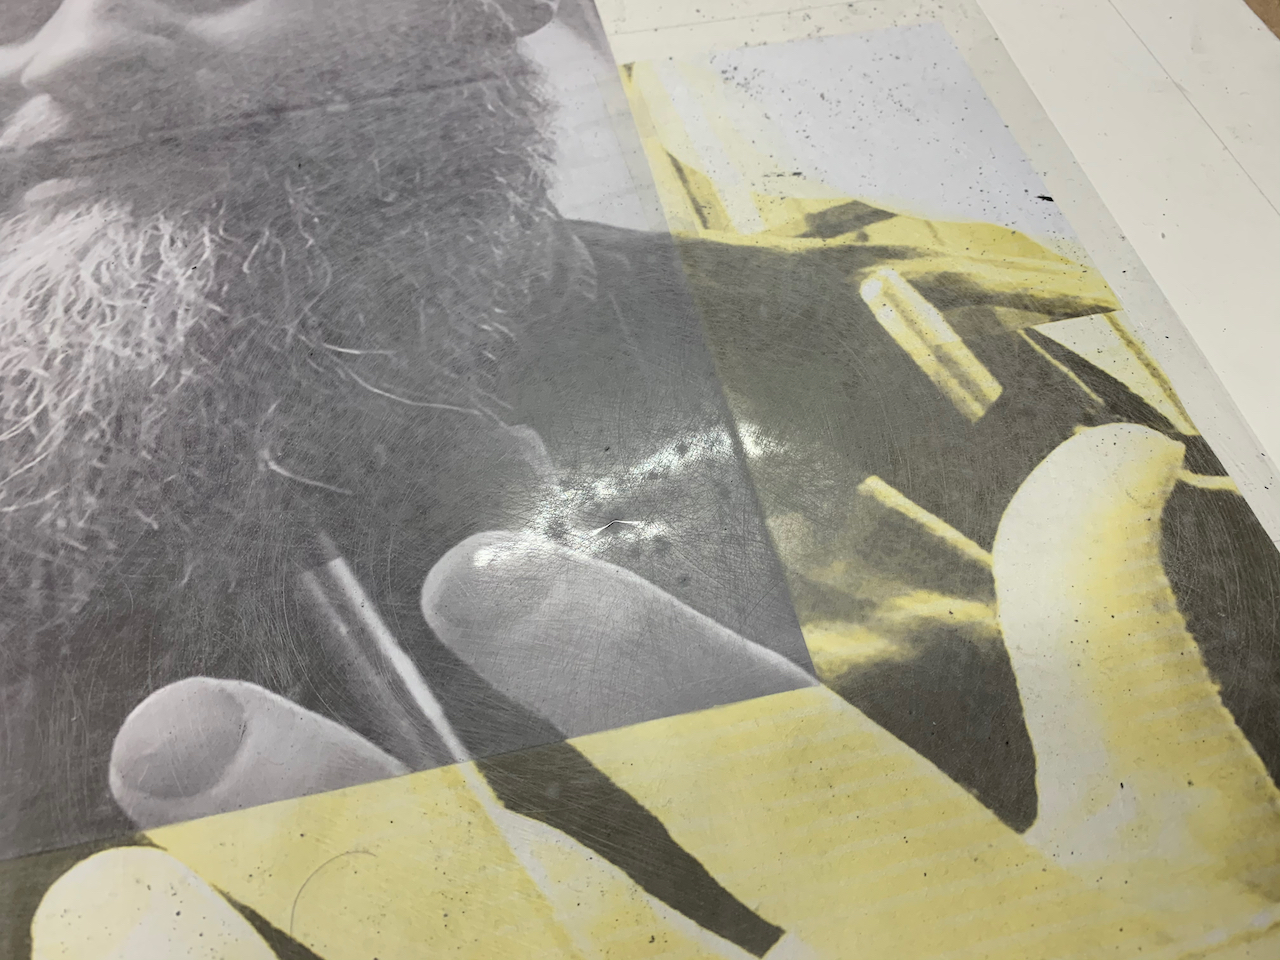
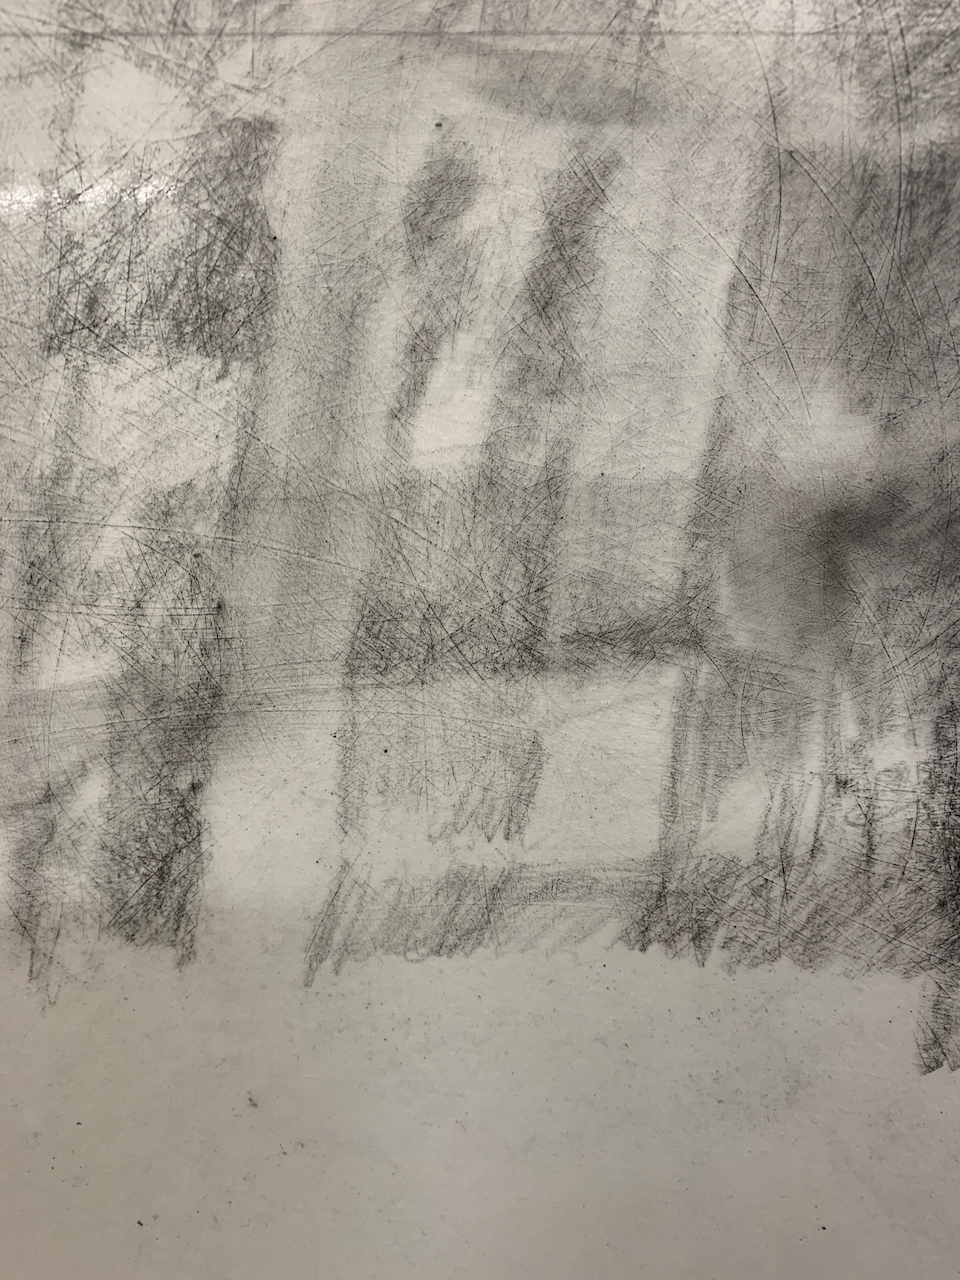
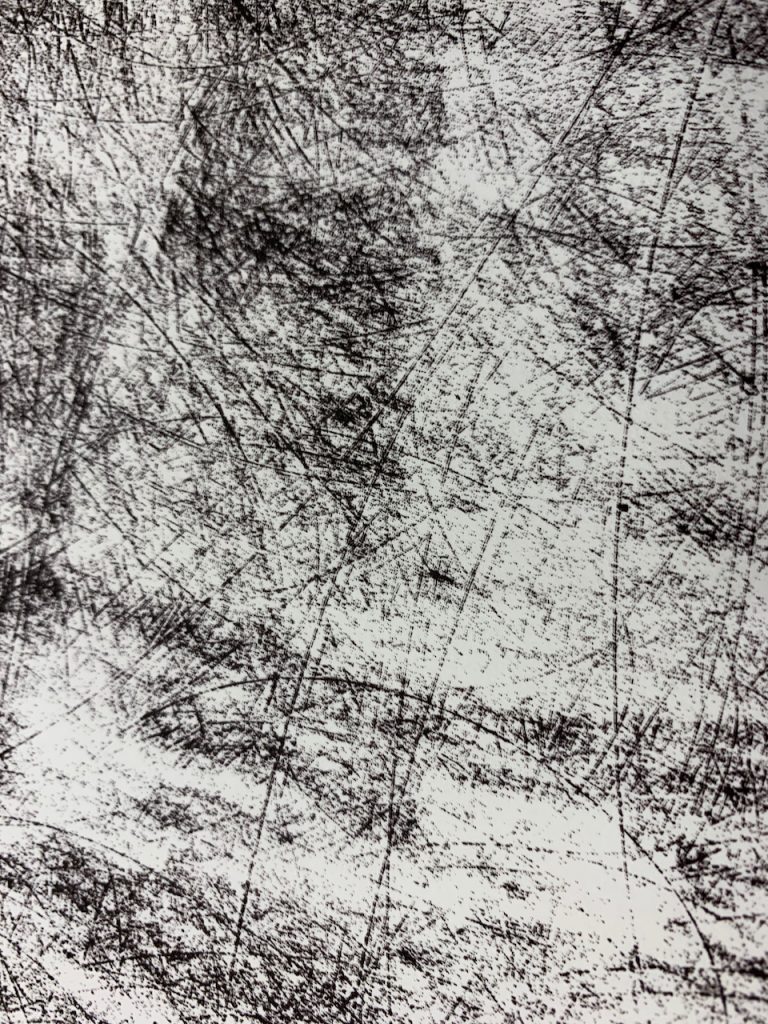
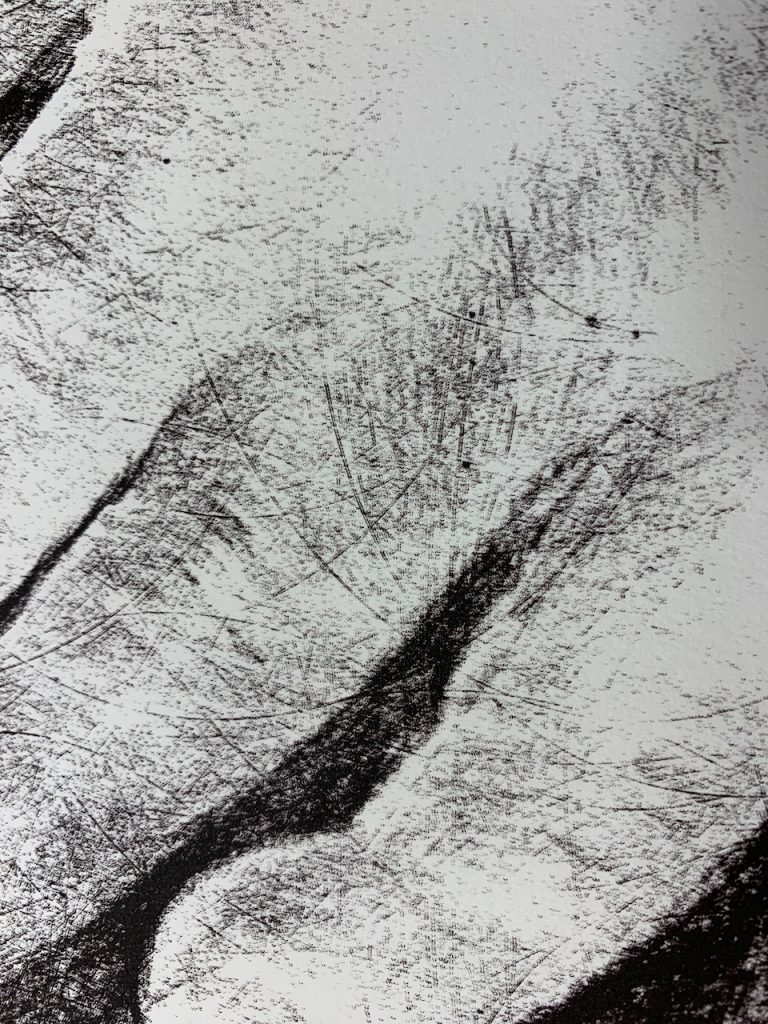
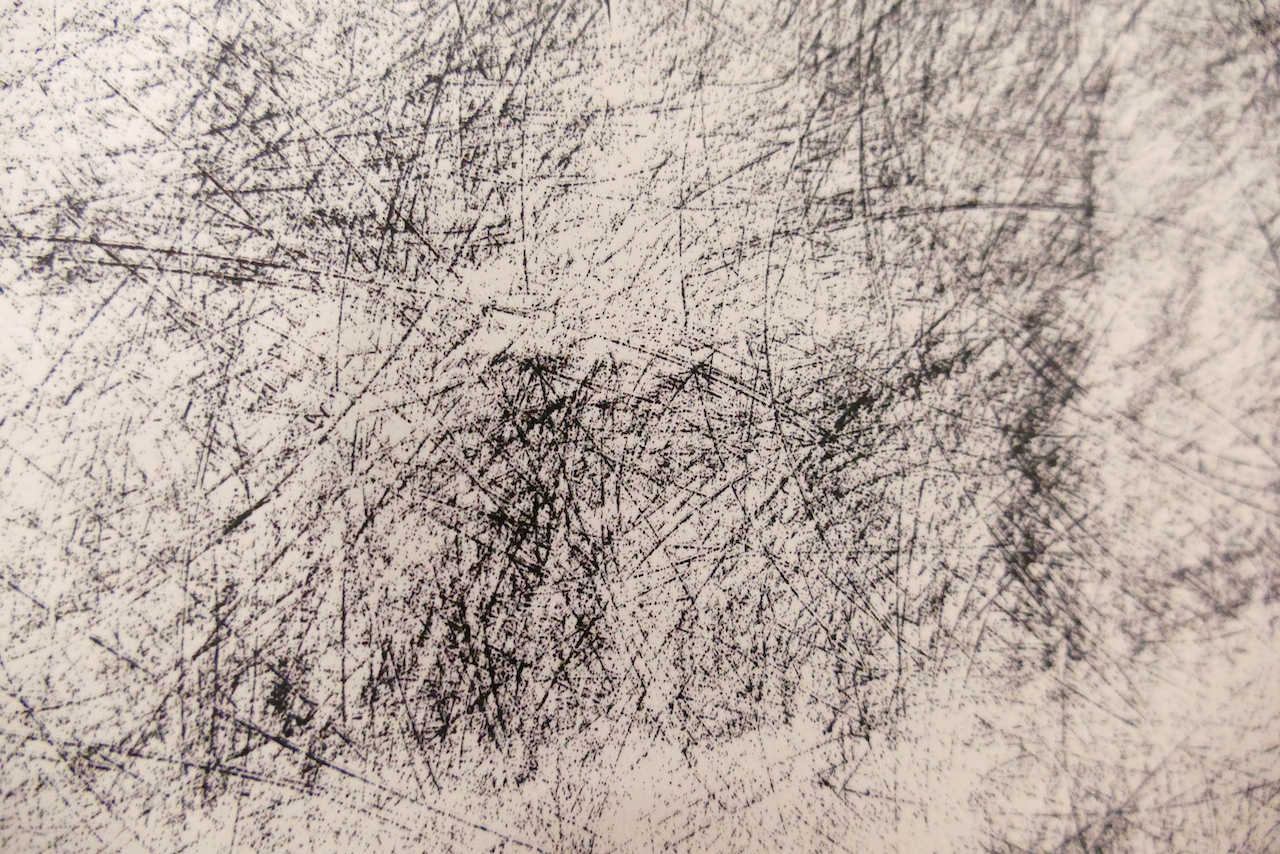
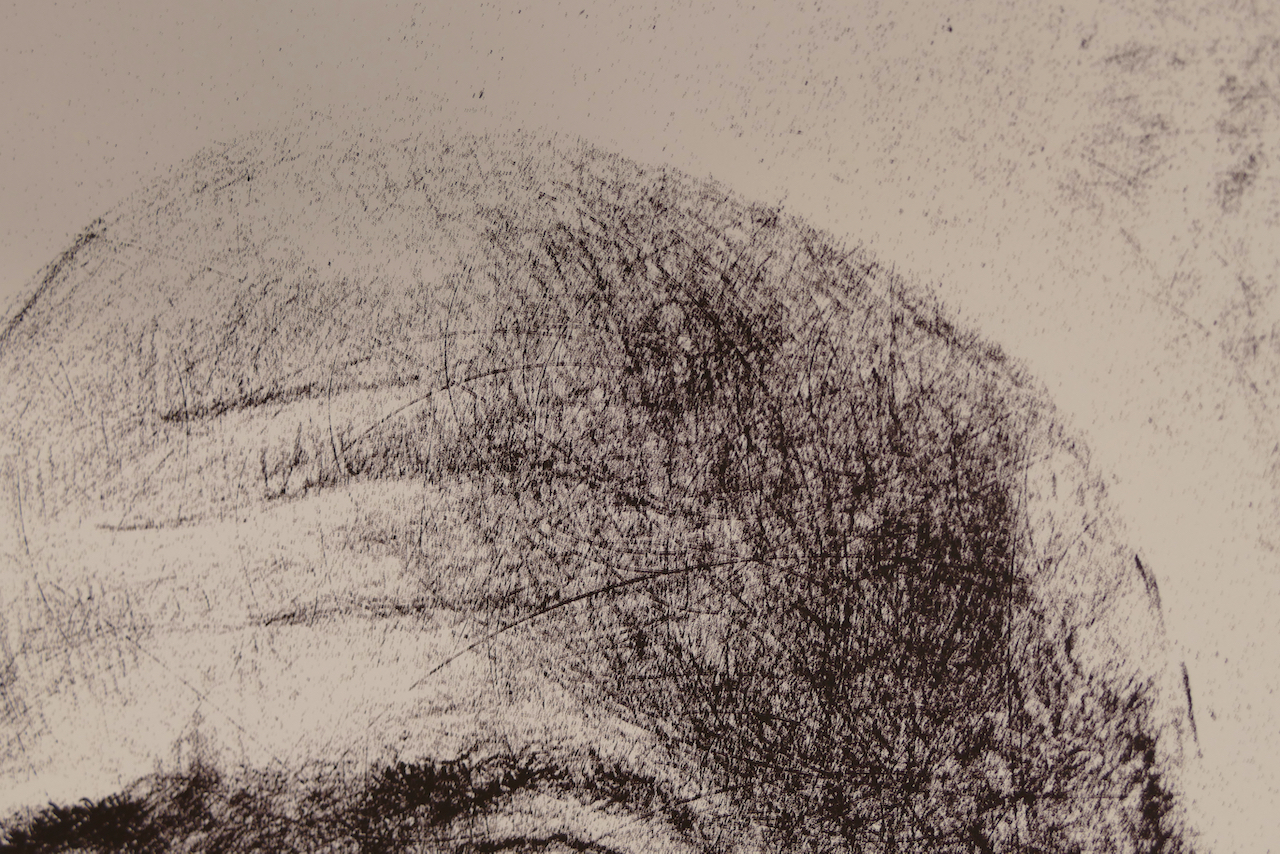
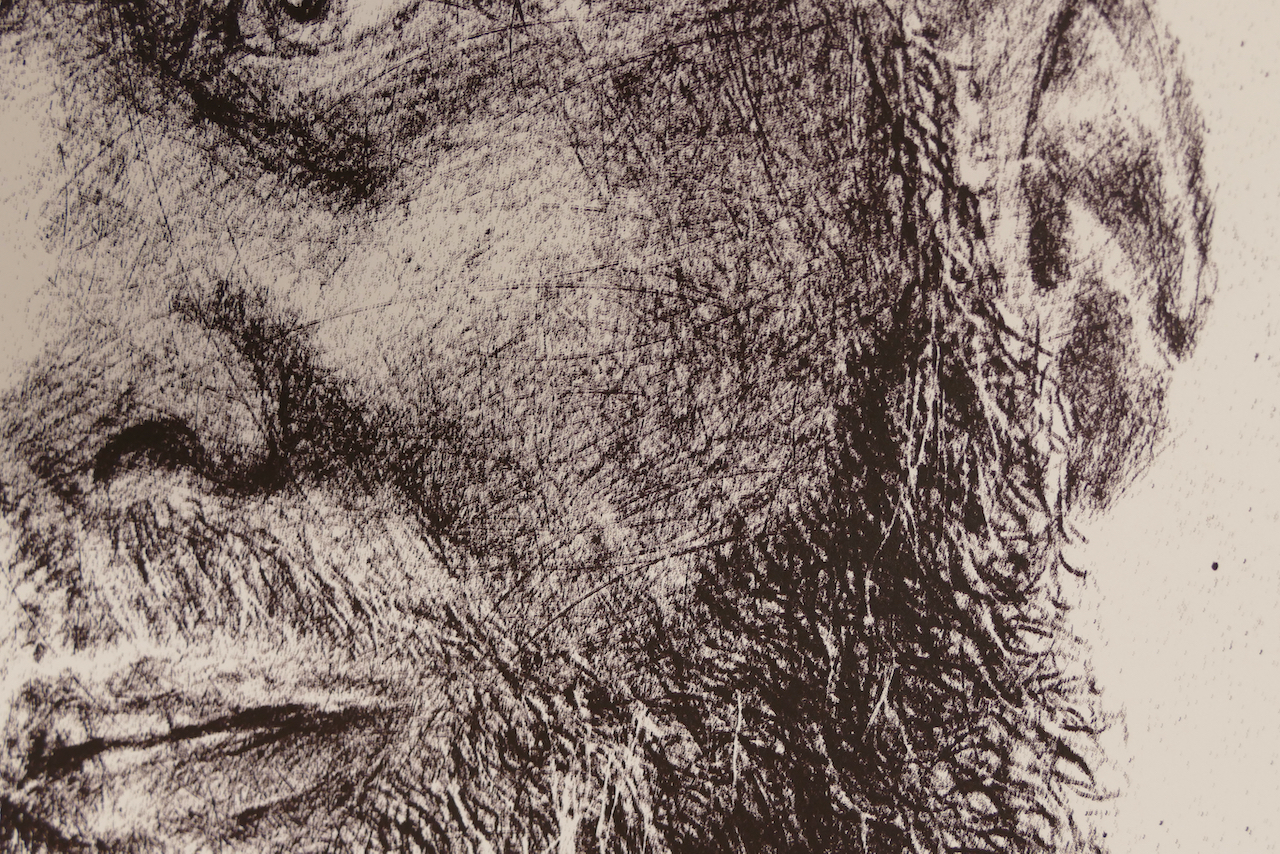
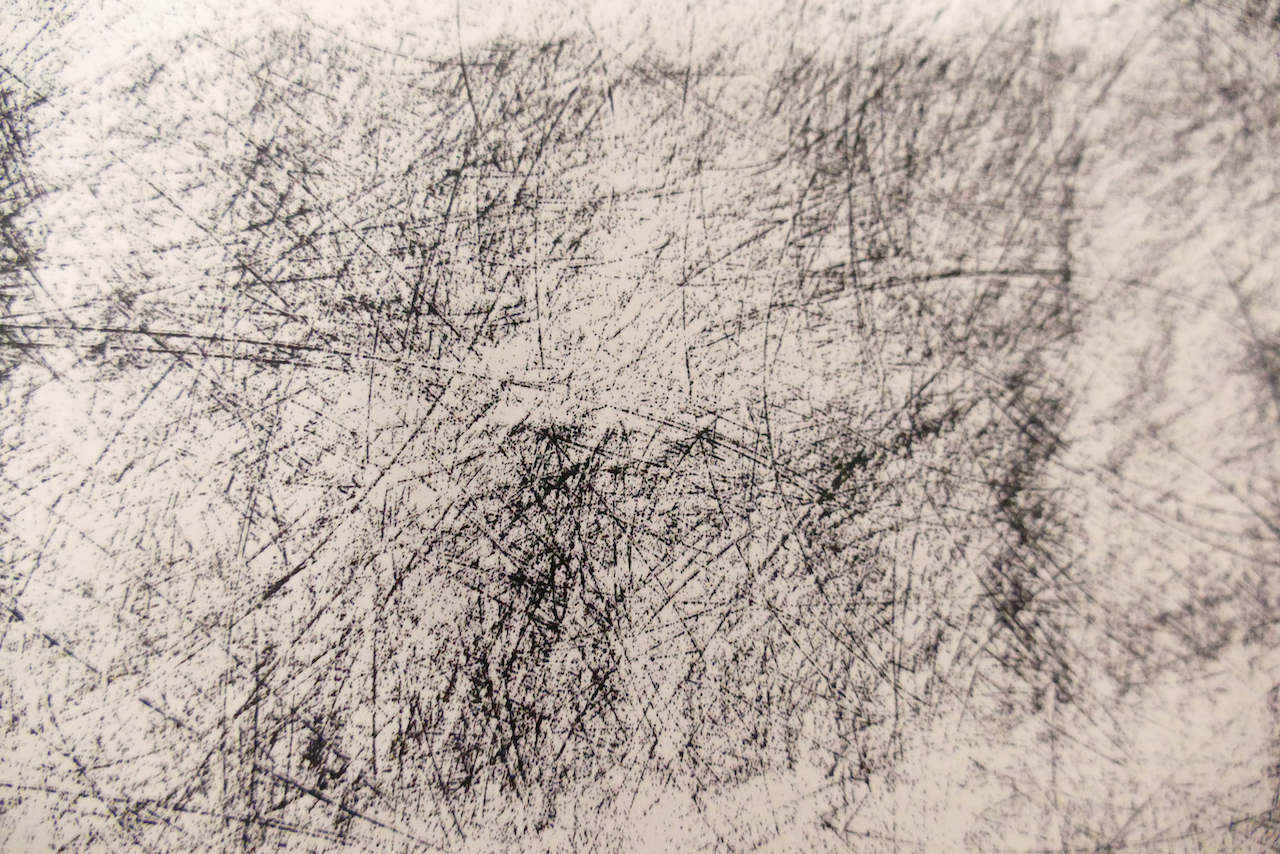
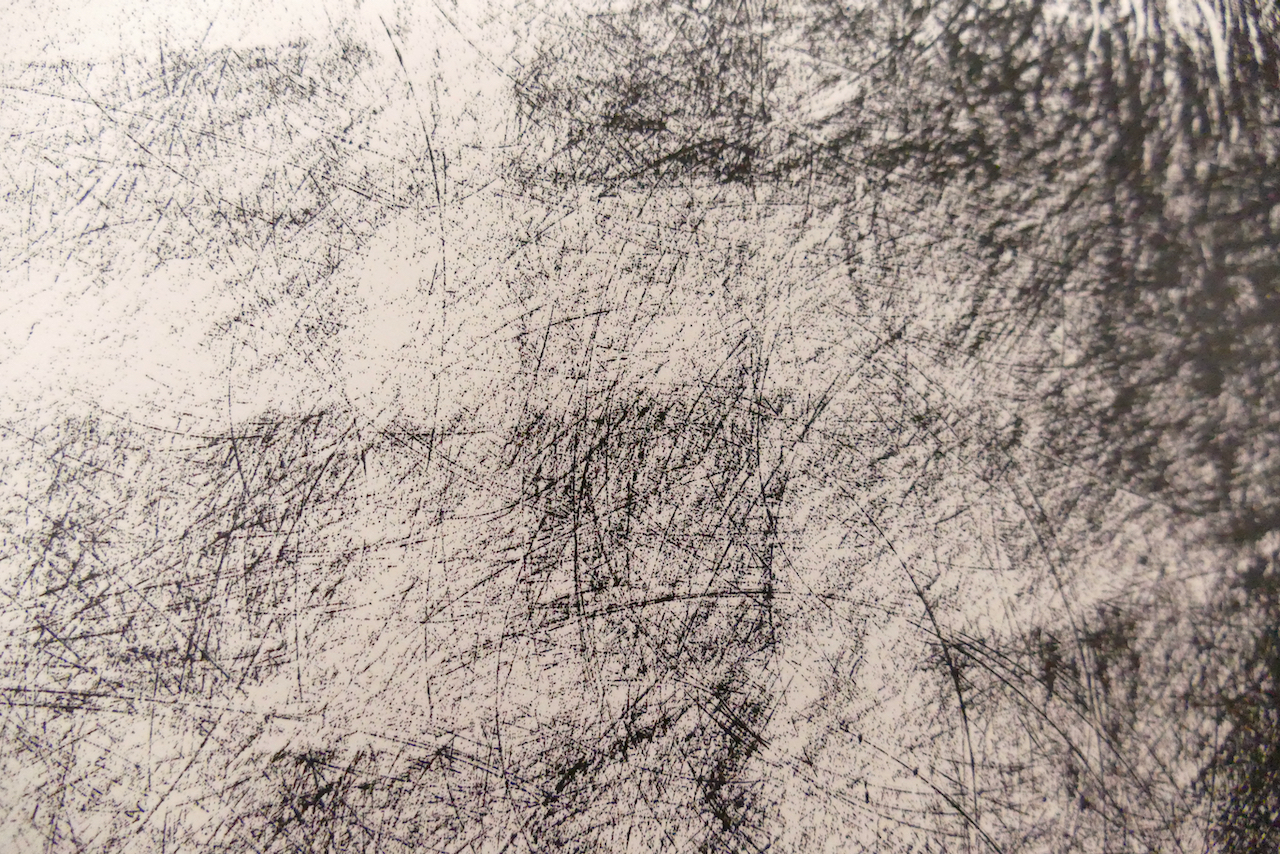
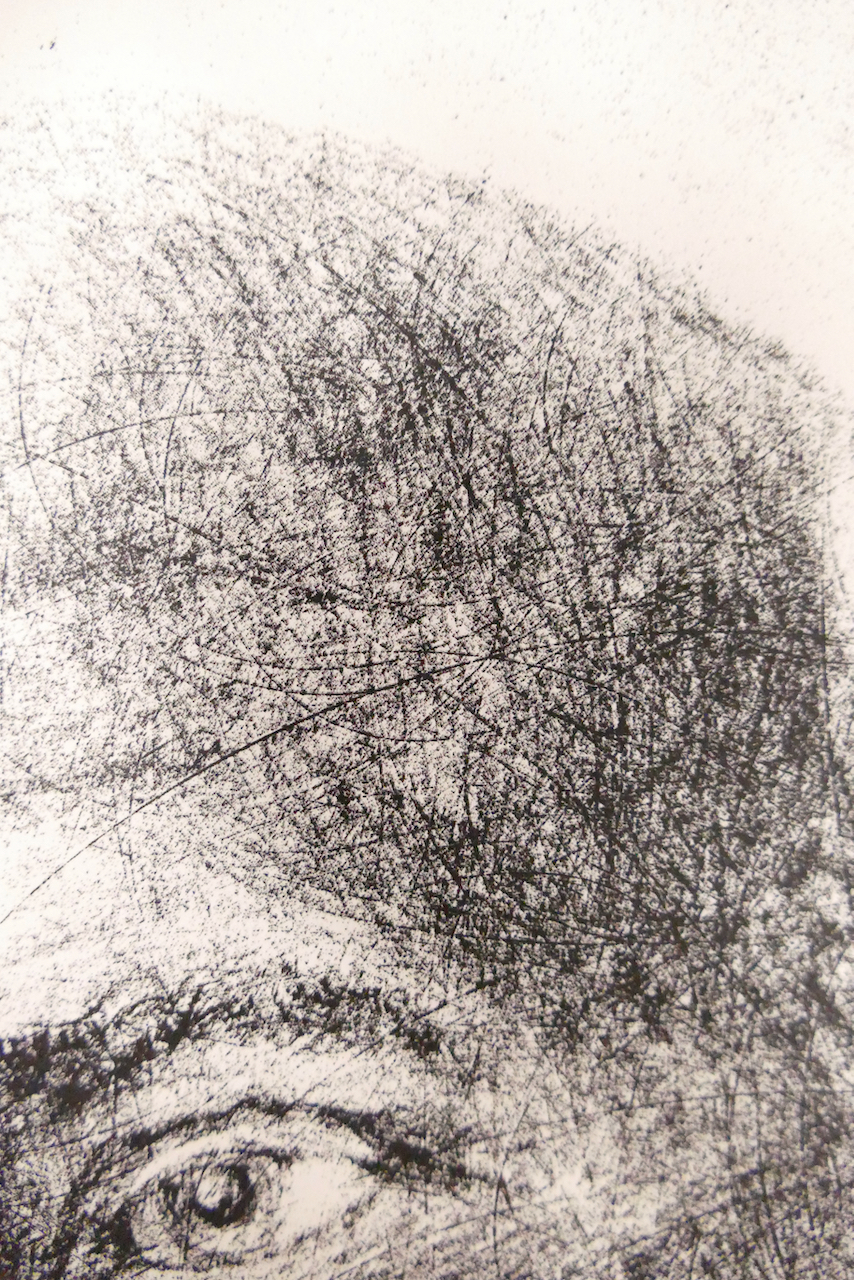
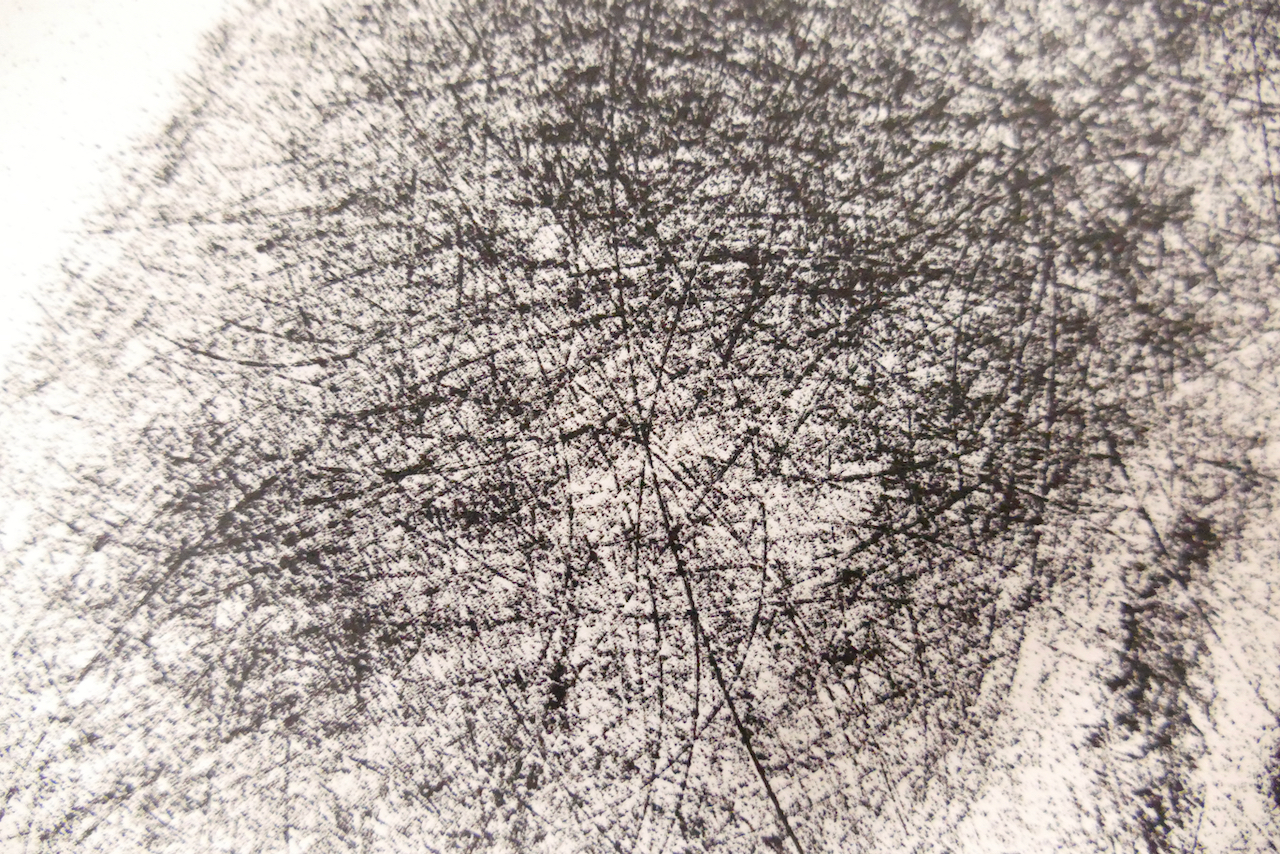
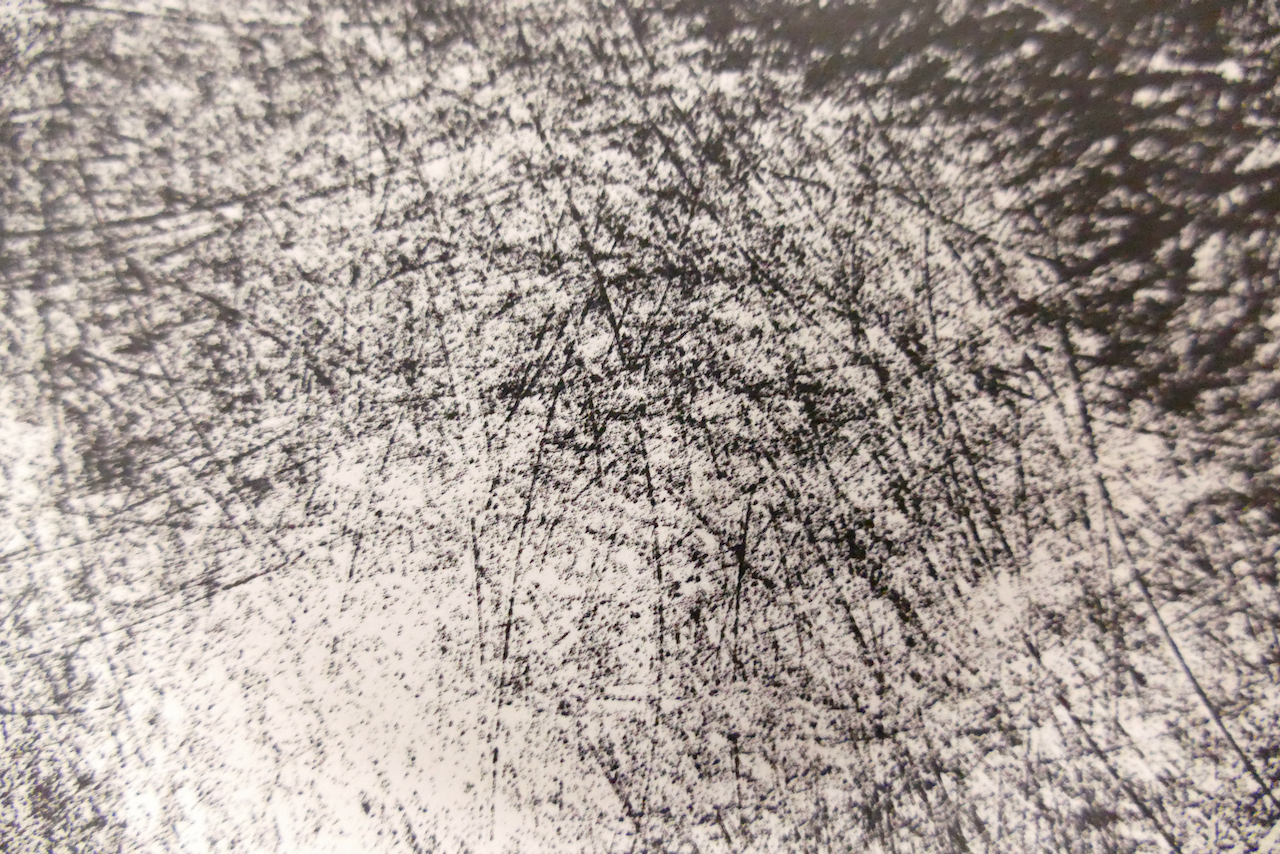
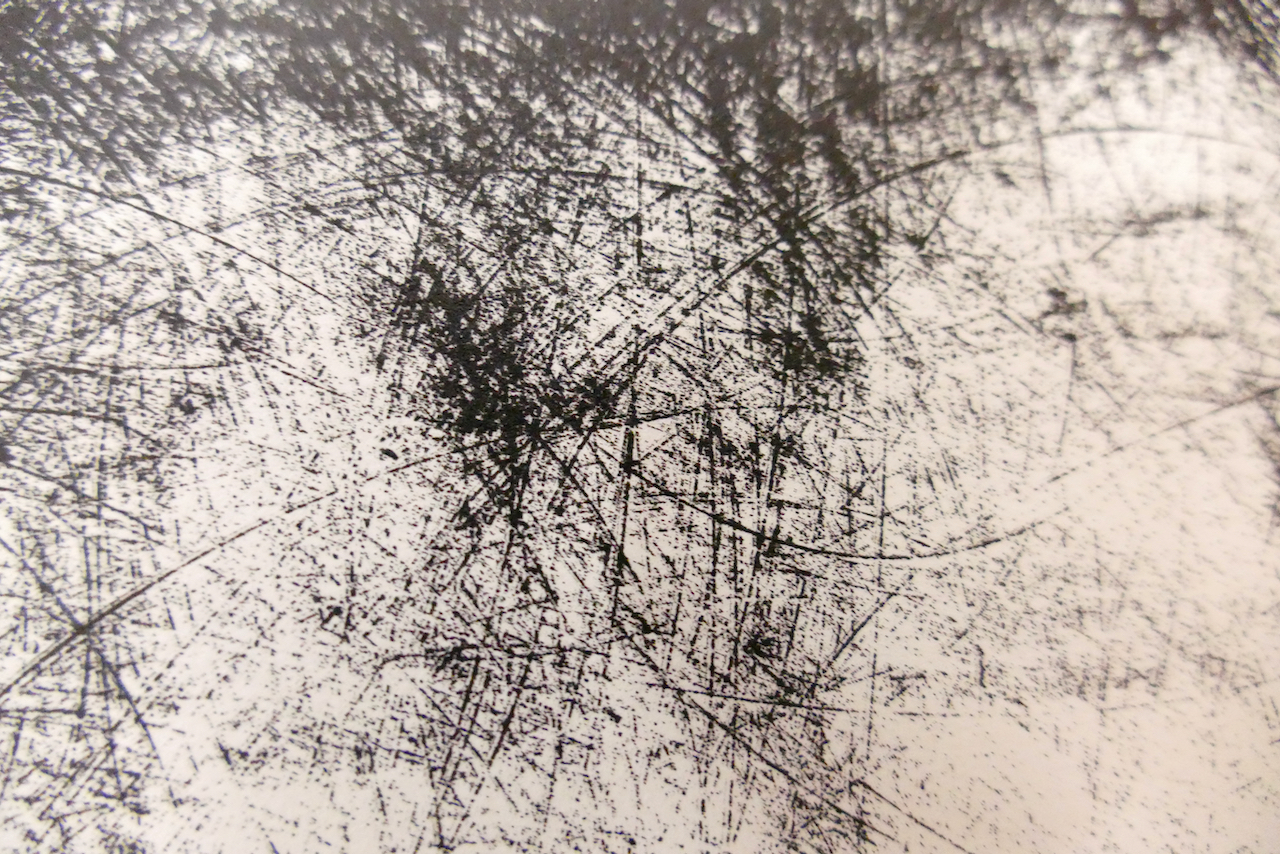
The following slides are high resolution details of the printed ink deposits showing the balance of sanded lines and surface gathered marks that the silkscreen printed inks deliver.
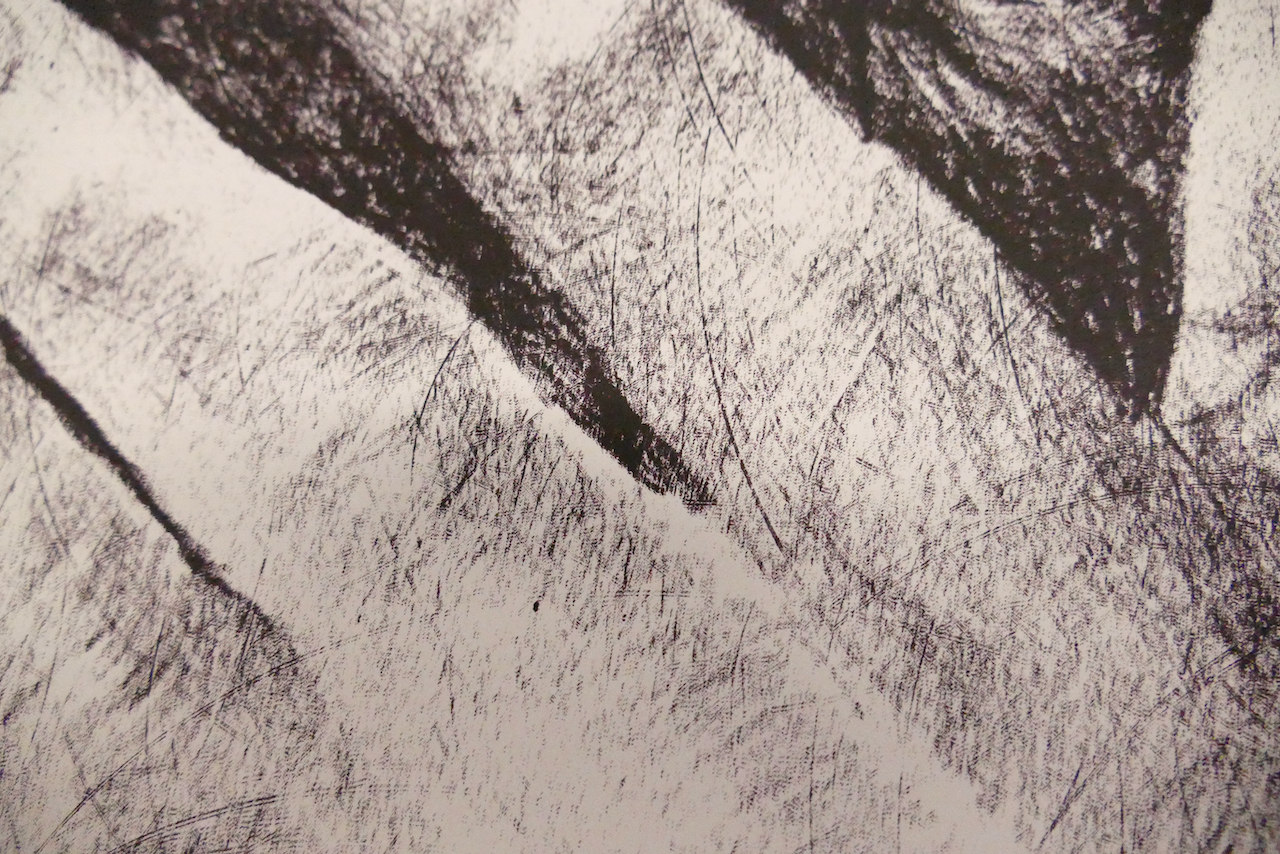
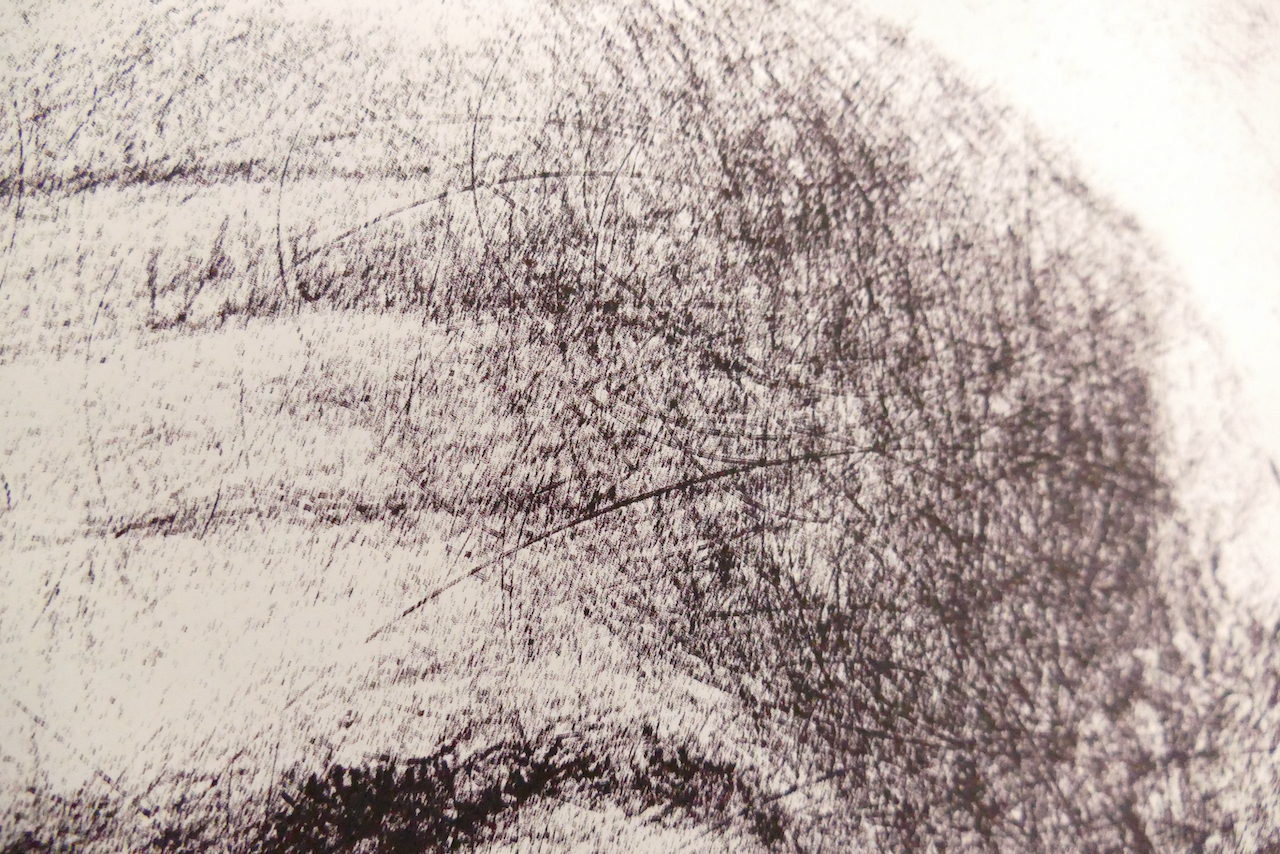
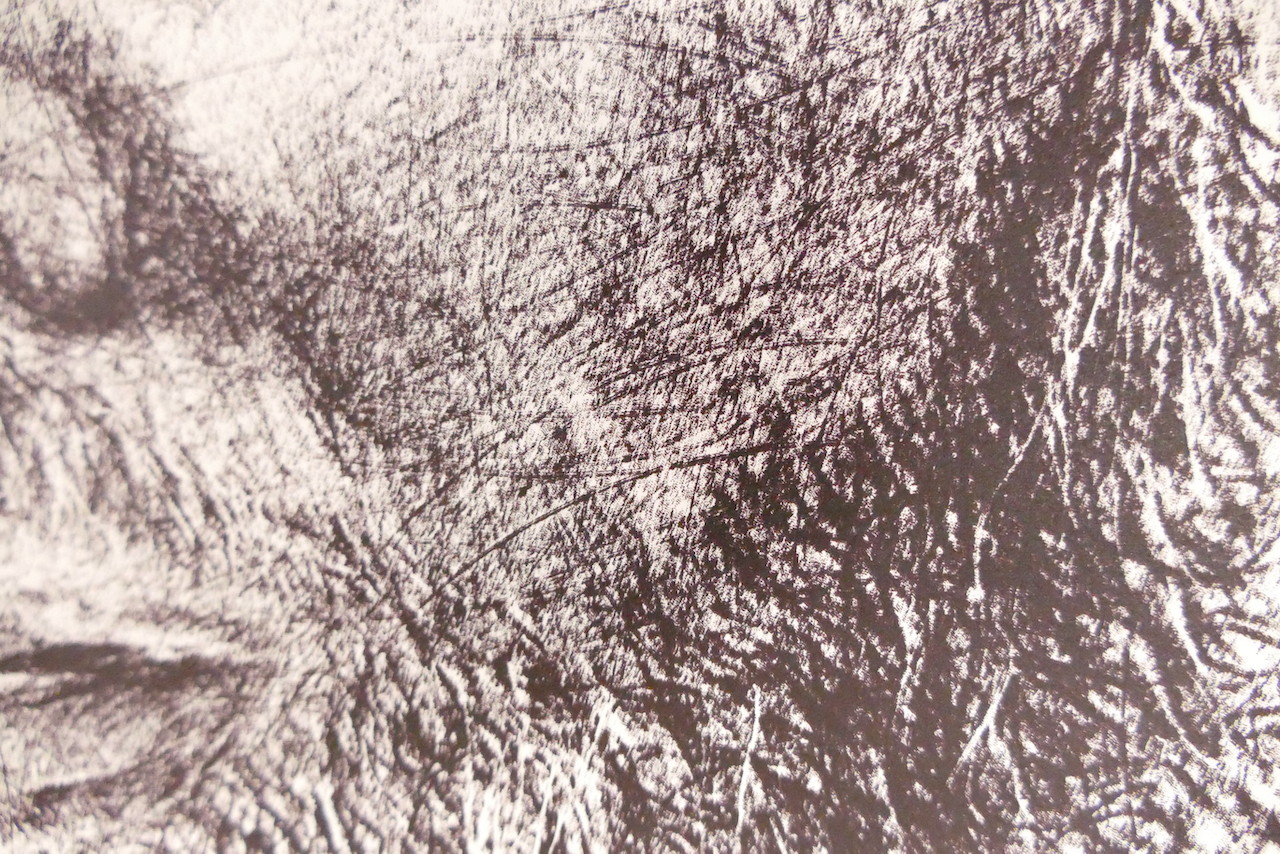
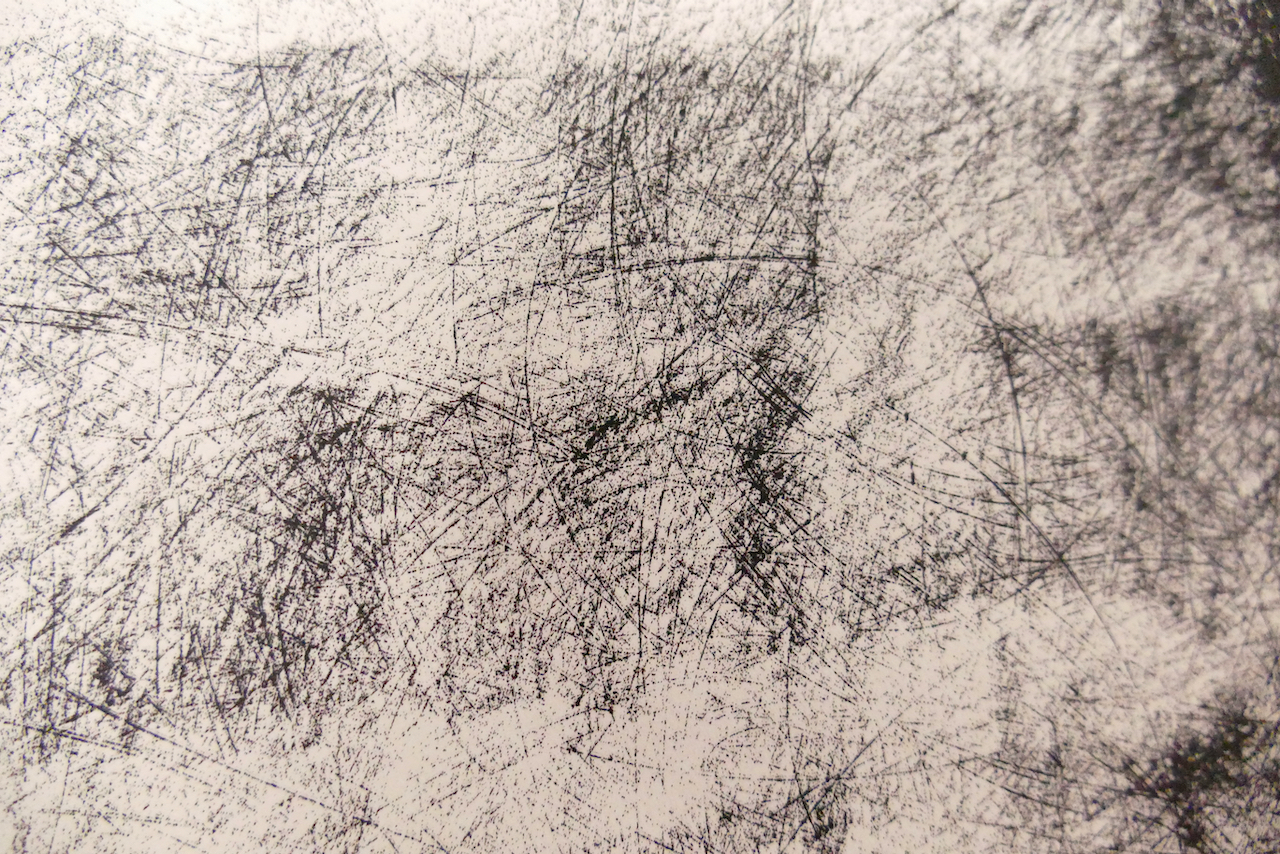
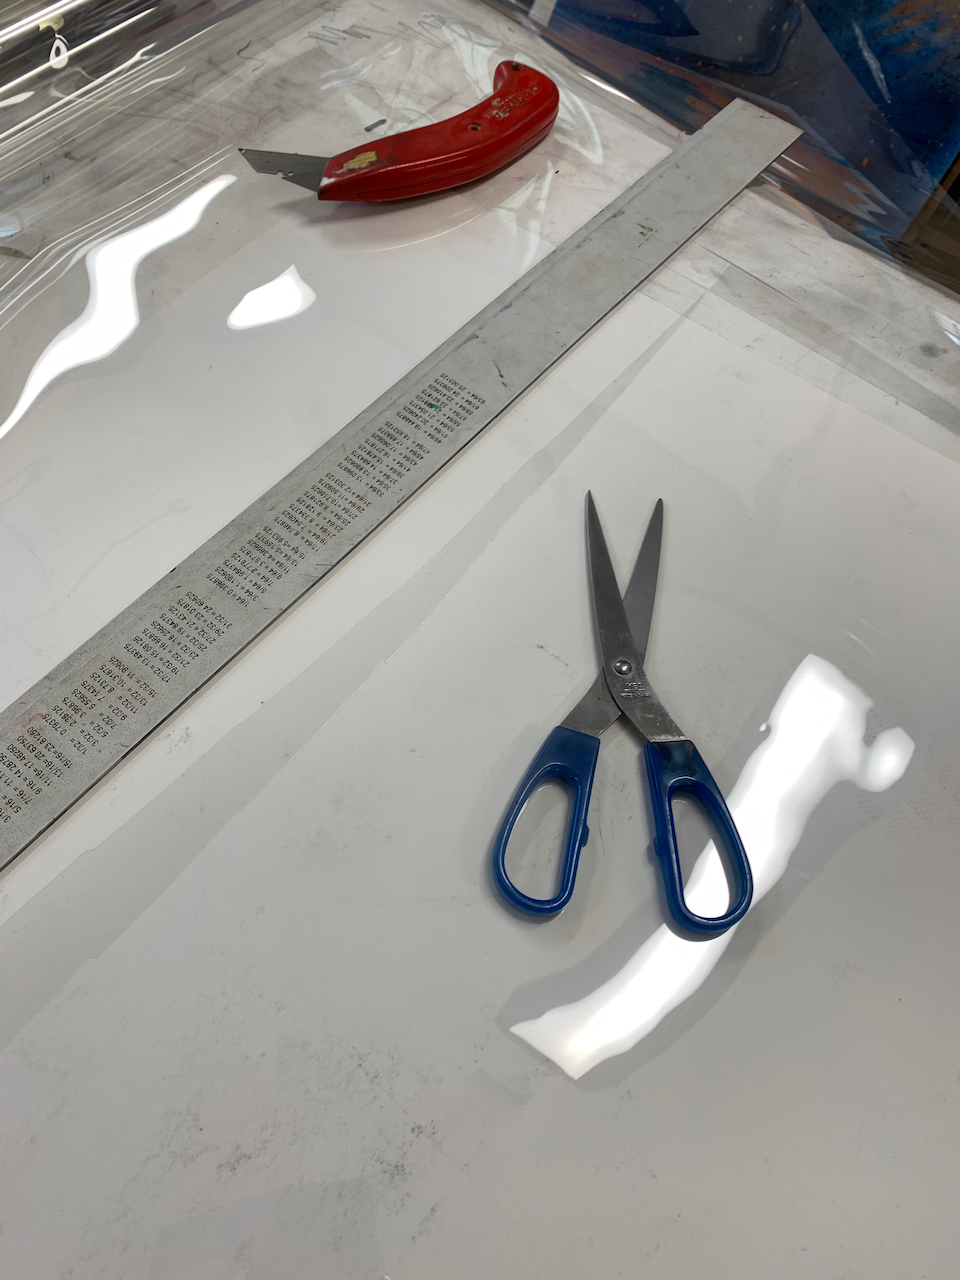
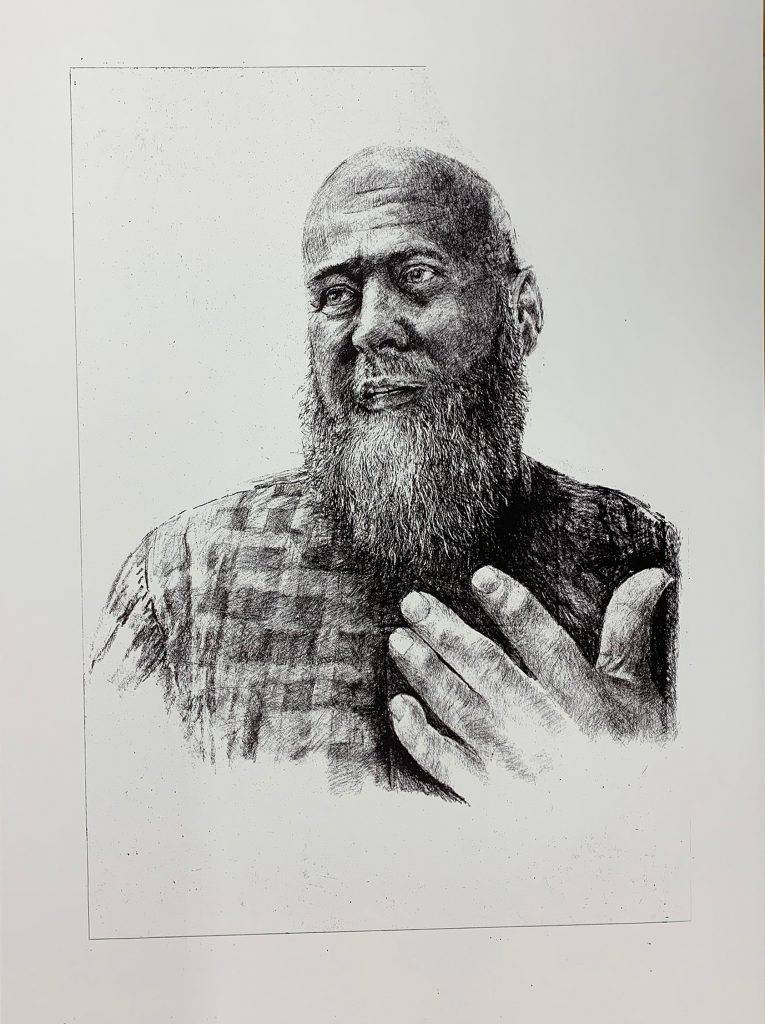
A final change was made by removing the background to allow the portrait to stand alone and be focussed up on by the viewer, rather than be a distraction. The background was a test with pencil shavings rubbed into the sanded surface, which was judged to be similar to the results in the hands and shirt areas, but on a flat area with no literal reference and did not add to the portrait. Subsequently the Stanley knife blade was used to scrape down the shaving marks which delivered a more diffuse, but contrasting pattern, in contrast to any of the marks making up the portraits. An element that was retained, but has no reliance on the sanded surface, is the single line around the image. This is not drawn, but is the exposure of the edges of the 120 micron fine film that has left its trace to frame the portrait. This unique uniform delicate line is in contrast with every mark on the sheet. It also indicates that the registration of multiple impressions is accurate.
Having carried out this experiment with the 120 grade sandpaper research into additional papers will be undertaken. In the meantime an edition of the portrait of Rashid will be made on Canaletto paper.
Video recordings of film sanding.